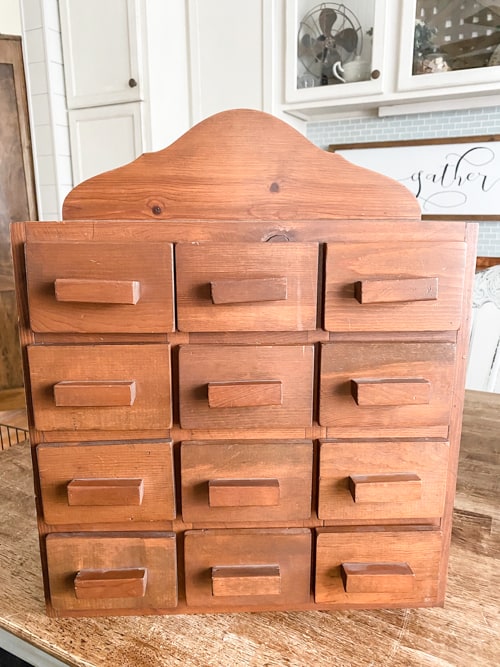
I found this small homemade cabinet at a thrift store. I was so excited. Not only is the size perfect but all the little drawers make me so happy. Anything that has little drawers or little cubbies is a win in my book. Someone made it really well and it was so heavy to boot! Of course, I saw it a little differently than how I found it so today, I am going to share this easy DIY small apothecary cabinet makeover. This project is another great example of how shopping at thrift stores and DIYing can save you a lot of money by decorating your home exactly how you want it.
{Affiliate links are used in this post. Click on any of the underlined links to find the products I am talking about. You can read my disclosure HERE.}
Supplies Used In This Makeover
Screwdriver
Cream Colored Paper
How I Turned This Into An Updated Apothecary Cabinet
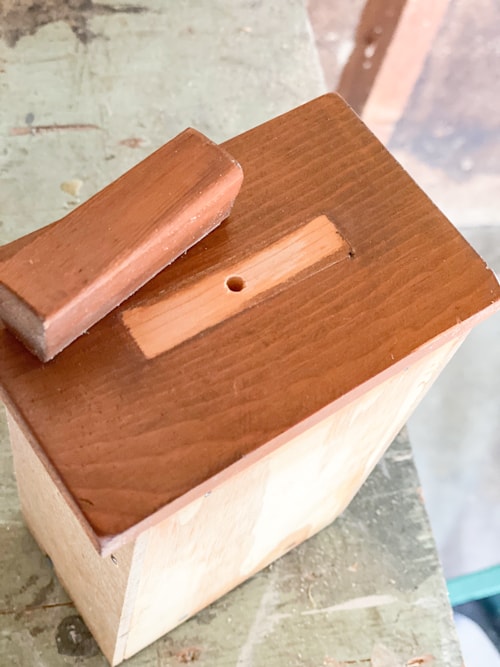
The first thing I did was remove the homemade wood handles.
Then, I wanted to remove the curved top piece. This was put on early when the piece was first made so we had to use a right candle drill attachment to get in that tiny spot and unscrew that top piece. See the video below for what I am talking about.
It didn’t come off in a clean piece but the sanding made it flush and smooth.
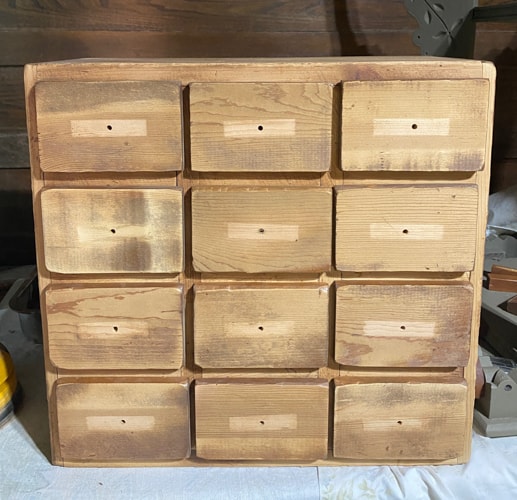
I scuff-sanded the entire piece and that removed a lot of the orange-colored stain that was on the piece.
Once everything was sanded, I cleaned all the sanding dust away with a damp cloth and waited for it to dry.
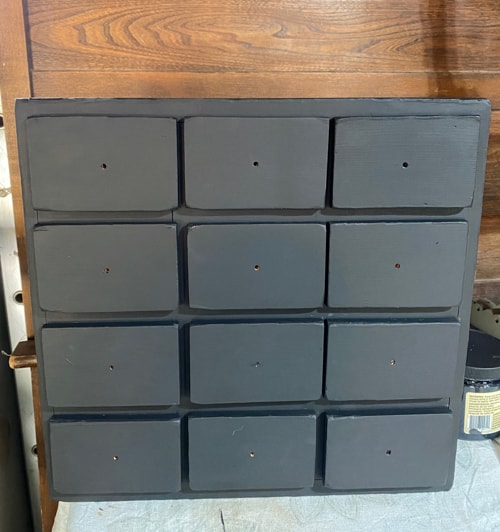
Then, it was time to paint. I used one of my favorite black paint colors, “Caviar” all over the piece.
I did not fill the holes from the previous handles. The new hardware would cover them. If you are adding hardware to a piece like this that won’t cover existing holes, you will need to take the step to fill in the holes.
Once the black paint was dry, I went over all of it with my favorite salve.
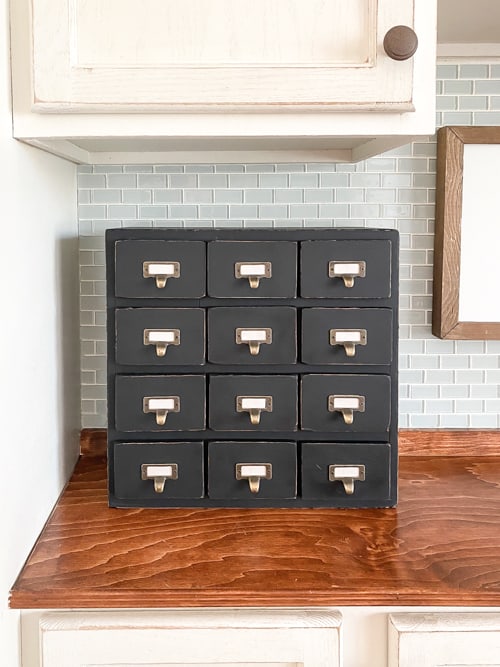
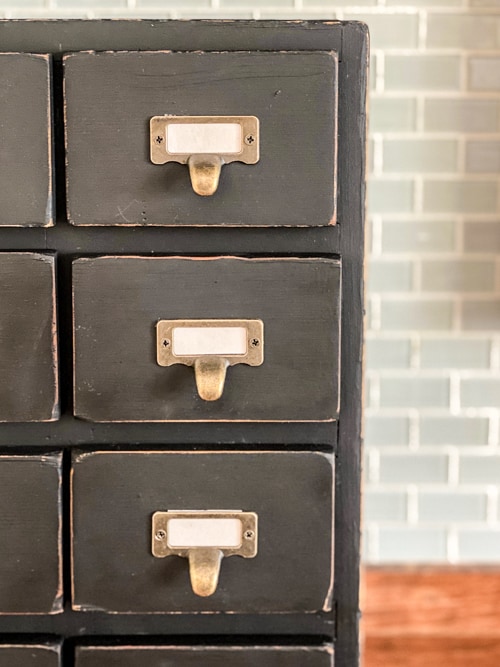
Now, it was time to add the new hardware!
Check out the video tutorial below.
Check out my YouTube video for a more in-depth look into this project and how the right-angle drill attachment worked:
I LOVE this hardware. It is a label and pull in one. I like the price too.
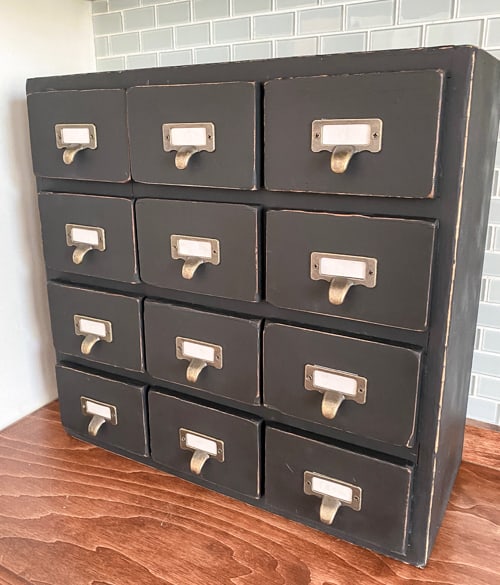
The hardware made this piece. I added some cream-colored paper to the labels and the apothecary cabinet was ready to fill.
I can use this piece in so many ways. Right now, I have tea and coffee pods in it.
These kinds of projects will never get old for me. I am still amazed after every project even after doing this for more than 20 years!
Would you have picked up this piece?
What would you store in this DIY small apothecary cabinet?
PIN THIS POST!
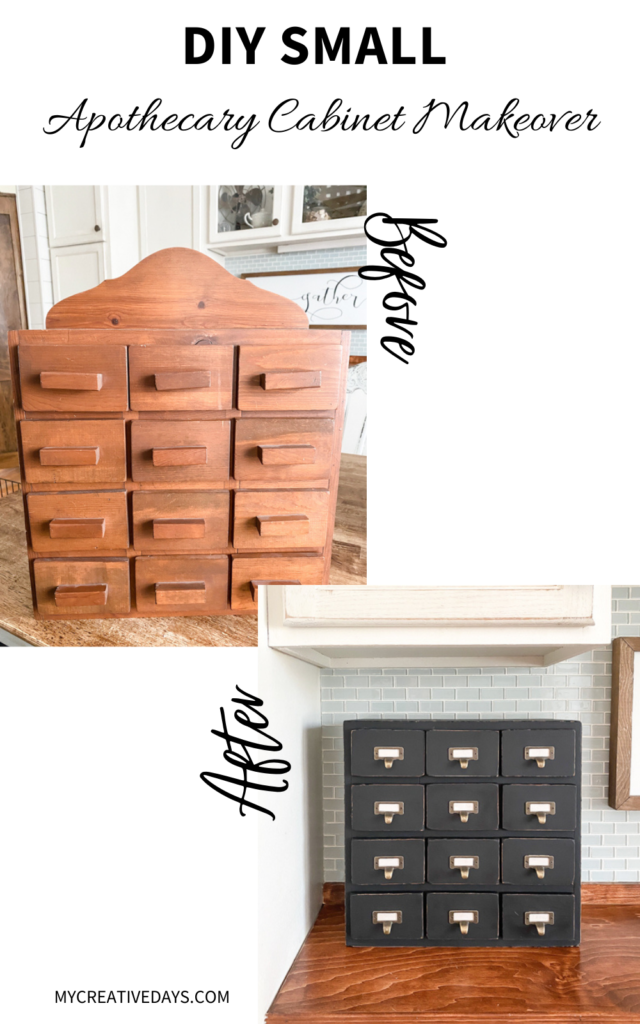
If you liked this DIY Small Apothecary Cabinet makeover, you will also love these transformations:
How To Make A Faux Mantel Tutorial

