These DIY snow globe ornaments are easy to make, only require a few supplies, and are something the entire family can create over the holidays.
I have the best memories of different projects my mom used to do with me and my sister. We were always creating things. She would have us go on “treasure walks” as she called them. We would forage for cool sticks and rocks and other things to bring home and craft with. We loved it. Around the holidays, she would have us making things as well. I remember her making a big bowl of popcorn and we would pop in a Christmas movie and string popcorn for the Christmas tree. I have so many fond memories of creating these things with my mom that I have made it a priority to do with my own kids.
It is the most fun creating around the holidays and this is such an easy ornament idea that the entire family can do. Even if your kids are older, they can still have fun with holiday activities to make the season last a little longer.
Okay, let’s get to this easy project!
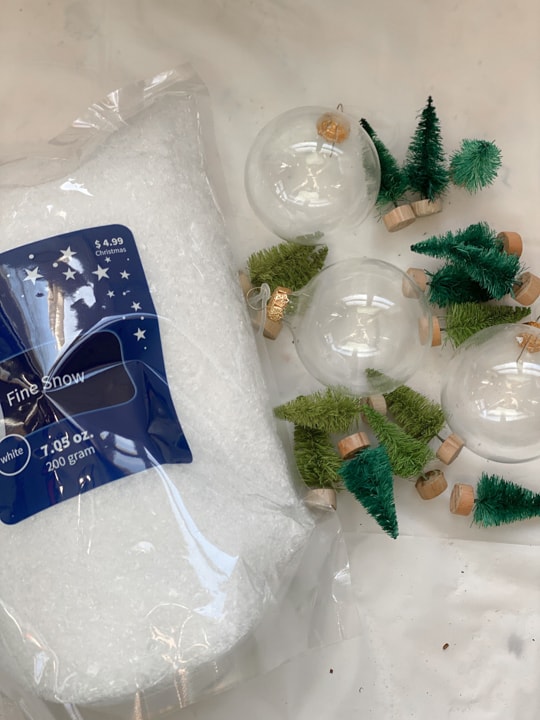
{Affiliate links are used in this post. Click on any of the underlined links to find the products I am talking about. You can read my disclosure HERE.}
Supplies Needed To Make DIY Snow Globe Ornaments:
Clear Glass Ornaments (I found mine at a thrift store. Always keep your eye out for them there.)
Fine Snow (you could use salt as well.)
Baker’s Twine (optional)
Paper Funnel (or another funnel that will fit inside the ornaments – see the video.)
Wood Skewer (or something long and skinny that will help push the snow through the funnel.)
Easy Steps To Making These Cute Ornaments:
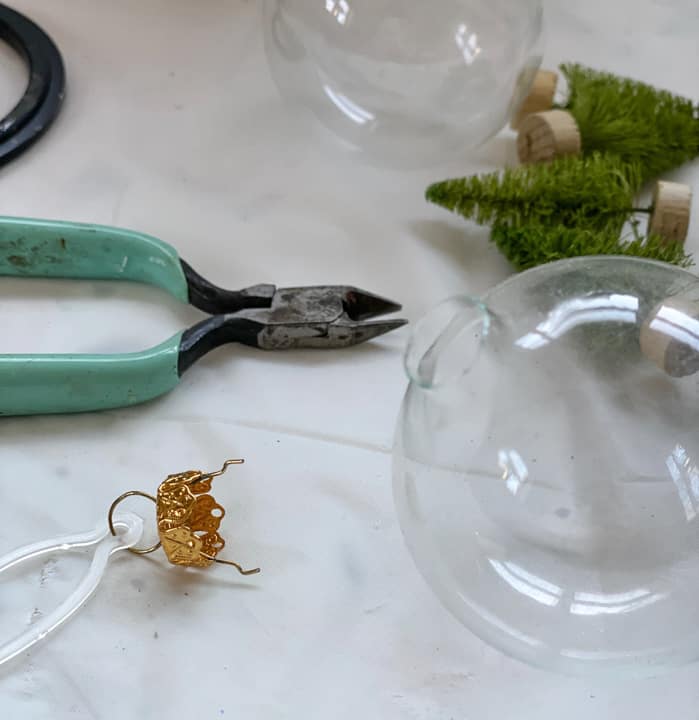
- First, remove the top of the ornaments.
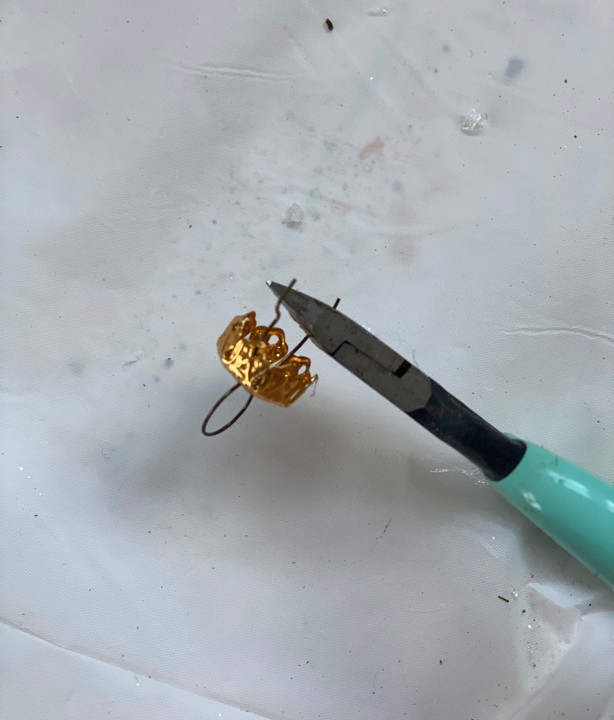
2. Next, use wire cutters to cut the ends of the ornament hanger so they are flush with the base of the topper (you can see me doing this in the video below).
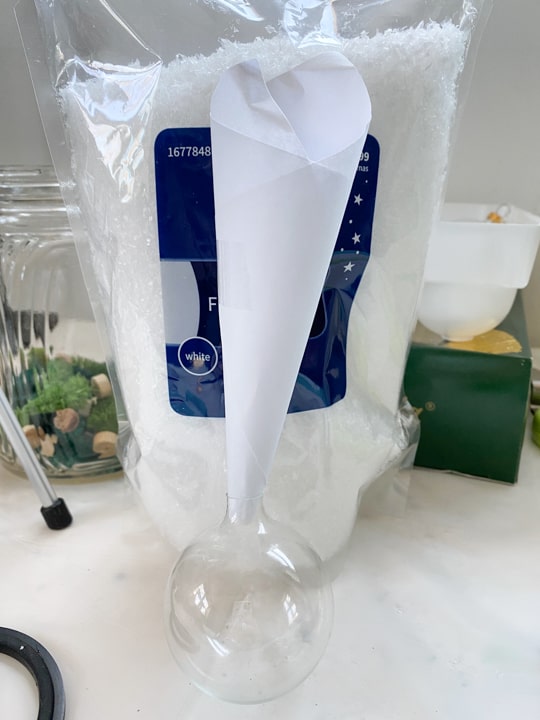
3. Next, make a paper funnel or use a funnel you have and put it inside the ornament.
4. Pour some of the fine snow inside the funnel and use a wood skewer to help push it through the funnel. YOU DON’T NEED A LOT OF SNOW! The trees are small so they will get covered up with too much snow.
5. Now, pour in some glitter to your preference. The glitter sticks to the inside and makes it look more like a snow globe I think.
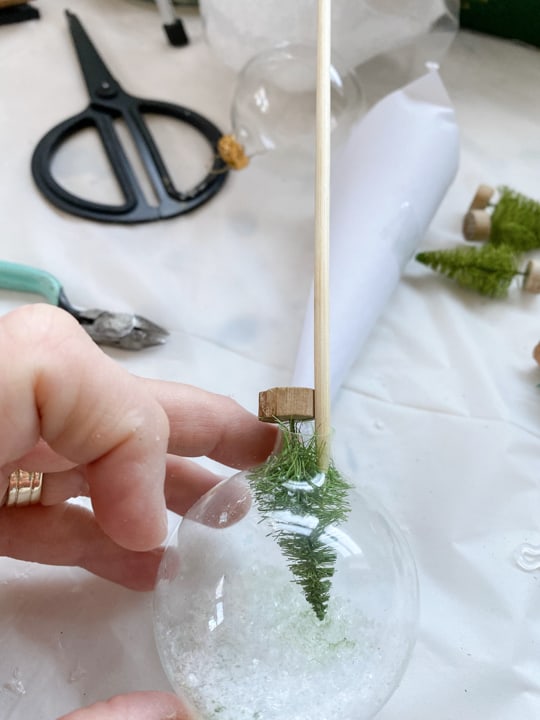
6. Now, it is time to add the mini bottle brush tree. Insert the top of the tree inside the ornament and use the wood skewer to push the bottom branches into the ornament.
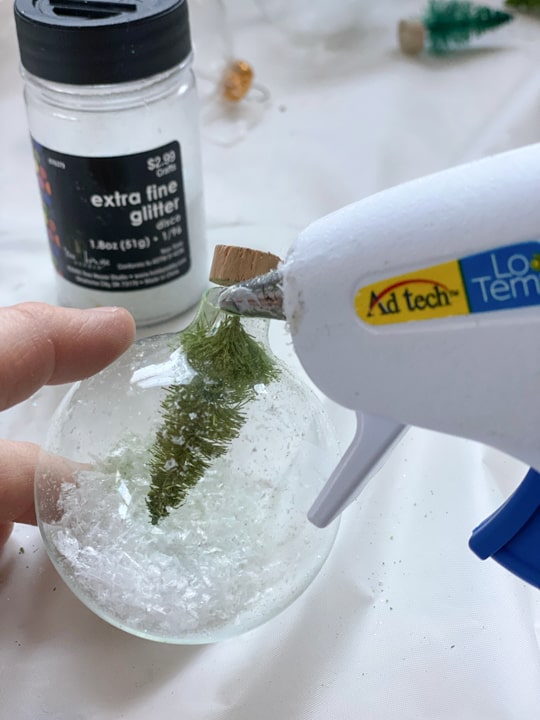
7. Once all the branches are inside the ornament, hot glue around the base of the mini tree and adhere to the opening of the ornament. Hold until the glue is set.
Finish The Ornaments
8. To finish the ornament, hot glue the topper you removed in the beginning (make sure you have snipped the hanger so it is flush) to the bottom of the ornament (which is now the top of the ornament). You can secure the top a little more by adding hot glue around the outside and add some glitter or baker’s twine to cover up the hot glue.
Here is my YouTube video showing you in real-time how I put these together. Make sure you subscribe to my channel when you are there so you don’t miss a thing:
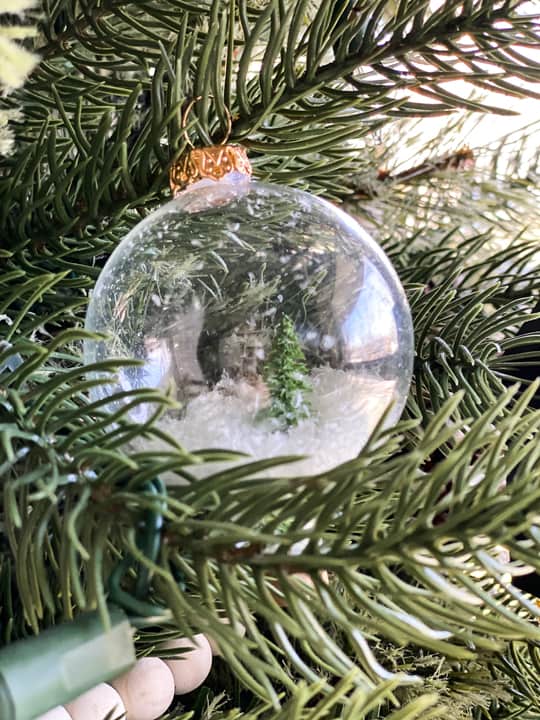
That’s it!
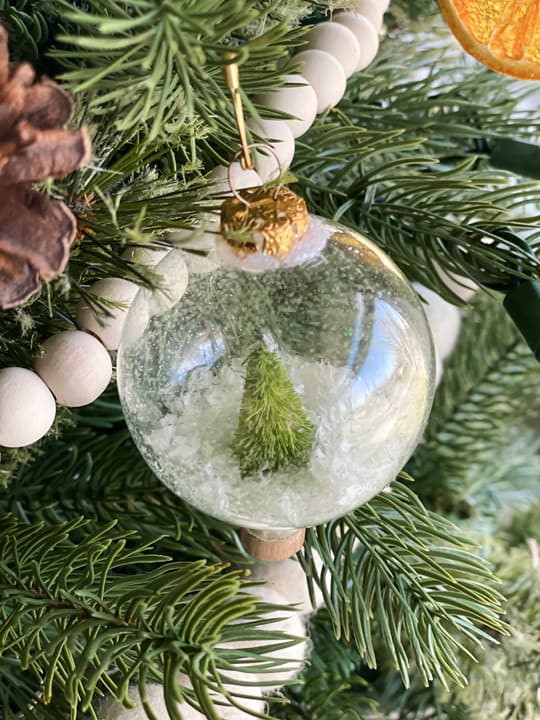
These ornaments would be a fun project to get the entire family involved with. You can make an assembly line of it, drink hot chocolate, and watch your favorite Christmas movie.
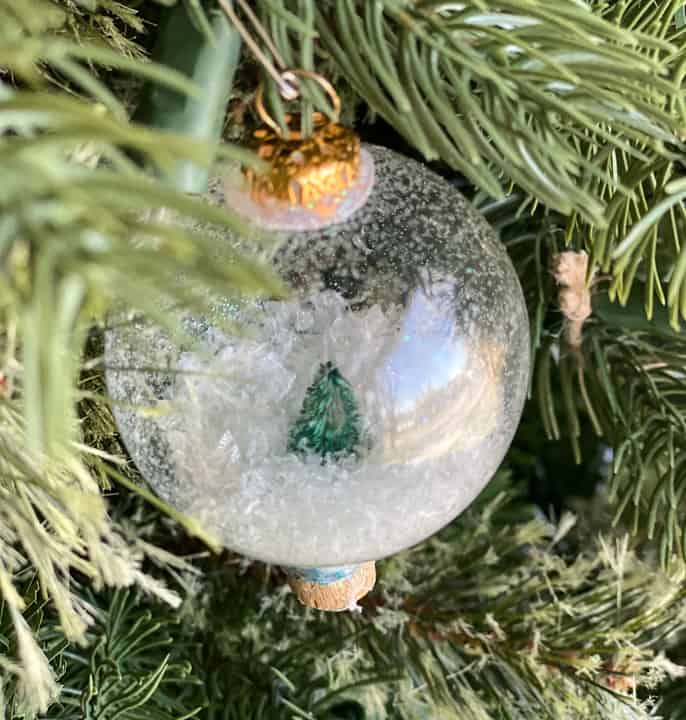
I think these would be so cute with different colored trees and glitter inside. It would be fun to paint or add ribbon to the bottom of the ornaments too.
If you make this ornament or a version of it, I would love to see it. Share it on Instagram and tag me so I don’t miss it!
PIN THIS POST!
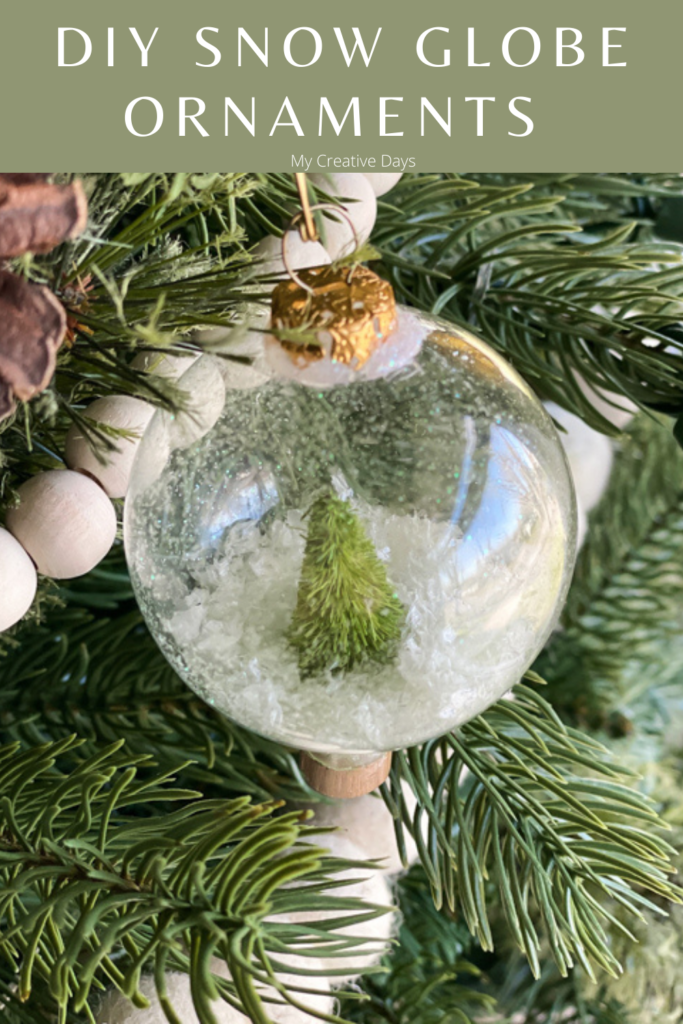
If you liked this easy project, you will also love these ideas:
Ornaments Made With Tiny Frames
DIY Cookie Cutter Ornaments For The Tree

