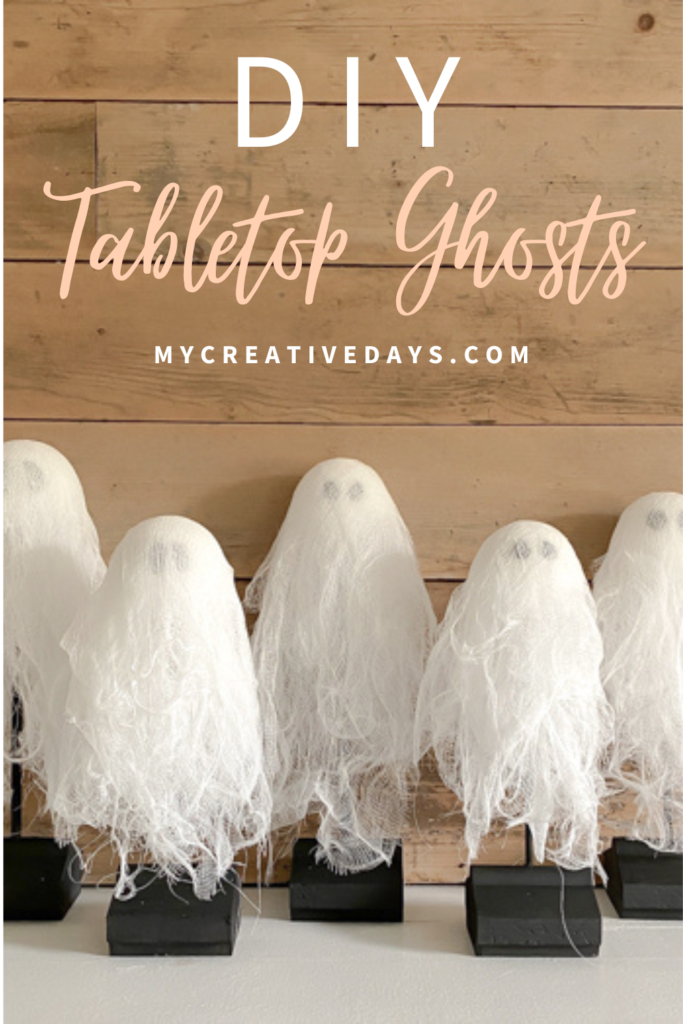
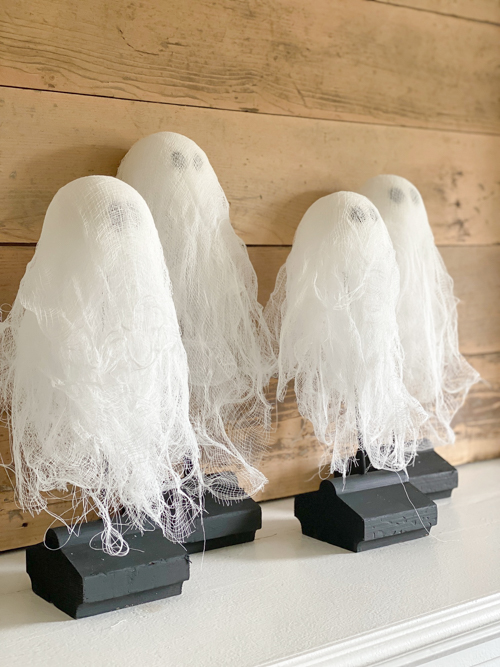
If you’re looking to add a spooky yet charming touch to your Halloween decor this year, these DIY tabletop ghosts are the perfect solution. Not only are they easy to make, but they also add a whimsical element to any table setting. In this tutorial, we’ll walk you through each step to create these adorable spectral figures using simple materials.
{Affiliate links are used in this post. Click on any underlined links to find the products and sources I am referring to. You can read my disclosure HERE.}
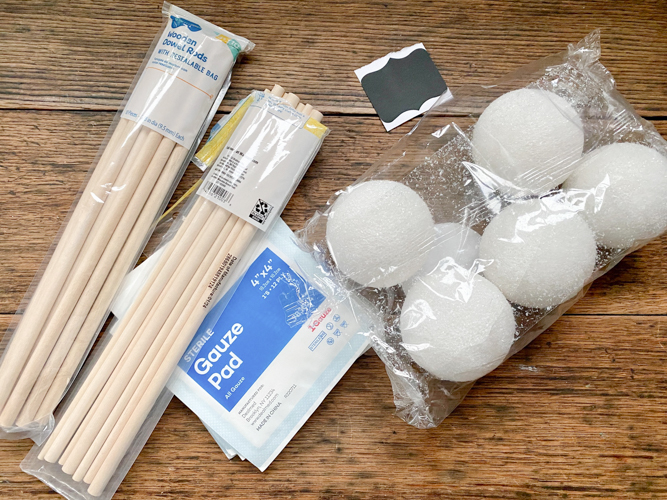
Materials Needed To Make These DIY Tabletop Ghosts
Gauze Pads (I used about 5 on each ghost)
Styrofoam Balls (You can use any size. Mine were 3″)
Wood Base (we used a scrap board and cut it down)
Drill/Drill Bits (if you are making the wood base like we did)
Paintbrush
Craft Hand-Held Dryer (I love this tool for projects like this to speed up paint drying time)
Step-by-Step Instructions
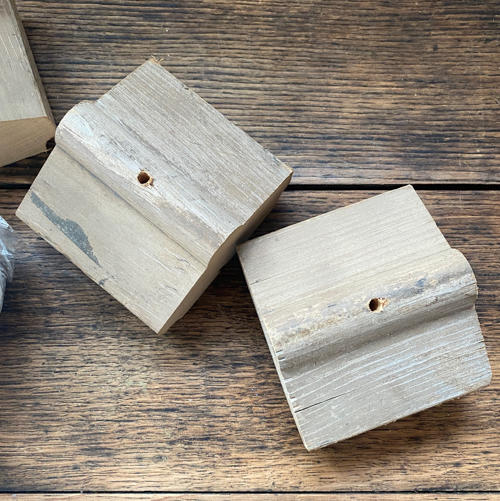
Step 1: Prepare the Base
- We used a scrap wood piece we had in the garage. I wanted to make 5 DIY tabletop ghosts so Matt cut the piece into 5 separate bases with a miter saw. You can find wood pieces at dollar stores and home improvement stores that would work.
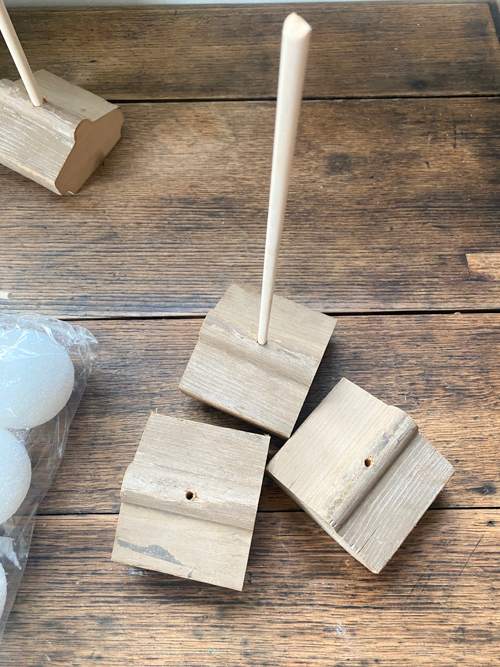
- Next, we measured the size of the wood dowels and Matt drilled a hole so the wood dowel would fit snugly in the wood base.
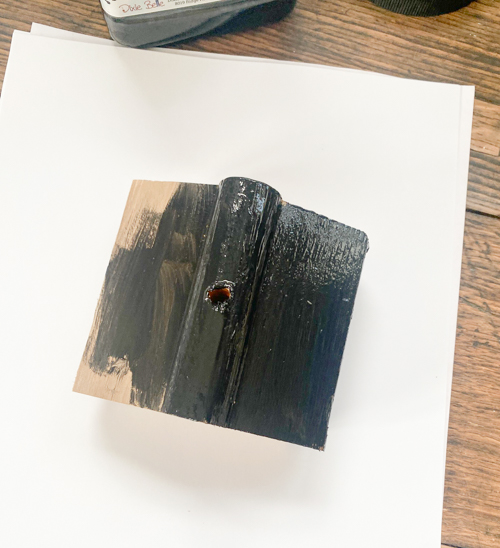
- Then, I painted the bases and the dowels black.
Step 2: Cut the Dowels
- I wanted to have the DIY tabletop ghosts be at different heights. So, Matt cut the dowels down to different heights by maybe 1/2″.
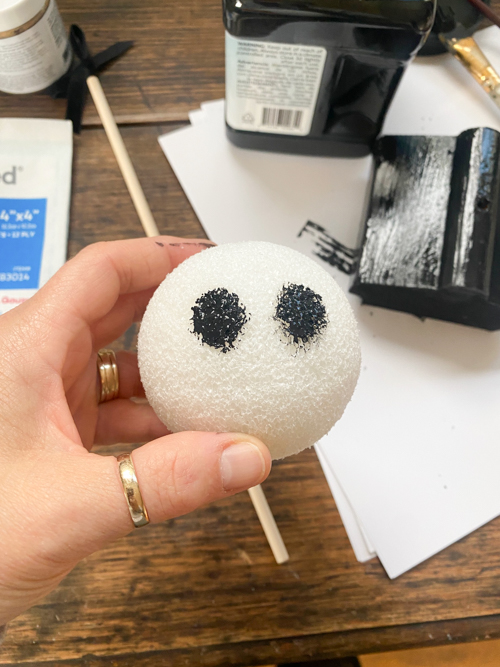
Step 3: Paint the Eyes
- Use black paint to brush eyes on the Styrofoam balls for the heads of the ghosts.
Step 4: Put it Together
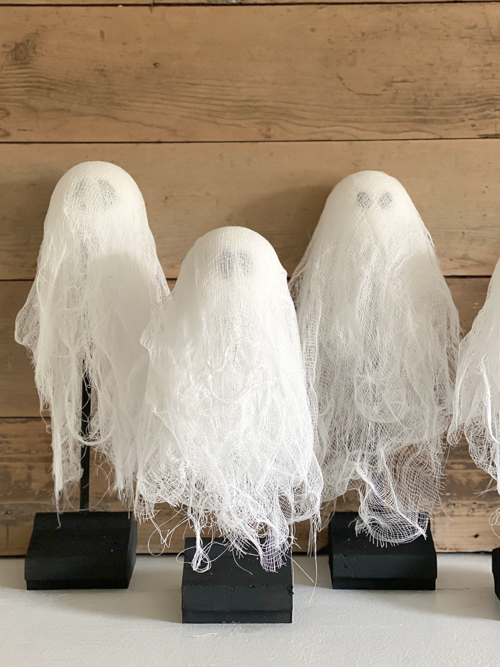
- Once the eyes are dry, push the Styrofoam ball onto the top of each dowel.
- Then, open the gauze pads all the way. As you unwrap them, you may get holes and it will unravel some. That’s a good thing! You want that. I think it looks more realistic. Once you have it open, drape it over the Styrofoam ball. I used about 5 sheets for each ghost. I draped them in different ways as I worked until I got the look I liked. The Styrofoam balls held the gauze pads in place but you could use glue if you wanted. If you have a smooth Styrofoam ball, you will need glue.
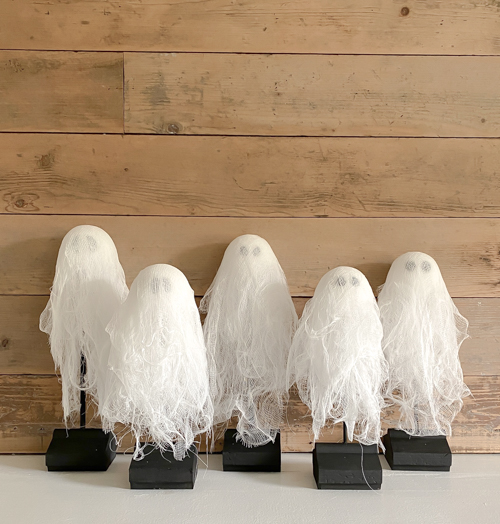
Step 5: Arrange Your DIY Tabletop Ghosts
- That’s it!! Display your ghosts. This is such an easy project that you could do with the kids and grand kids. If you are a teacher or do daycare, this would be fun for the kids to make too. I love the way they look! This is something you will bring out every year!
I am sharing this project being done in real-time on my YouTube channel HERE.
Make sure to SUBSCRIBE to my channel when you are there! I am launching new videos every week!
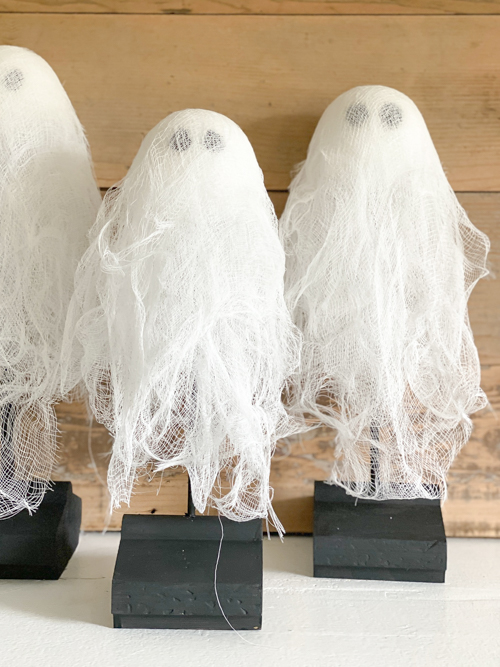
Creating DIY tabletop ghosts is a fun and easy project that can add a unique flair to your Halloween decorations. With just a few materials and a little creativity, you can craft these charming specters to haunt your home all season long. Whether you’re hosting a Halloween party or simply want to spruce up your seasonal decor, these ghosts are sure to delight and spook in equal measure.
PIN THIS POST!
