Last week, I posted about the Tea Party Birthday Party we had for my daughter back in November. Today, I am sharing the DIY Teacup Candles we made at the party.
I thought making candles was labor intensive and a hard process that I wouldn’t like at all.
I. Was. Wrong.
When my daughter and I were planning her party, we came across the teacup candle idea and decided to give it a try.
{Affiliate links are used in this post. You can read my disclosure HERE.}
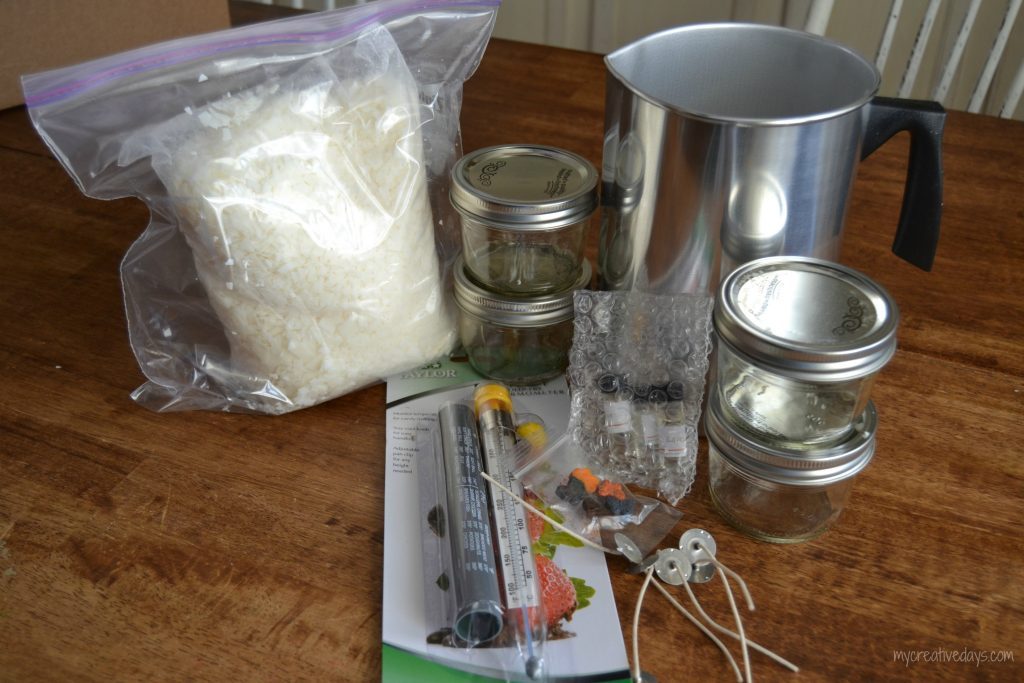
Supplies Needed To Make DIY Teacup Candles:
Teacups (head to you local thrift store to find some)
The candle making kit comes with everything you need to make homemade candles! It was so perfect for her party. These DIY teacup candles were the first candle making experience for all of the girls at her party so our daughter was super excited to be doing it with them. The entire activity was like a science experiment for them.
Directions To Make DIY Teacup Candles:
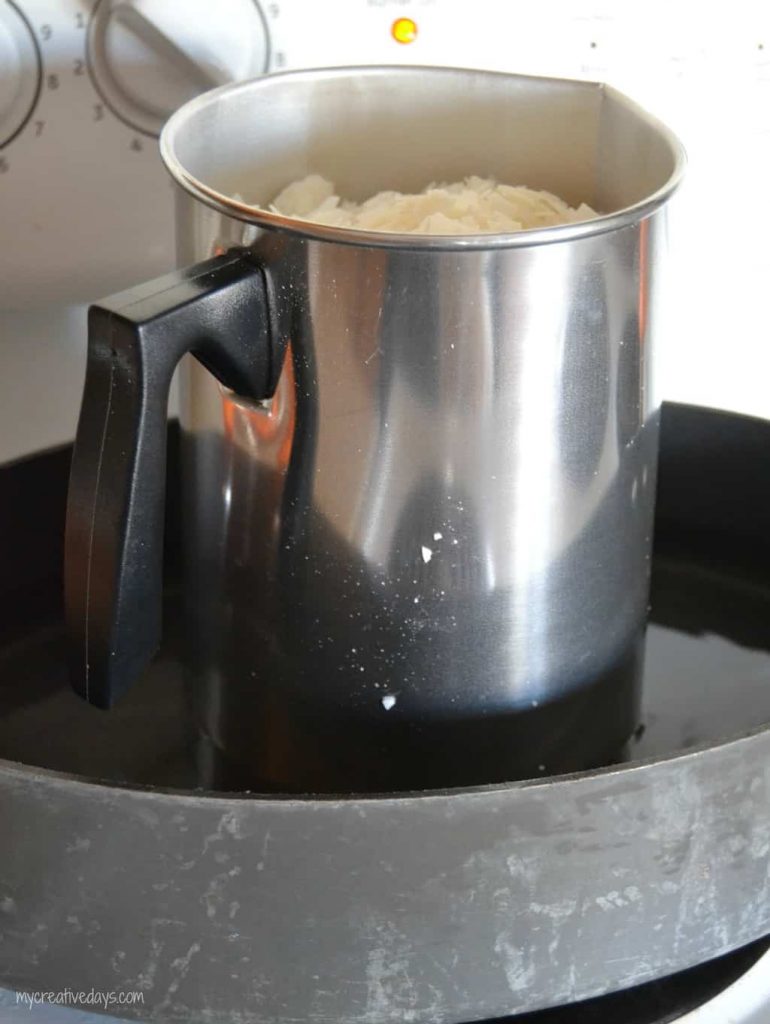
We filled the tall pot that came in the kit with the soy flakes. Then, we put it in a pan that had water in it. We put the burner on medium and watched the flakes melt to a liquid.
It was amazing how fast this happened and the girls loved watching it happen.
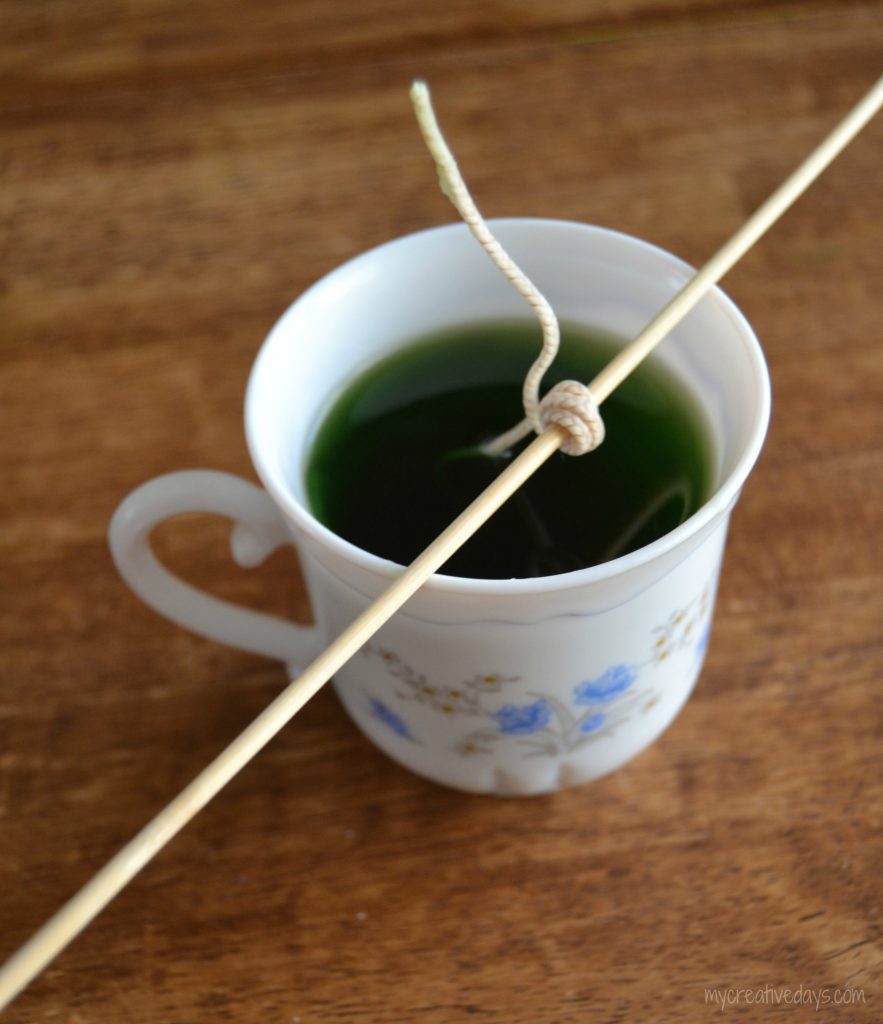
Once the wax was melted, it was time to add color and scents! The girls all decided to make green candles. They added the entire green dye to the melted wax. We stirred it slow until the dye was fully dissolved.
Then, it was on to the scent. The kit came with a lavender, vanilla and pine scent. The girls decided to put the lavender and vanilla together to make their own “custom” scent. I loved that they did that and it smelled great!
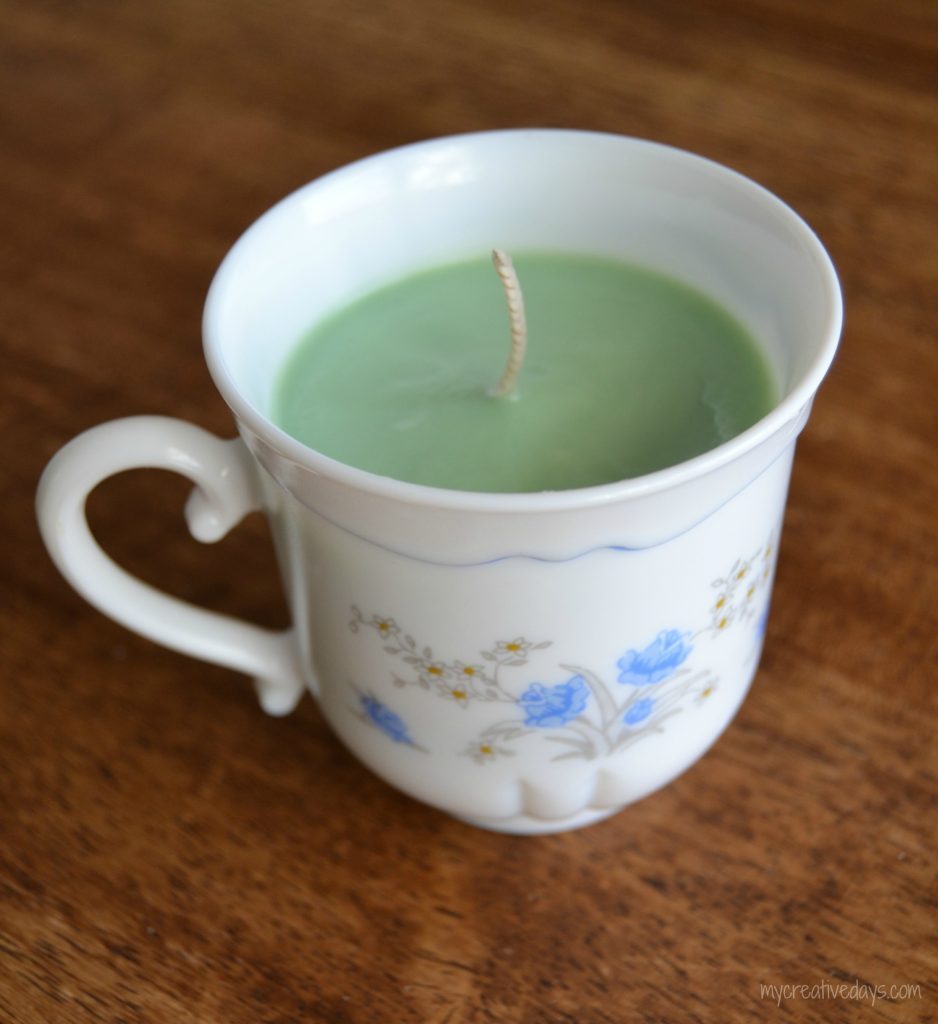
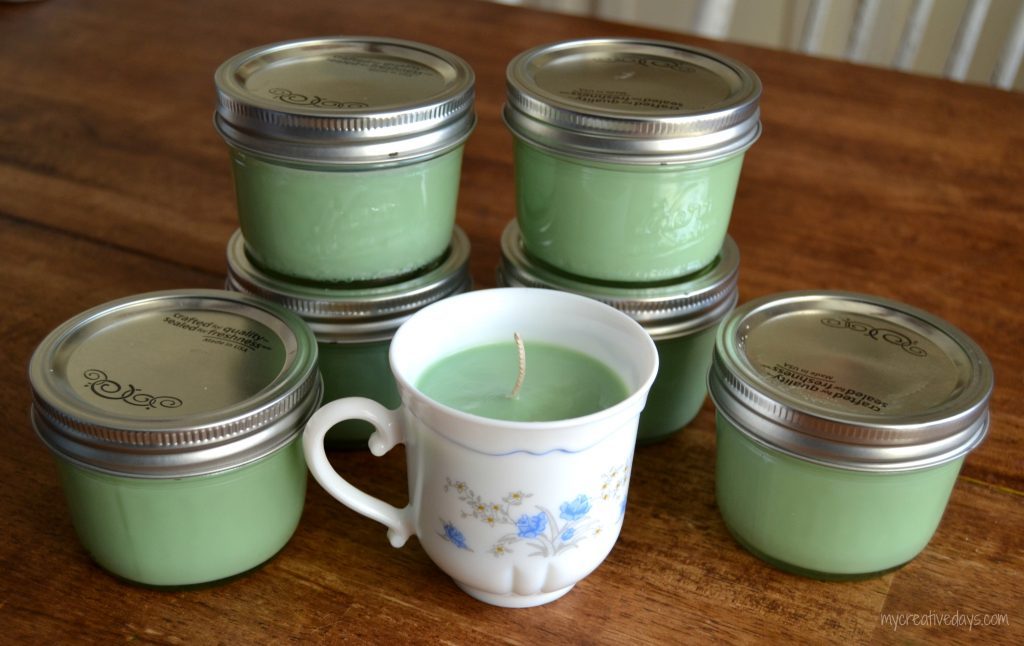
I poured the wax into the tea cups and the rest went into the glass jars that came in the kit.
At first, when I poured the melted wax into the containers, it was a dark green color. But, as it set, it lightened up to a beautiful, spring green color.
I am so excited that we tried the whole candle making activity. It was so much fun and more importantly, so easy. The girls had a blast with it and I know my daughter and I will be making more candles in the future.
*On a side note: If you happen to spill a candle before it has had time to set, it will end of everywhere. EVERYWHERE! If you work fast, you can pick up most of the spill with paper towels. You can also get it off once it hardens, but if you have a residue left, it is from the scented oils you put in the candle. The solution is Liquid Dawn Soap. It will take care of what is left over from the oils. I had to learn this the hard way, but now I know it is not the end of the world if it happens.
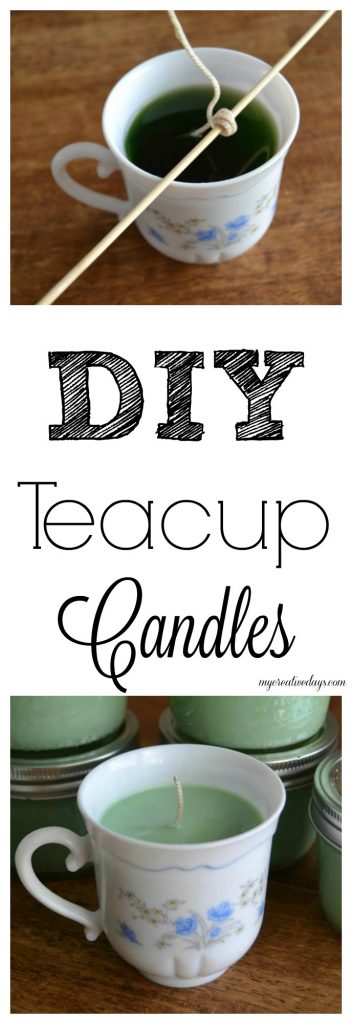
PIN THIS POST!
If you liked this DIY Teacup Candles post, you will like these other craft projects:
DIY Small Wreaths That Cost Under $2 To Make
Wood Vintage Toolbox Turned Craft Storage


They turned out really cute! Thanks for sharing the steps….I’ve always wanted to make candles. Maybe I’ll give it a try!
Thank you Debbie! It was so easy!!!
Hi Lindsay – my daughter made a lot of these for Christmas this year. What she did was put the cups with the wax chips directly into our crockpot. She put it on low, & the heat of the crockpot melted the wax….you may need to add more wax chips since it shrinks down……this way cuts out an extra step!
Great idea!! Thank you for sharing Denise!
What a great idea–I didn’t realize it was so easy to make candles. I really want to try these now! Thanks!
Pinning!
I know, right? I thought they were so hard, but they are not. I will be making more for sure! Thanks!
Very cute. I would be afraid of the cup breaking
They can handle higher heat. It worked well!