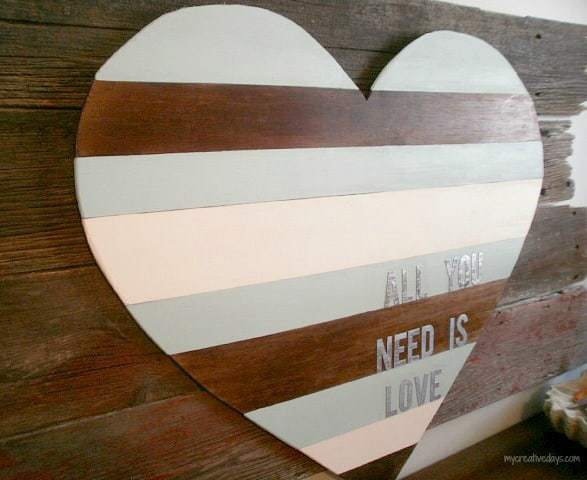
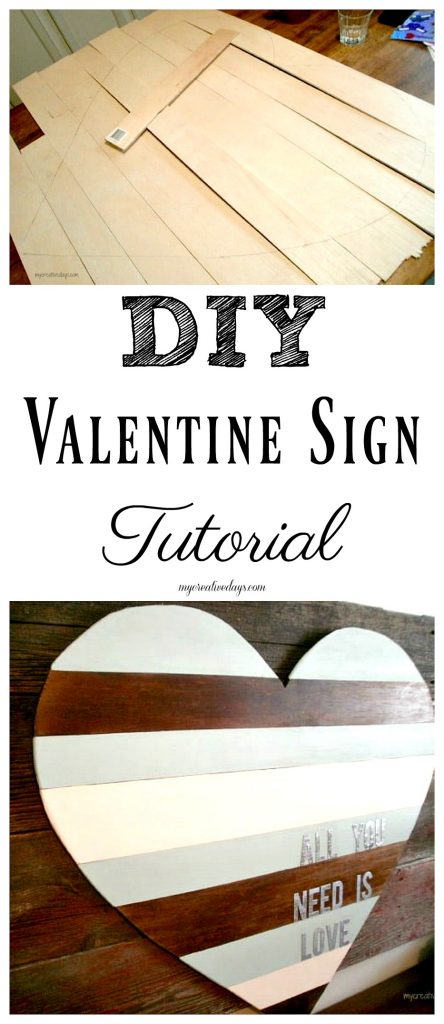
Today, I am sharing a DIY Valentine Sign. Valentine’s Day is right around the corner and this DIY sign has such a great message for this time of year.
*I am apologizing up front for the pictures in this post. They were taken before I had my new camera and before I knew how important light and editing were. 😉
There are so many sayings and words out there that really string a cord with me. I love simple words that come together to make a HUGE statement. One of the sayings that has caught my attention lately is: “All you need is love.” I think there is so much truth to this. So many times you find yourself focusing on what you don’t have or what you think you want more of, but if you have love, everything else is just icing on the cake.
So, I decided to make this saying prominent in our home with a DIY Valentine Sign.
{Affiliate links are used in this post. You can read my disclosure HERE.}
Supplies Needed To Make A DIY Valentine Sign:
Thin Wood
Stain (whatever colors you like)
Big Piece of Paper To Create The Heart Template
When I thought about the words, a big heart made from horizontal pieces of wood came to mind.
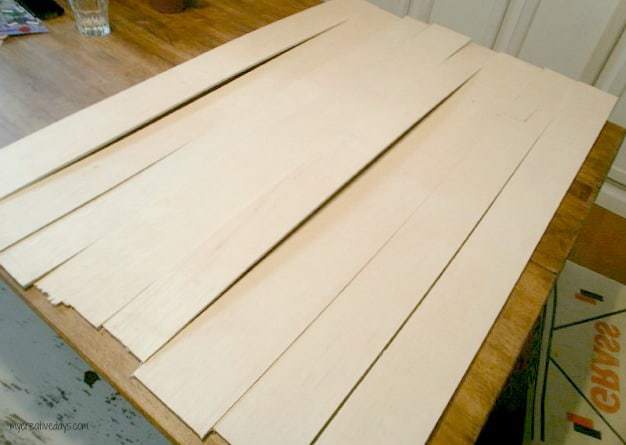
We had a thin piece of wood left over from another project that worked perfect.
I didn’t want the horizontal pieces to match in size. I thought a more “organic” look (something not so universal) would look better. So, Matt cut the wood at different widths – ranging from 2″ to 4.5″.
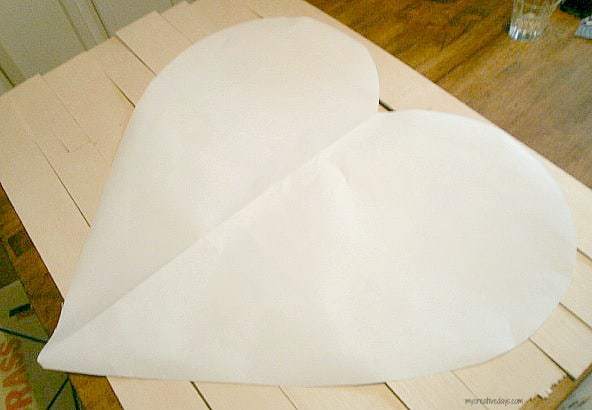
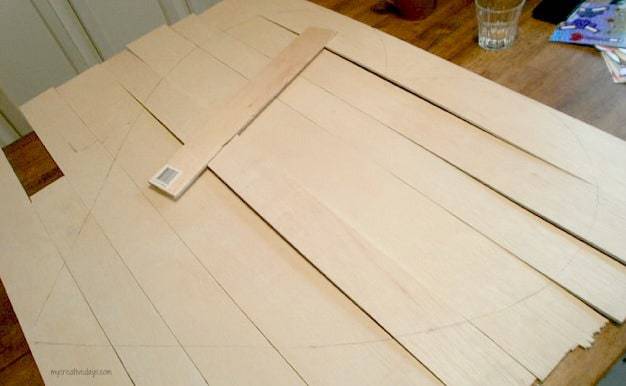
To make the heart shape, I cut a heart out of butcher paper and traced in on the cut wood pieces.
Then, Matt cut all the pieces using a jigsaw.
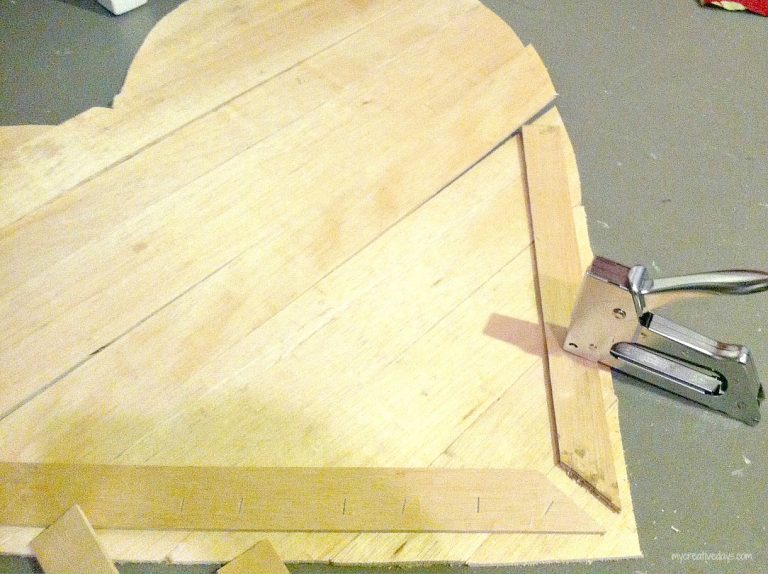
I put all the pieces together by stapling scraps of the same wood on the back of the heart. The stapler worked perfect because the wood was so thin.
After seeing the piece together and looking through the paints we had, I decided on a color scheme.
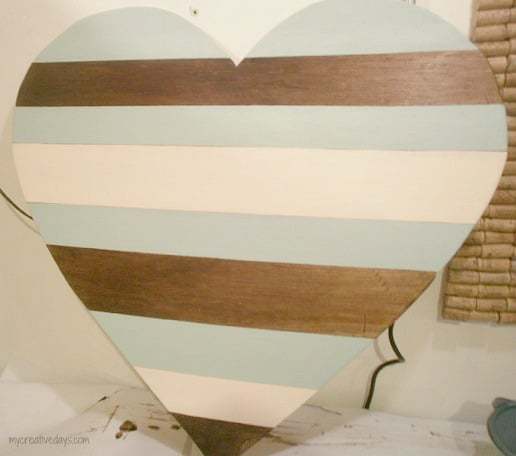
I stained some of the strips with Minwax “Mission Oak” stain. Then, I painted some strips with Valspar “Churchill Hotel Vanilla” paint. I painted the rest of the strips a color I had mixed for a previous project. It is similar to a robin’s egg blue.
I love the soft colors next to the dark stain.
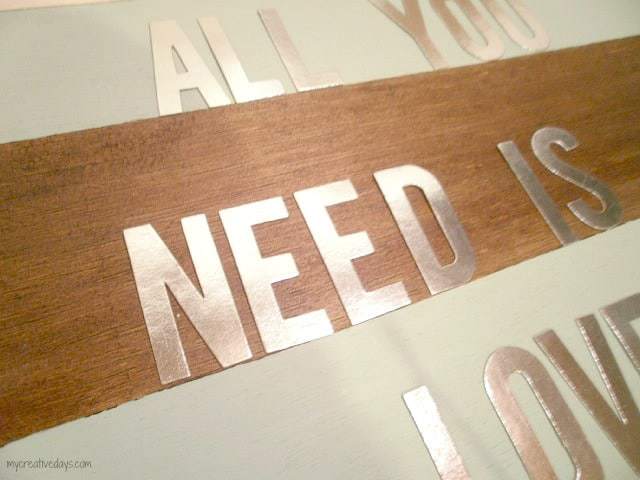
After the paint and stain dried, I used silver cardboard letters that I picked up in the $1 bin at Target. I thought these shiny letters would make my words “POP” on the sign.
To put the letters on the wood, I mixed some white glue with a little bit of water. I put the glue mixture on the back of the letters and placed them on the board. Once they had a chance to set, I painted over them with the same glue mixture. This is the technique I always use when I want to “Mod Podge” something.
After I applied a few coats of the glue mixture, I let it dry over night.
This sign is a great reminder of all the love we have in our lives.
Perfect around Valentine’s Day!
Don’t have time to make your own sign? I found some cute options online:
PIN THIS POST!
If you liked this DIY Valentine Sign Post, you will also love these Valentine’s Day ideas:
Homemade Valentines: Marshmallow Treat Gifts


Love this 🙂 The colors look so pretty together!
Thank you Erin!
Your on roll with all these Valentine heart craft projects. This one is my favorite!
Thank you!