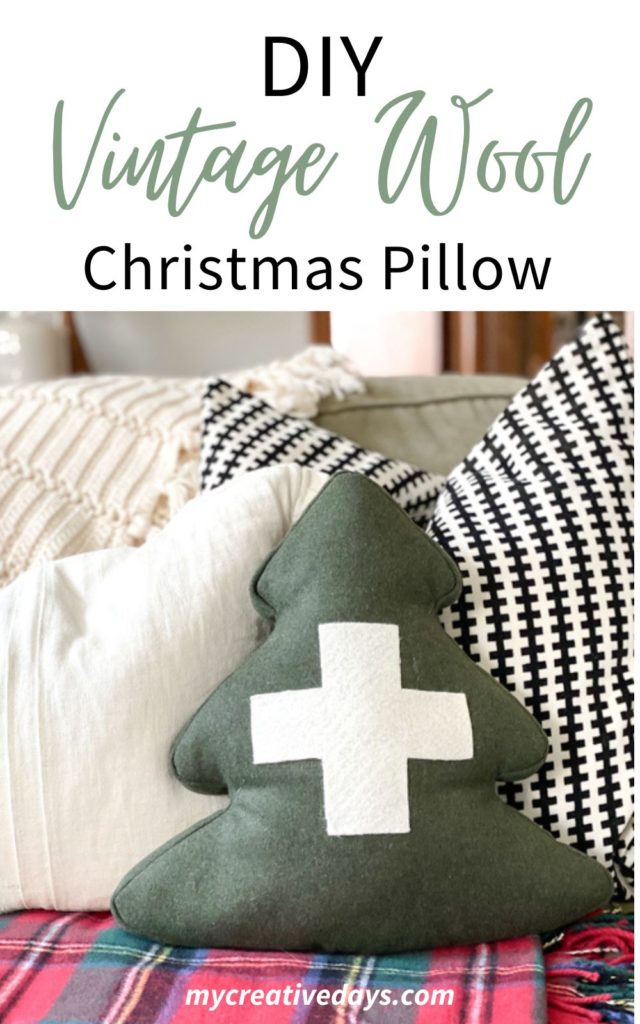
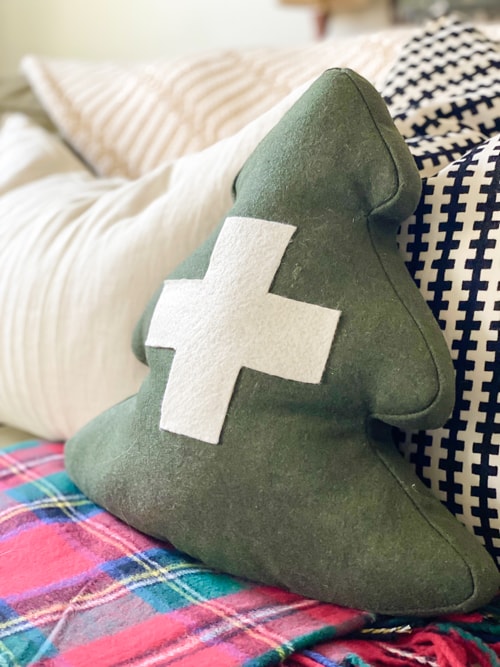
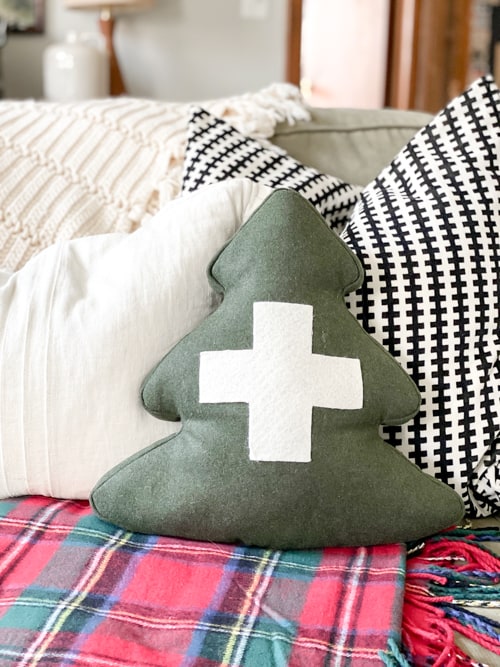
This DIY Vintage Wool Christmas Pillow is a fun way to get the look of a vintage wool blanket that was turned into a Christmas pillow. There is no sewing involved in the way that I created mine but you definitely could sew yours if you are able to sew. I know nothing about sewing so when I can find a way to create a “sewing” project without the sewing, I am all about it.
I have been seeing amazing Christmas pillows made out of old quilts and vintage, wool blankets. They are gorgeous!
Since I don’t know how to sew, I know I can’t make them from scratch like I have seen others do. I also know how hard it is to source the quilts and blankets and how expensive they can be when you do find them. So, this project was a great alternative for me. No hunting for the blankets, no sewing or stuffing a pillow, and no huge cost involved. This was the solution for me to get the look for a lot less and within my abilities.
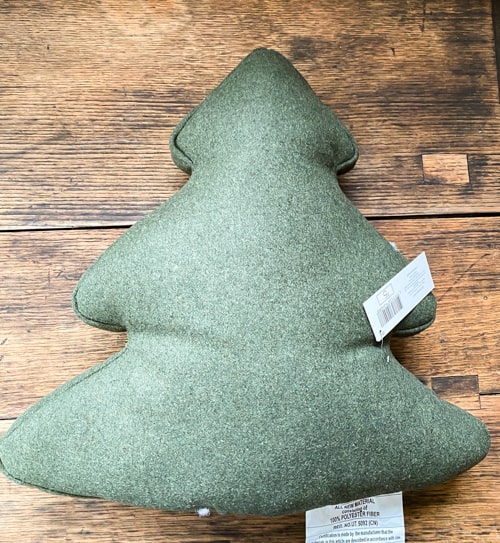
This project came about while I was browsing Target and came across green tree pillows in the Bullseye Playground area.
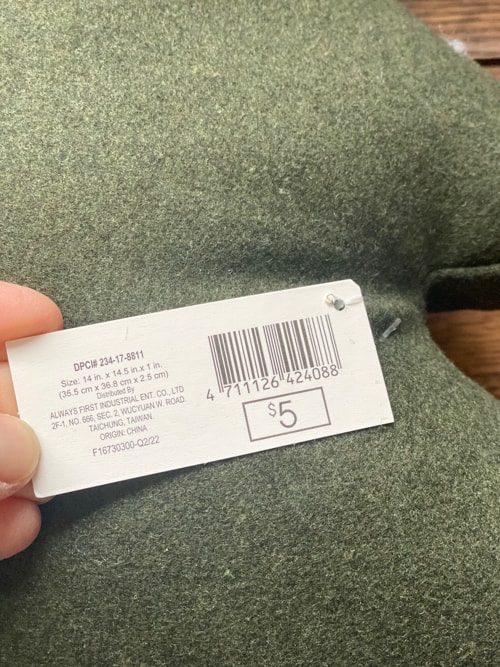
They look like they were made out of a vintage wool blanket, they are shaped like Christmas trees, and they only cost $5!
They were the perfect candidate to get the look of the tree pillows I was seeing for a lot less.
{Affiliate links are used in this post. You can read my disclosure HERE.}
Supplies Needed To Make The Tree Pillow
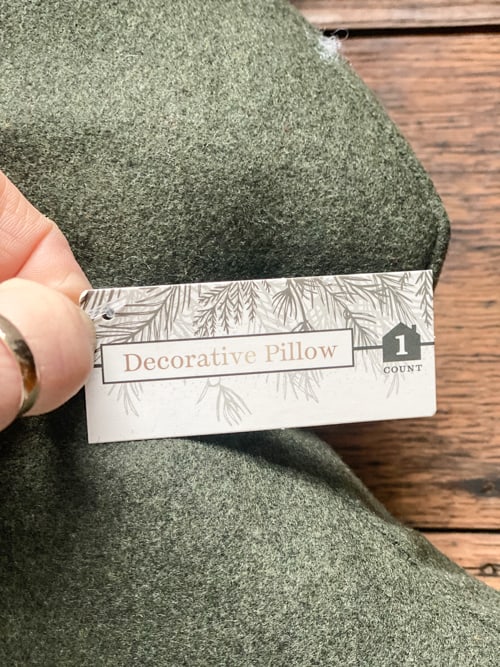
Tree Pillow (I found mine at Target in Bullseye Playground for $5)
Cream Colored Felt(one 9×12 sheet will give you enough to do two pillows)
Scissors
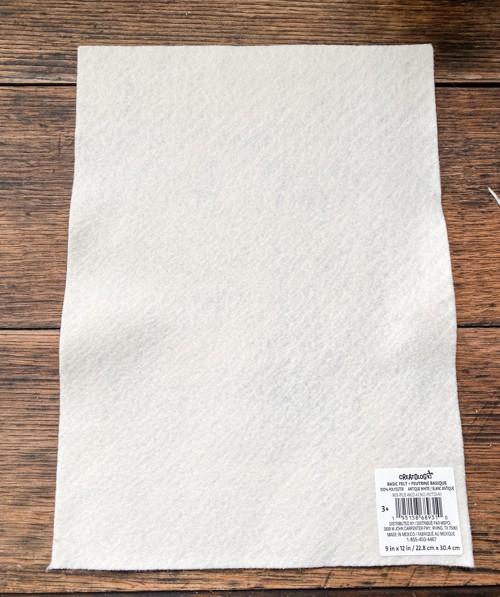
You could make these pillows into anything you wanted, but I was going for an old medic, army blanket look. Hence, the reason for the cross. I think it would be amazing to create some that look like striped Pendleton blankets too! I bought a couple of extra pillows to try that on.
Easy Steps To Create The Pillow
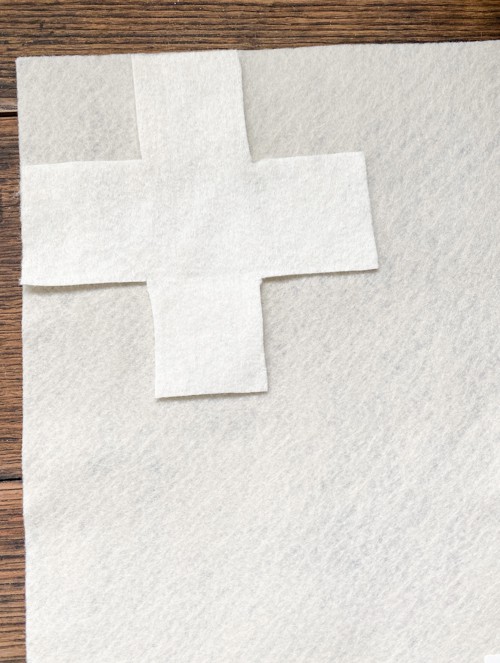
First, create a cross template to trace onto the felt sheet. You can be as precise as you want.
The photo above shows my very first cut-out just to see if I liked this idea and if it was going to work. On the final project, my cross was more straight. 🙂
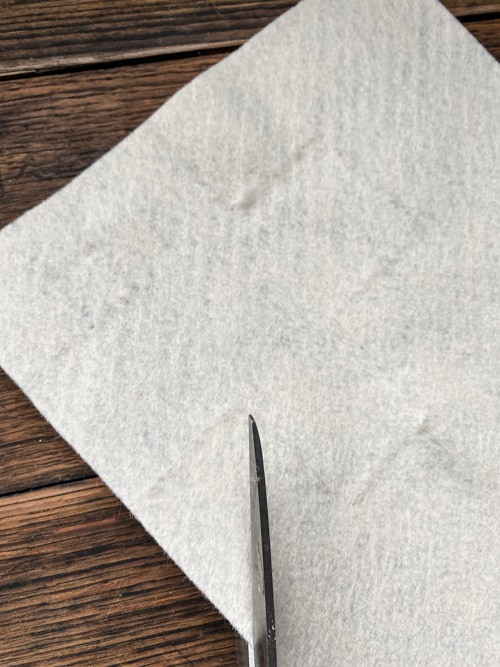
Once the cross is traced, cut it out.
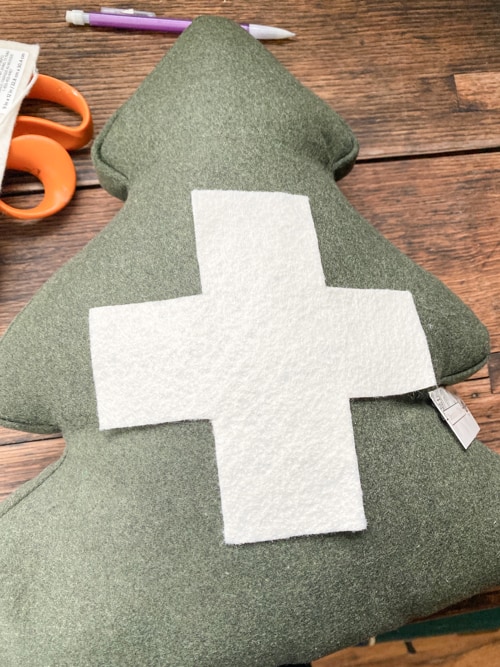
Then, place the cut-out cross on the center of the pillow.
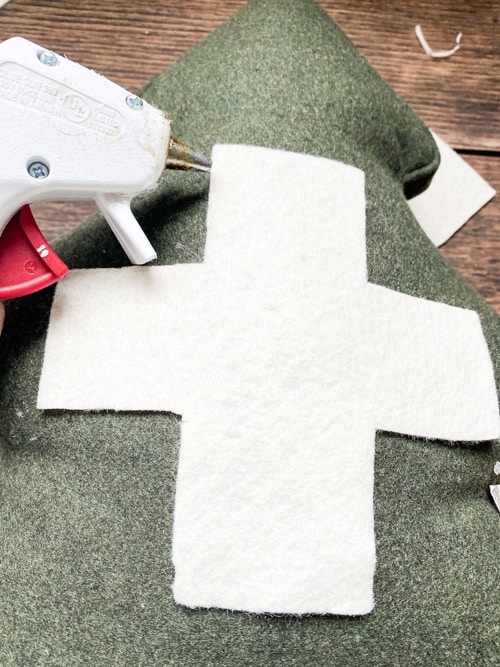
Then, use your hot glue gun to attach the cross to the pillow. Make sure not to glob the glue on too much. You want an even layer of glue around the edges of the cross. If you put it on too thick, you will see the glue through the felt. Make sure to use a lighter hand on the glue.
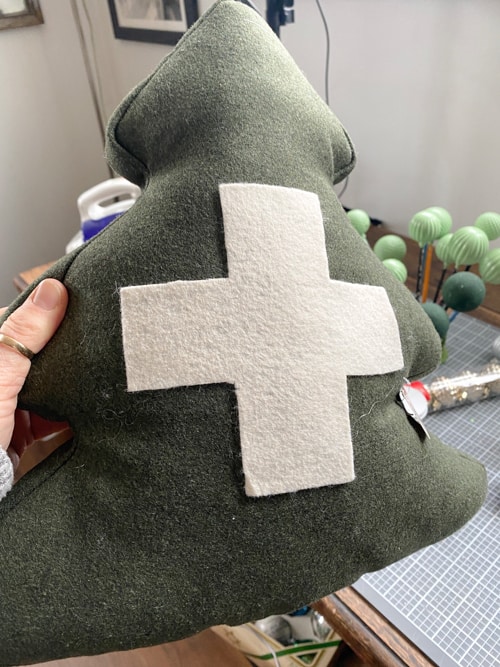
That’s it!! It is the easiest project and one that can be customized however you like.
I think cream-colored stars all over the pillow would be cute too!
I thought of so many ideas after I did this one. Make sure to follow along with me on Instagram (@mycreativedays) where I will share other pillows I create.
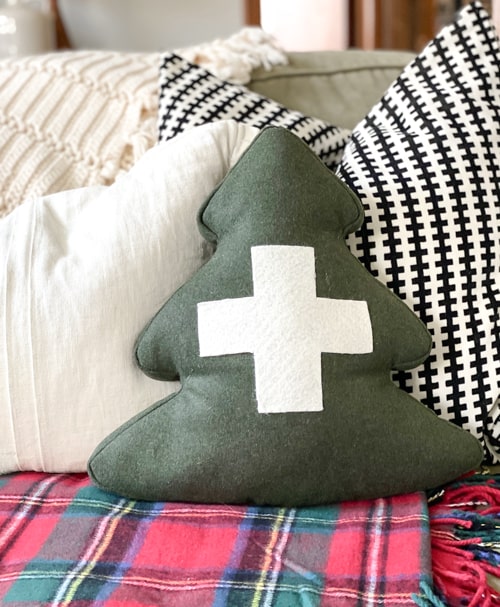
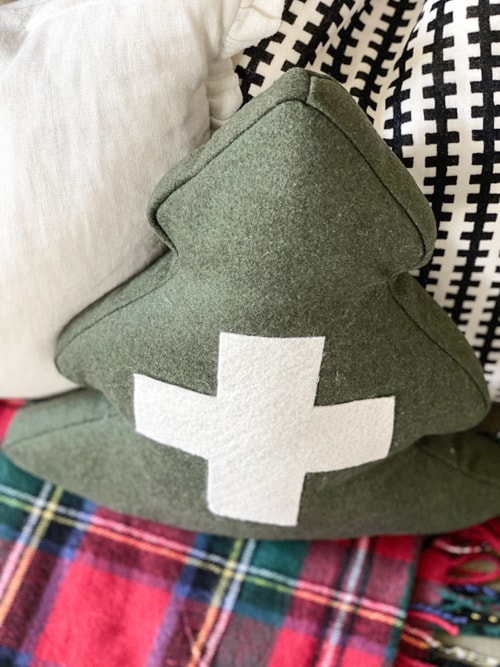
What do you think of this project? Is it something you would try?
If you do, please post a photo on IG and tag me @mycreativedays so I can see it!
PIN THIS POST!
If you liked this DIY Vintage Wool Christmas Pillow, you will also love these easy DIY projects:
DIY Wood Burned Christmas Tree Garland


