Looking for easy ways to decorate for Valentine’s Day? These DIY Wood Bead Valentine Wreaths turn dollar store items into 3 pretty wreaths.
I used to decorate for every holiday and season when our kids were younger. We would create little crafts and things for each season and holiday too. I miss those days so much. Now that the kids are older, I don’t do much for the smaller holidays. But, I do find myself wanting to create or getting inspired to make things for some of the smaller holidays. These wood bead wreaths are easy to make and I like that they are a more subtle decoration for the Valentine holiday.
{Affiliate links are used in this post. You can read my disclosure HERE.}
Supplies Used To Make These DIY Wood Bead Valentine Wreaths
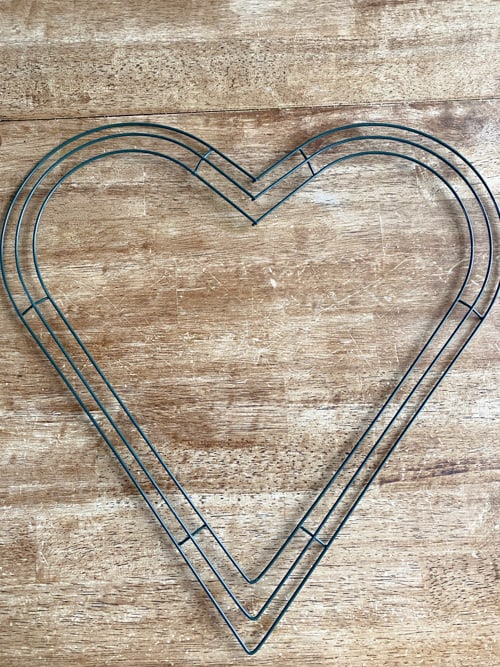
Wire Heart Form (I used this 3-in-1 form but could use three different single forms as well)
Strong Tape
Steps To Create These DIY Wood Bead Valentine Wreaths
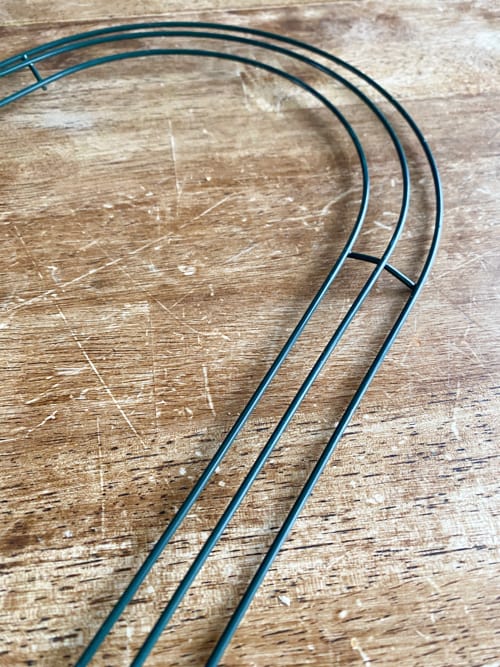
- The first thing I wanted to do was separate the three heart shapes from the one form.
- I did this with wire cutters.
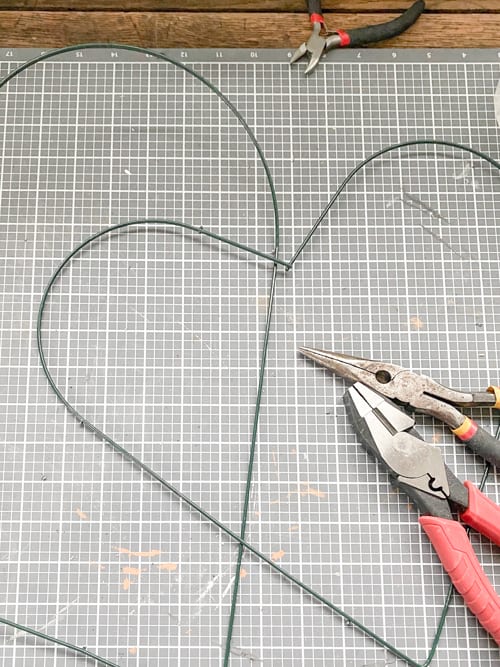
- Next, I had to pinch some of the remaining cross-wire pieces down so that the wood beads would fit on the heart wire form.
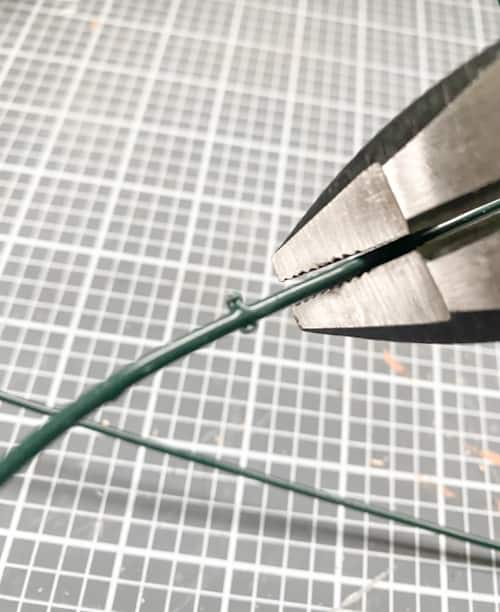
- Next, it was time to cut the heart forms so I could add the beads to the wire heart.
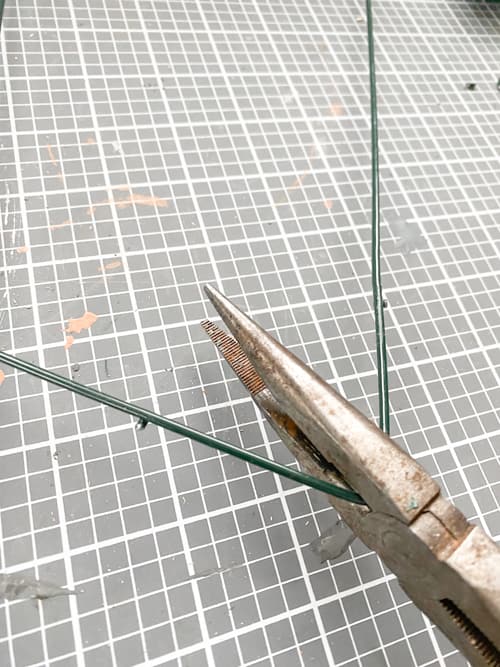
- After the wire was cut, I started adding the wood beads to the heart form.
Money-Saving Tip: Always look for wood beads at thrift stores and yard sales. I pick them up whenever I see them. Another good time to buy them is after Christmas. Some stores have wood bead garlands around the holidays. If you are shopping for holiday clearance be on the lookout for these garlands. You can remove all the beads from the garlands and use them for different projects like this one.
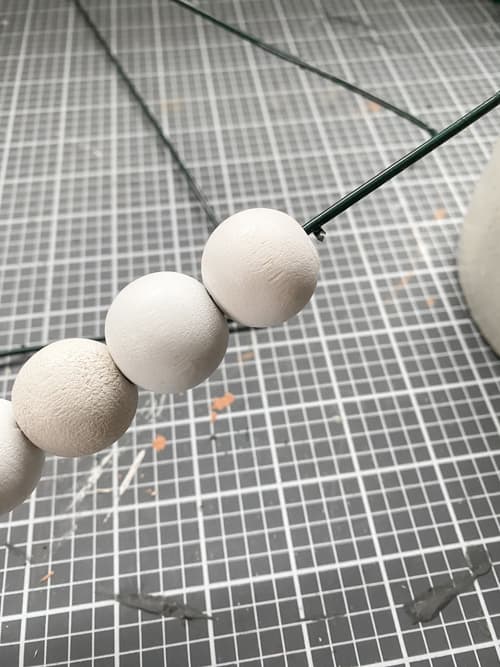
- Once I had all the beads around the form, it was time to put the form back together.
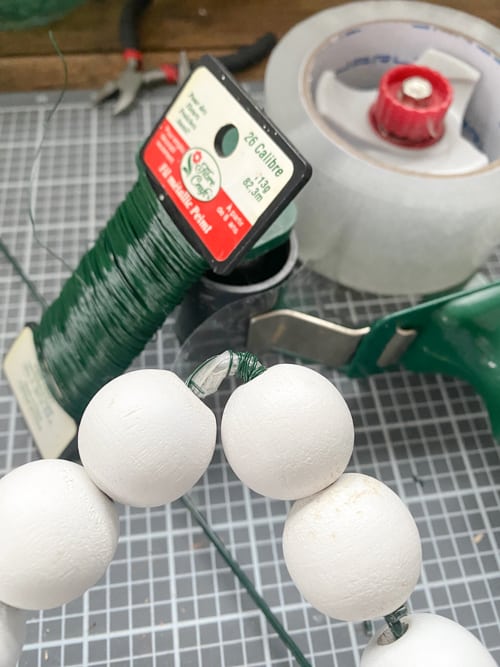
- To do this, I first put the wires back together where I cut them and use some strong tape to hold them in place together.
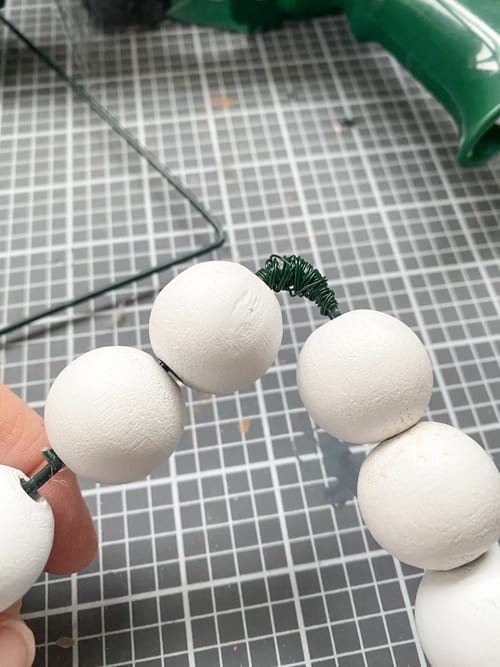
- Then, I use floral wire over the tape to really secure the pieces together. You can also use hot glue at this point as well if that will help them go together.
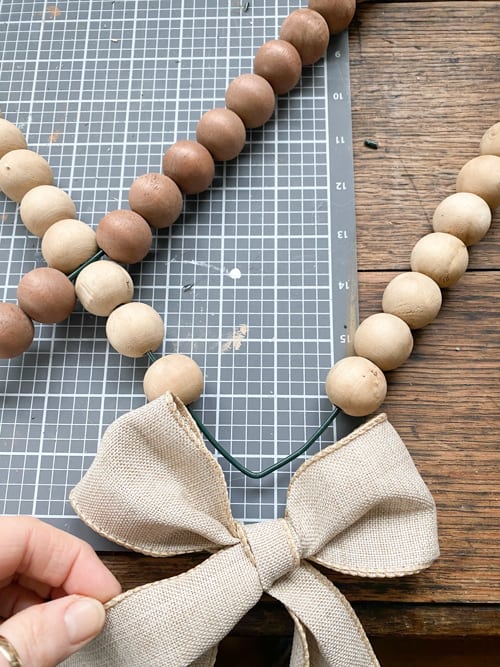
- Lastly, I made a bow with a wired ribbon.
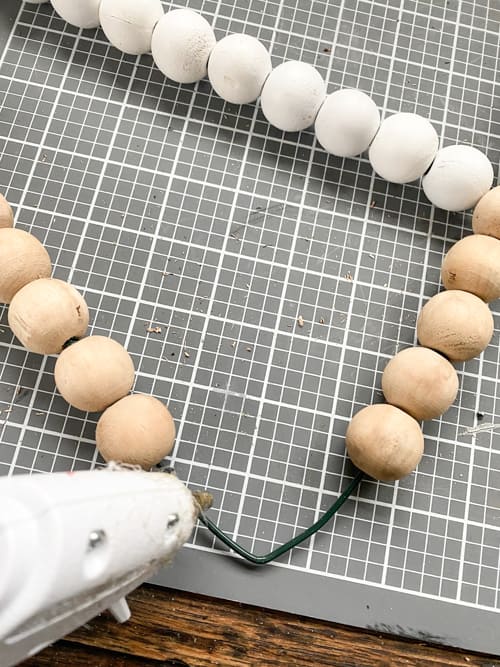
- The bow was attached to the base of each wreath with hot glue.
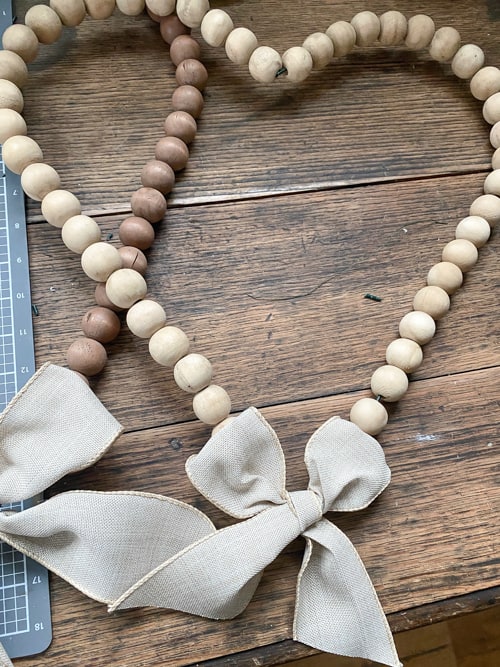
- I did cut the hearts in different places. After I did these three wreaths, I found that the bottom is the best place to cut them.
I did show this entire project as I was doing it in my YouTube video linked below.
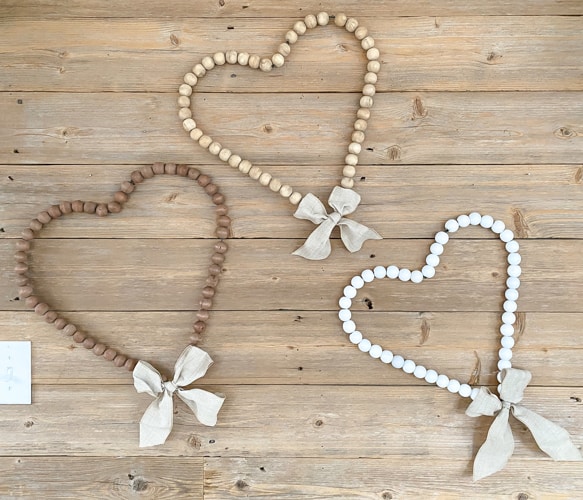
These wreaths turned out so cute!

It’s great that you can get three wreaths from one form.

You could definitely do this with three heart forms. This form gives you three different-sized heart forms which is nice.

You could always paint the wood beads as well. I had all of these colored beads on hand so that is what I used.
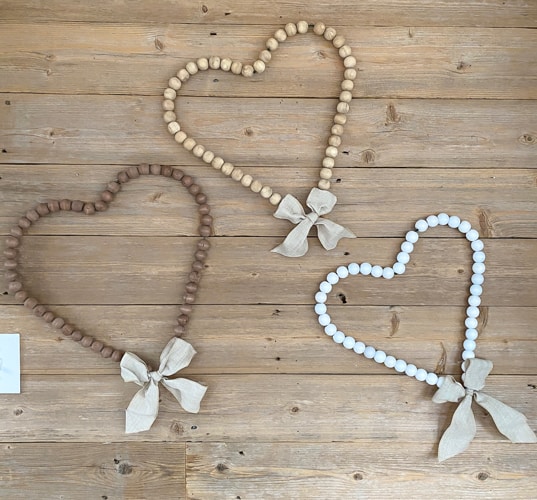
I hung them on the wood wall in our back porch, but I think they would look great on a front door as well.
Find my YouTube video putting these together (with some funny things that happen during the project) HERE. Make sure to SUBSCRIBE to my channel when you are there. I am creating new videos every week and I don’t want you to miss any of them!
Is this a project you would try? If you do, I would love to see it! Post a photo on Instagram and tag me @mycreativedays.
PIN THIS POST!

If you liked this project, you will also love these valentine’s ideas:
Easy Homemade Valentine For Teachers

