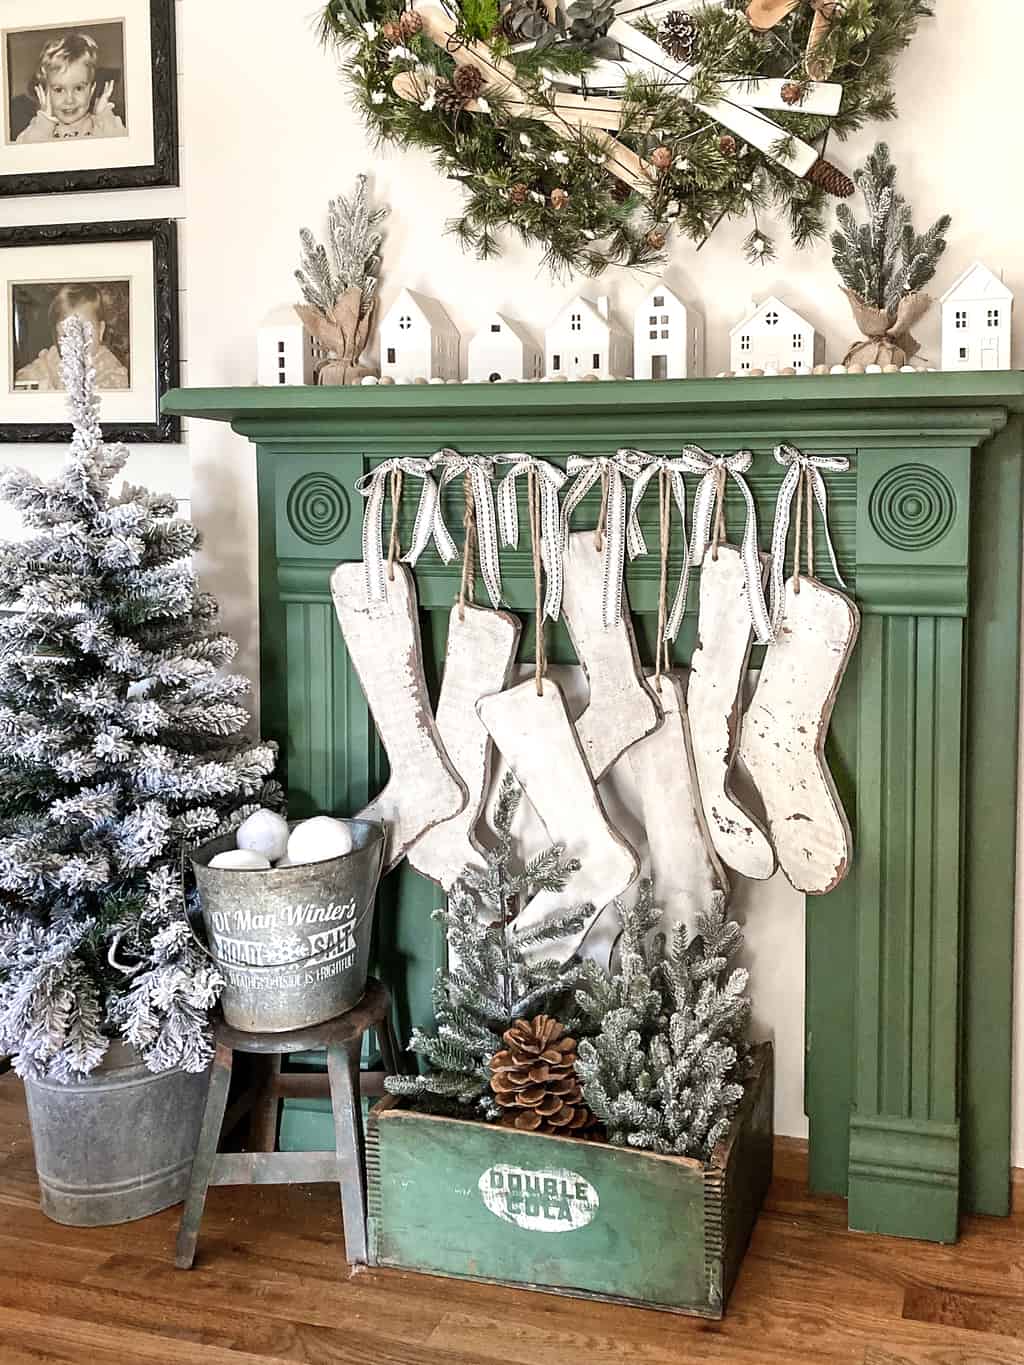
These DIY Wood Christmas Stockings are so fun and easy to make!
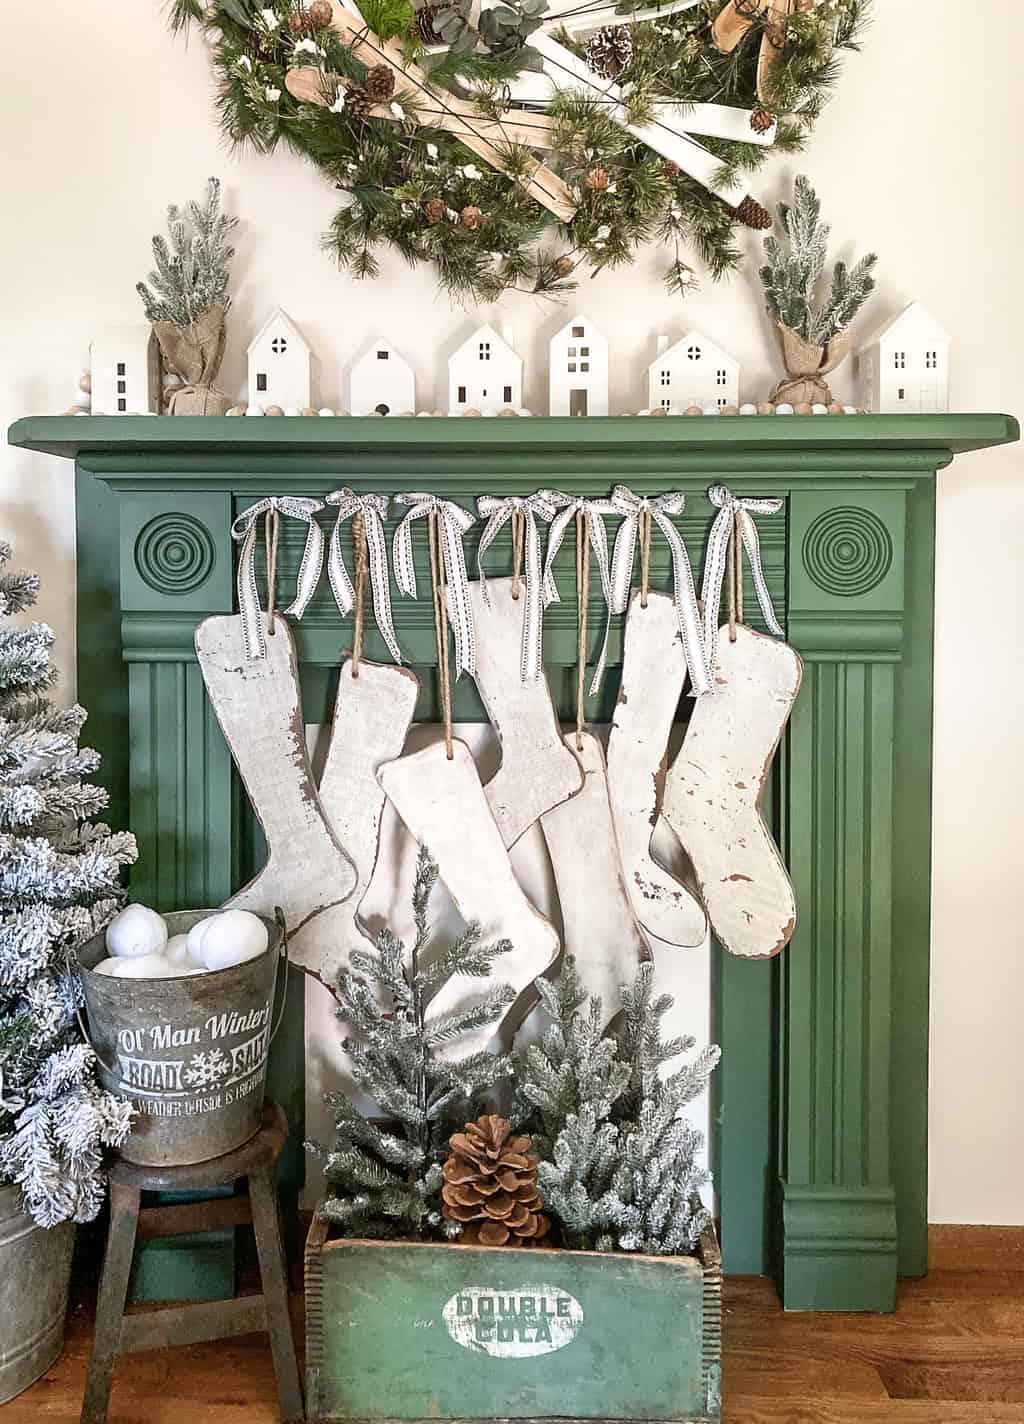
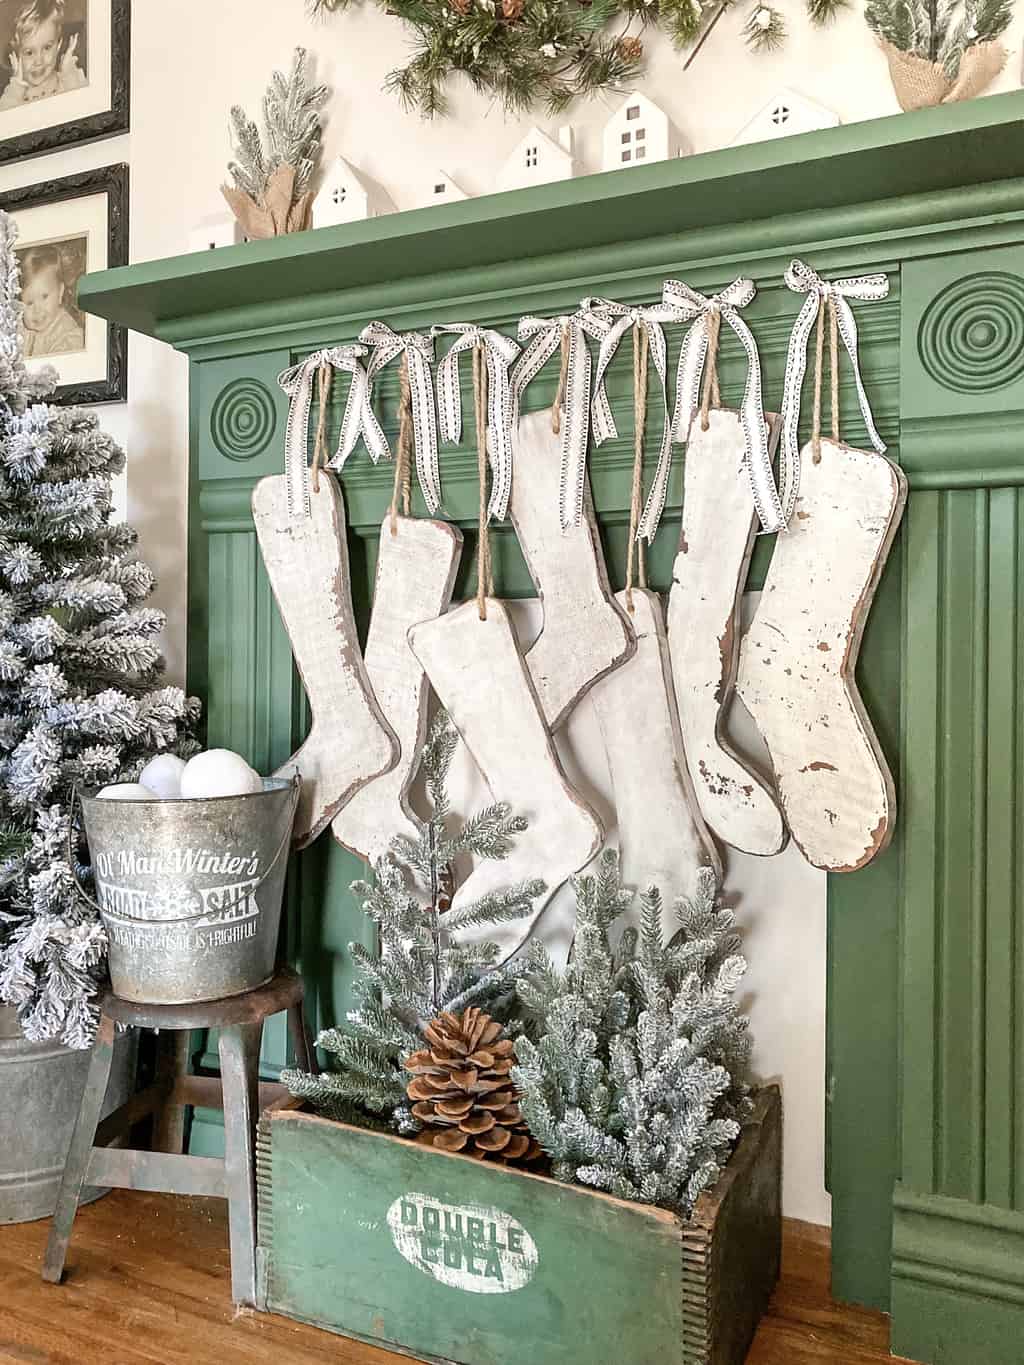
When I started decorating for Christmas this year, I really wanted to remove most of the decor we normally have and rearrange some things and start with a fresh, blank slate. After I got the hutch decorated, I started thinking about decorating the $2.99 mantel in the living room. Right away, I thought about the movie The Christmas Carol. I started thinking about the time period, the clothing, the setting, etc. I also thought about how the white clothing looked dingy and that made me think of old socks that people would hang from the fireplace to dry them. Those socks were never white – they always looked dirty and grungy and that is what I wanted to recreate for our little green mantel.
I know that is a crazy story, but that is how my mind works sometimes. I never know how or when a project idea will show up, but I was so excited about this one and wanted to see it come to fruition ASAP!
{Affiliate links are used in this post. Click on any of the underlined links to find the products I am talking about. You can read my disclosure HERE.}
Supplies Used To Make DIY Wood Christmas Stockings
Scrap Wood/New Wood
Restor-A-Finish – “Dark Walnut”
Old Rag
Paper Towels
How We Made The DIY Wood Christmas Stockings
- Once I figured out what I wanted, Matt and I searched our garage to see what wood we had on hand. Once I found boards that I liked, we started free drawing socks on the boards. We were able to get two socks per board.
- Matt used his jigsaw to cut the socks from the board.
- Matt used the orbital sander to sand all the edges and each side of the socks.
- I painted both sides and the edge of each sock white.
- When the paint dried, I used the orbital sander to distress the paint.
- Once they were all distressed, I wiped them all down with a damp cloth to remove any sanding dust.
- At this point, the socks weren’t grungy enough for what I had envisioned. I needed to dirty them up.
- First, I rubbed black wax all over each stocking. I applied it with an old paint brush and then rubbed it on with an old rag. I used a clean side of the rag to wipe off any excess.
- After the black wax was applied, I still wasn’t happy with the way it looked. I needed to get some brown hue on them somehow. I needed them to look like that had been through a lot and the black wax alone wasn’t giving me that look. So, I used a paper towel and rubbed Restor-A-Finish on each stocking. The change was subtle, but it was what the stockings needed. They were dirty and old-looking. Exactly what I wanted them to be!
-
I let the stockings sit overnight to make sure the wax and the Restor-A-Finish had ample time to dry and set in.
- The next day, Matt drilled one hole in the top of each stocking.
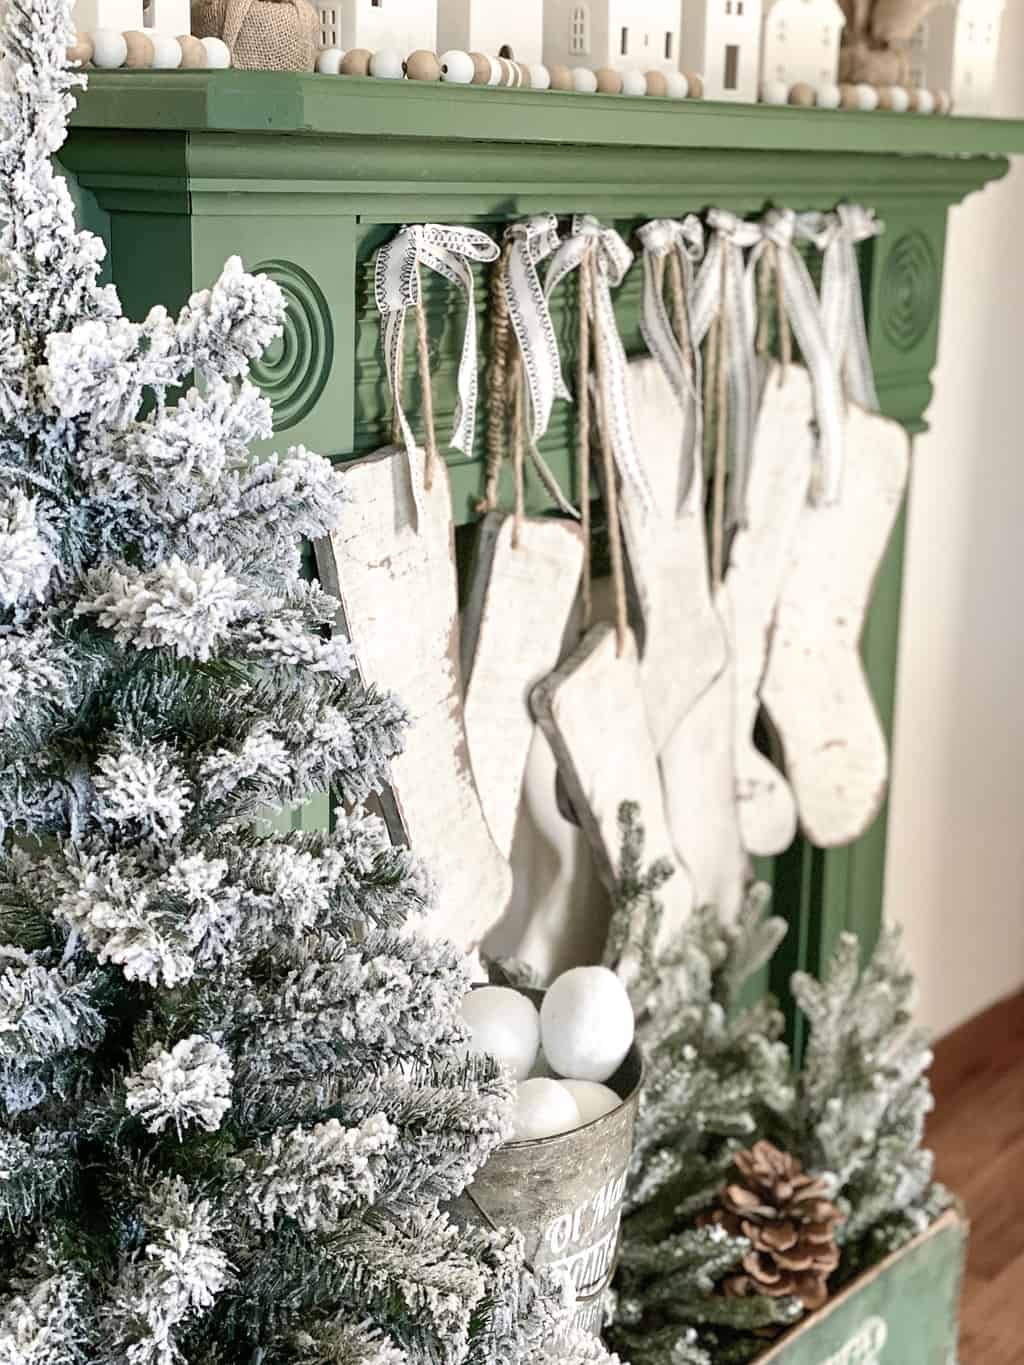
- I tied thick twine, cut to different lengths, to each stocking. This was how I hung the stockings on the mantel.
- I used cup hooks for the twine to hang from. I screwed the hooks to the underside of a piece of trim on the mantel.
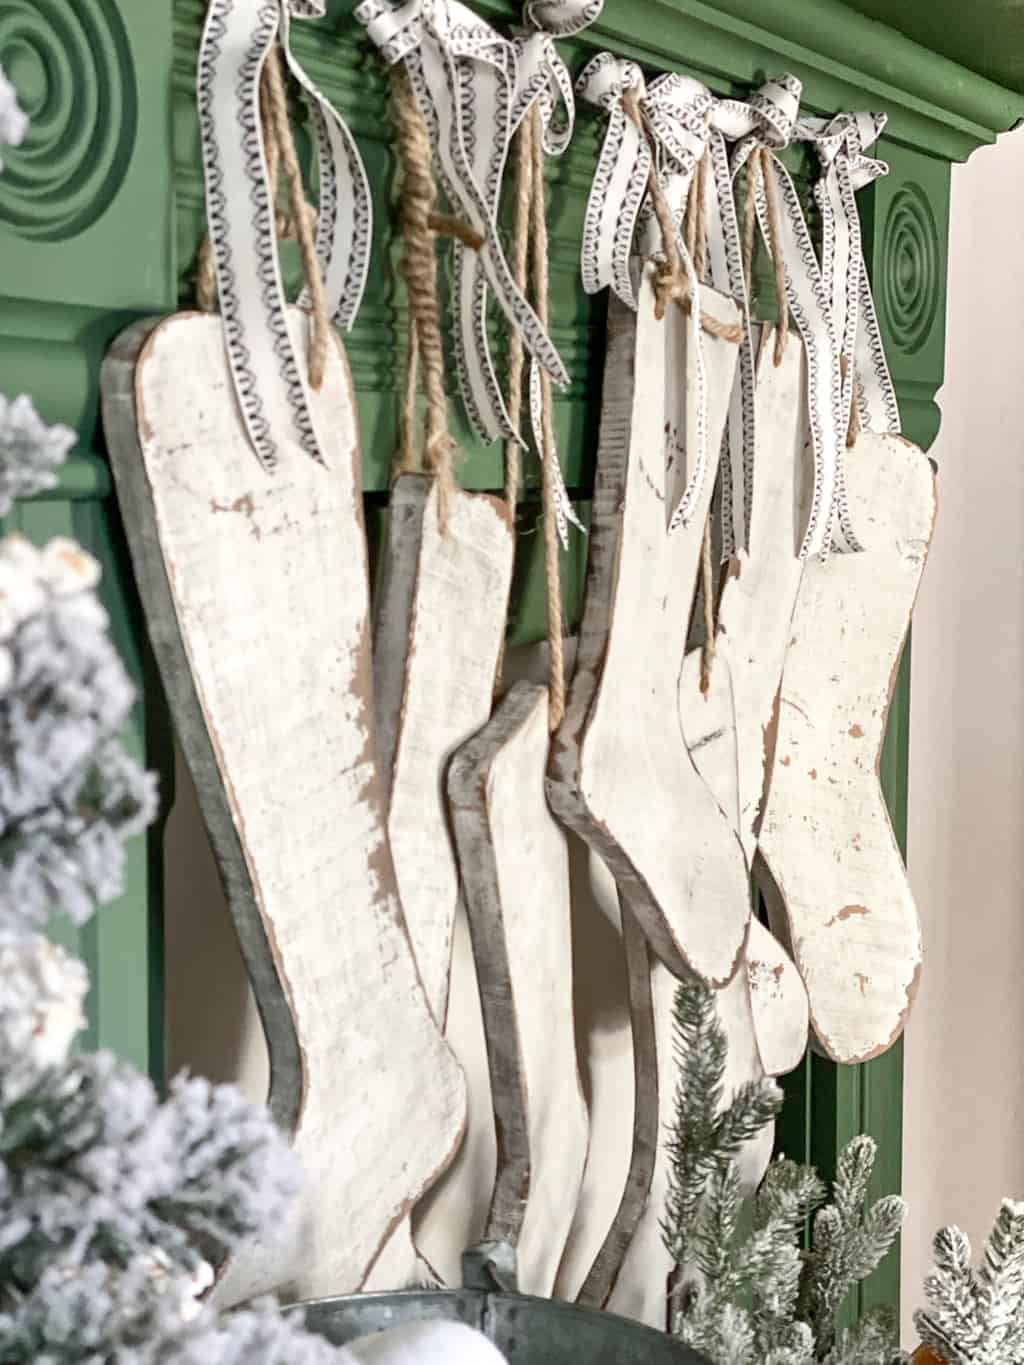
- Once I got the stockings hung, I felt like something was missing. I made simple bows from ribbon I had and put them on each cup hook. That made it look complete.
- Viola! The living room mantel decorating was off to a good start!
Here is a video showing you how I got the patina on the stockings:
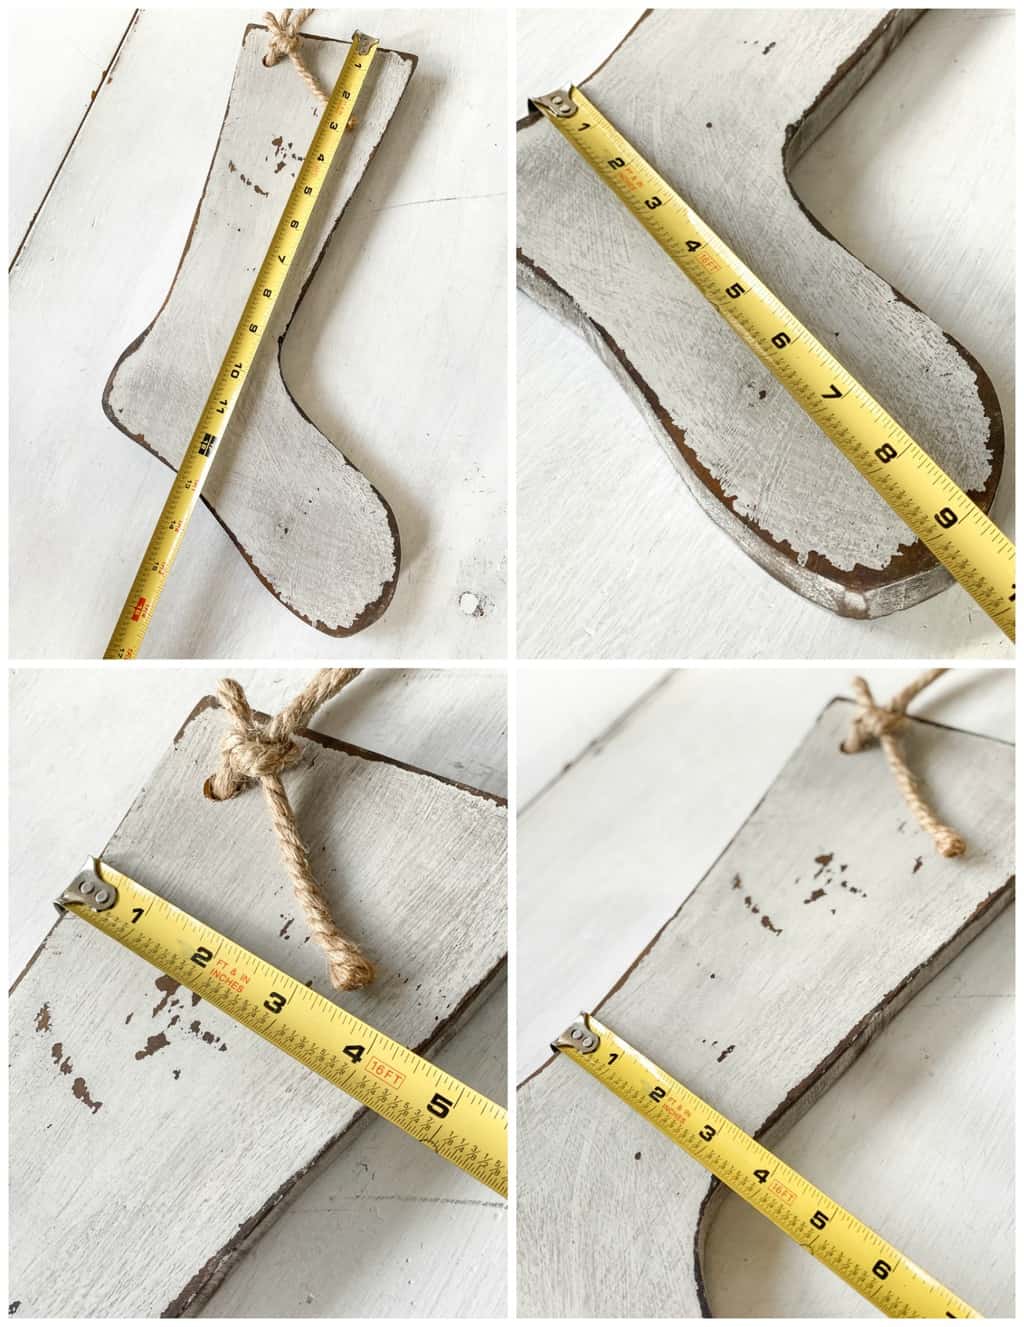
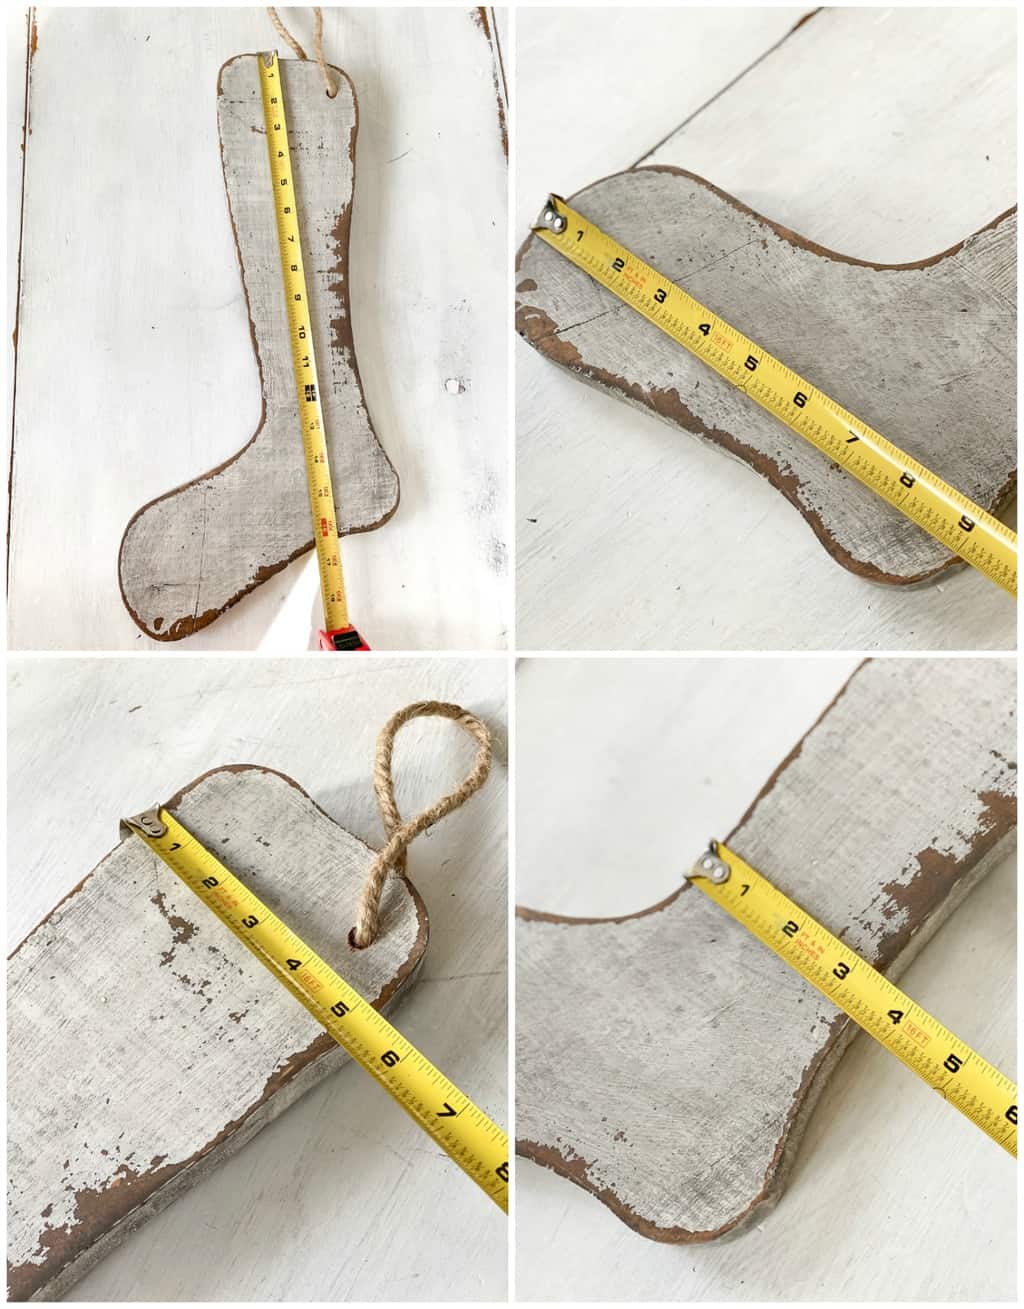
We did not use a template to make the wood Christmas stockings. I drew them free-hand on the wood boards. I thought the best way for you to see the size of the stockings we made was to show you the measurements of each angle. We made three different sized stockings and made two of each size so there were six stockings total.
Stocking #1 Measurements:
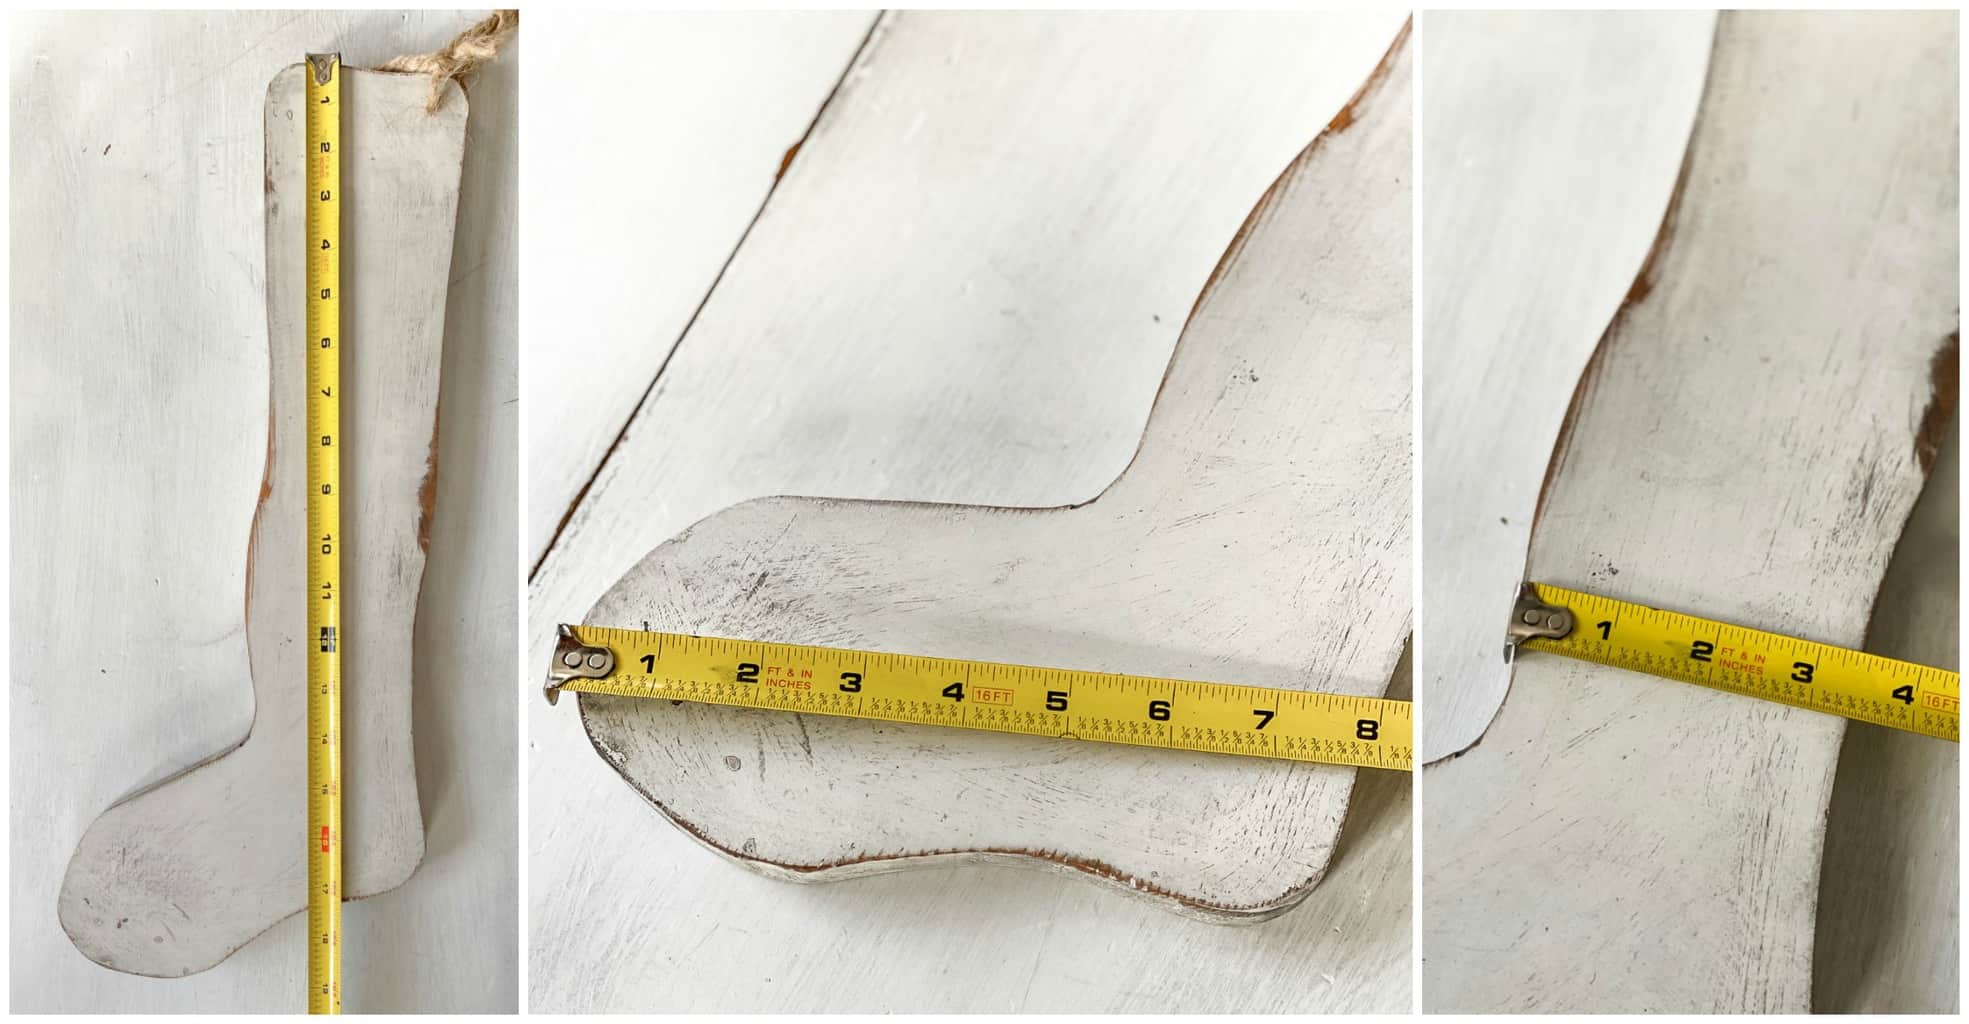
Measurements of Stocking #2:
Measurements of Stocking #3:
You can make the wood stockings any size and shape you want. There is no wrong way to do them. I would suggest measuring the place you want to hang them to give you an idea of what size you can and can’t go with.
Our stockings were cut from 1″ thick boards, but you could make these from thin plywood or thicker wood if you wanted. It all depends how you want them to look.
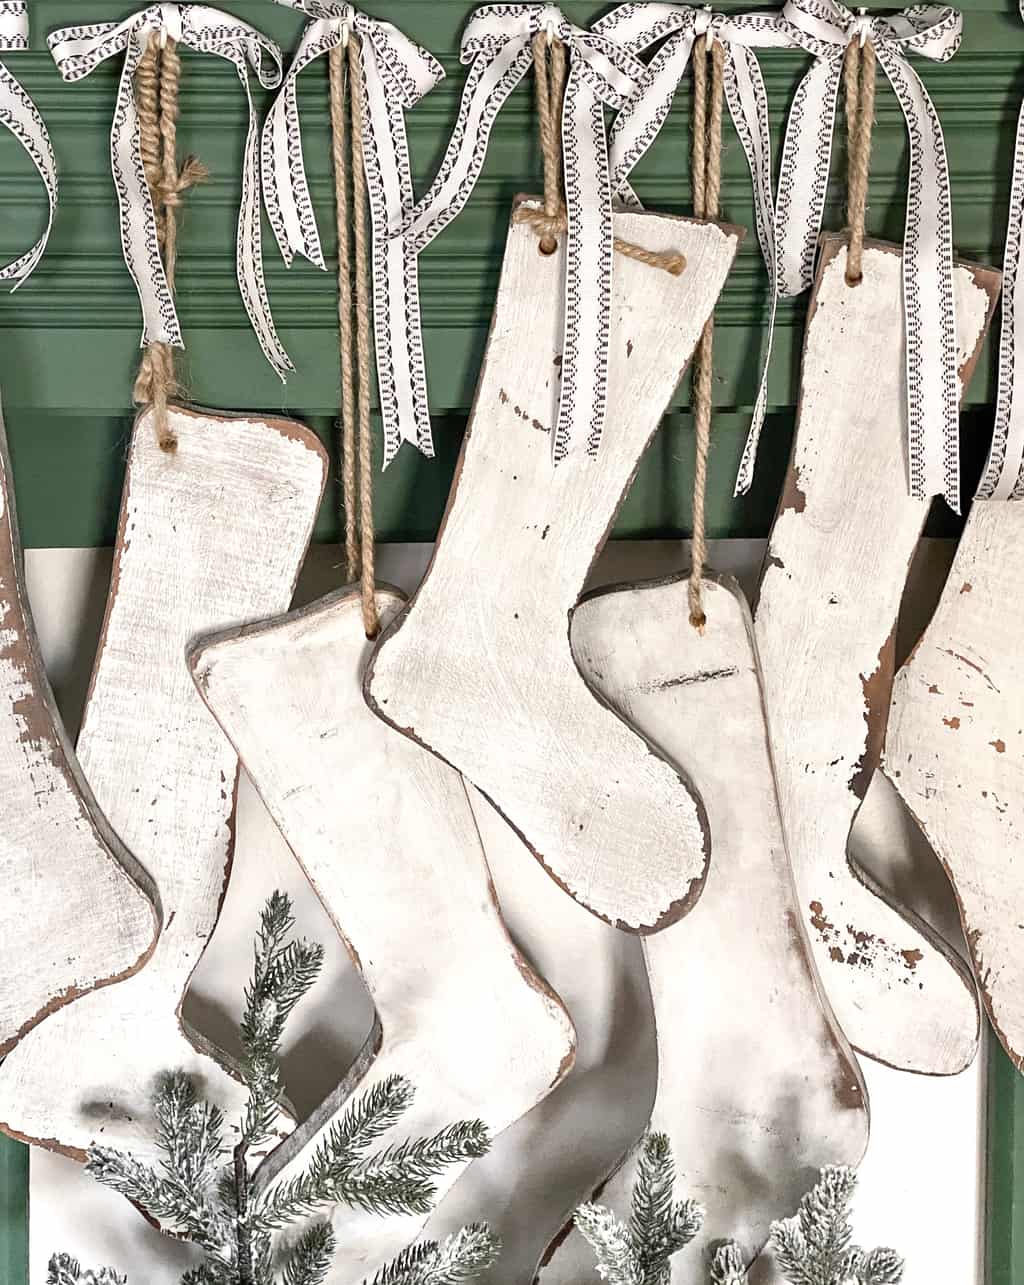
I could not be more happy with the way they turned out. They are the grimiest, dirtiest socks anyone could ask for. 😊
How many stockings are hung in your home each year?
PIN THIS POST!

If you liked these DIY wood Christmas stockings, you will also love these Christmas projects:
Upcycled Ribbon Spool Christmas Trees
DIY Wood Burned Christmas Tree Garland
Christmas Gnome Garland Made From Thrift Store Finds


I L O V E T H I S!!!!!! This has to be an all time favorite. I am so excited to go make these! The material list, the measurements – all make this so doable! Thank you so much.
Your welcome!
Love all these ideas of yours, thank you.
Thank you!