I want to thank Ryobi for partnering with me on this DIY Wood Slabs For Home Decor post. All opinions are my own.
I don’t know about you, but I love wood slabs. They are full of texture, color and character and really look amazing wherever you use them.
Wood slabs are in every store and are made for all kinds of different things; from centerpieces to chargers and stands to wall art.
The projects from this post are all about the wood slabs we created after a storm came through our neighborhood.
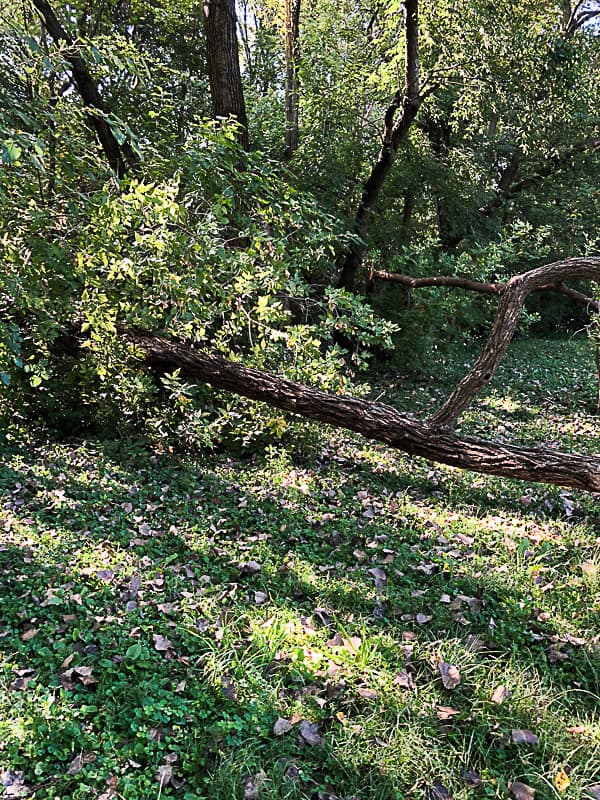
We have a creek at the end of our street and recently, we had a pretty big tree fall down there after a storm. I immediately started thinking of ways we could use the fallen tree. We wanted to cut up most of it for our fire pit, but I envisioned some other, cute projects that could come out of the fallen tree as well.
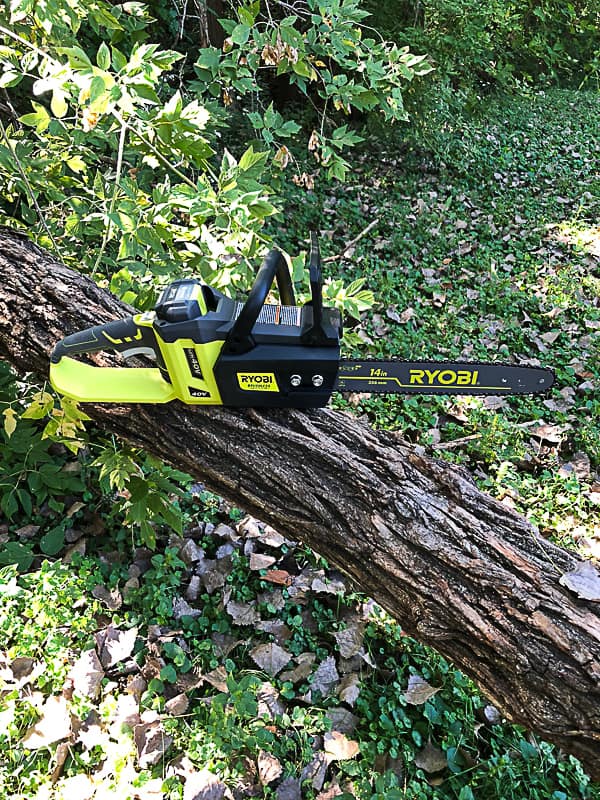
Thank goodness we had the Ryobi Battery-Powered Chain Saw ! Having a battery-powered chain saw is perfect for us because we never have to worry about gas or oil and we cut a lot of branches around the creek for firewood and there isn’t any electricity down there for an electric chain saw. The battery-powered chain saw is exactly what we need. (Before I go any further, I wanted to say that our family owns the land around the creek on our street and we have full permission to clean it up when we want to.)
{Affiliate links are used in this post. You can read my disclosure HERE.}
Supplies Used To Make The Wood Slab Tiered Stand:
Ryobi Battery-Powered Chain Saw
Regular Screws
Log/Twigs
Supplies Used To Make The Wood Slab Pumpkins:
Hot Glue
Log/Twigs
Ribbon
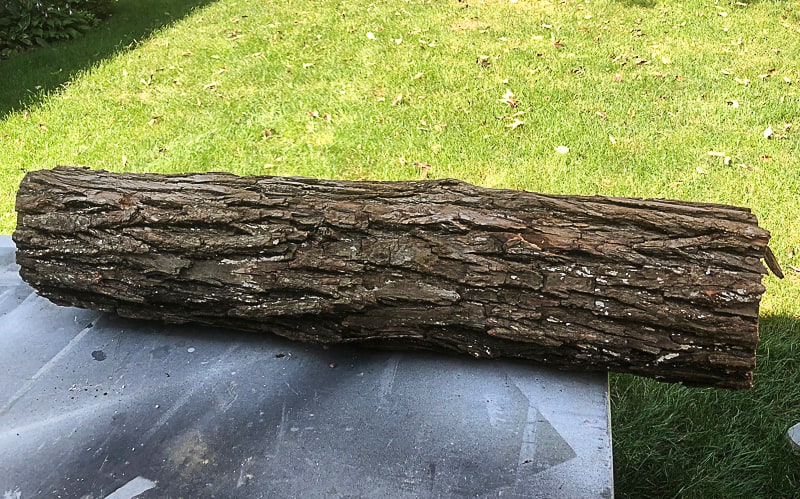
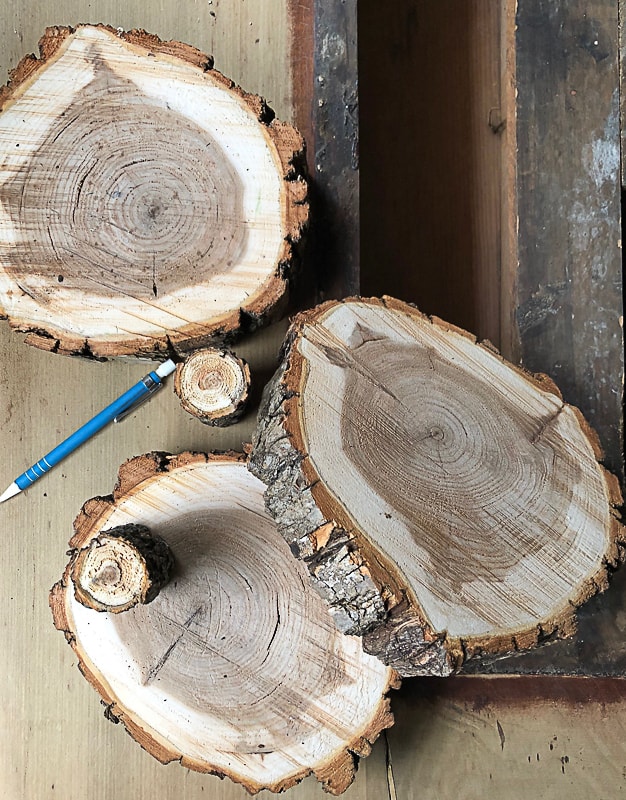
We were able to cut up a lot of logs to use in our fire pit, but we also came up with some fun projects with a few of the wood slabs Matt cut from one of the logs.
You can see how he did this in the video below:
Once we had a few wood slabs cut from the log, we set them out in the hot sun for a few days to dry out.
When they were dry, I used the orbital sander to sand them smooth.
Now, it was time for the fun part. Since it is fall, I wanted to make some fall pumpkins with some of the slabs, but I also wanted to make a tiered stand with three of them. I am going to share the steps to make the tiered stand first.
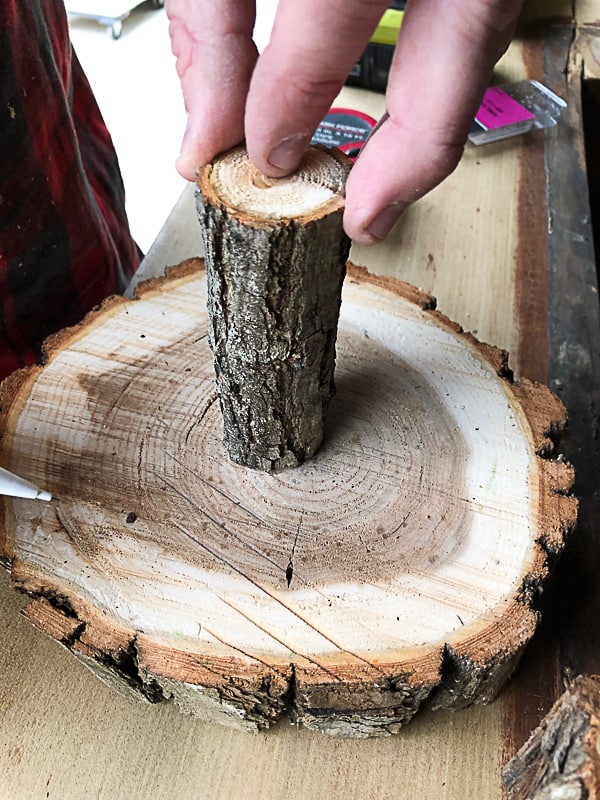
The first thing Matt did was cut some smaller branches to act as “bases” between the tiers.
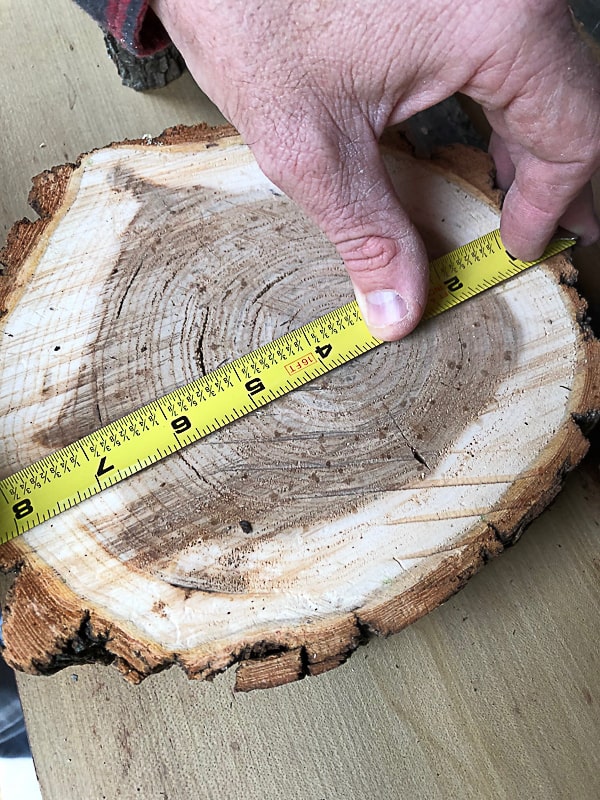
Then, he measured the center of the wood slabs.
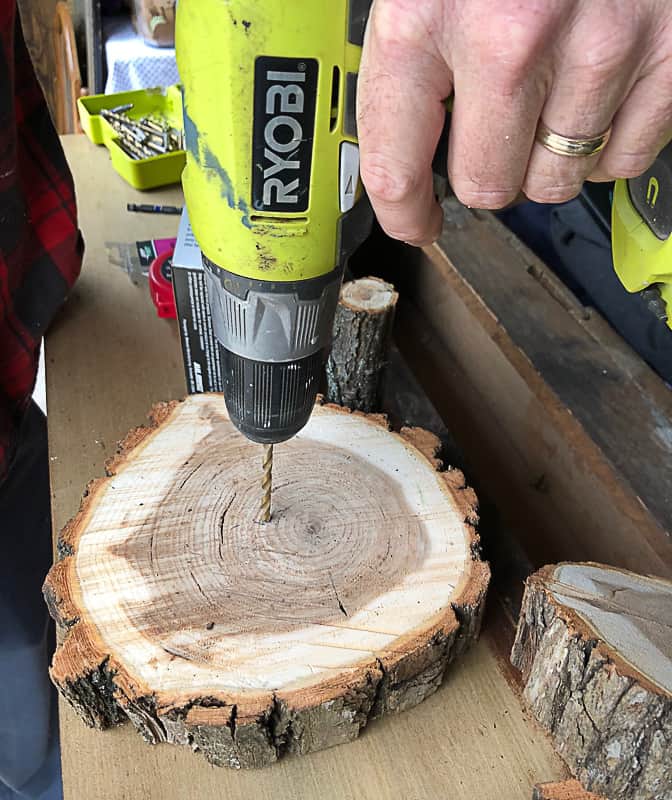
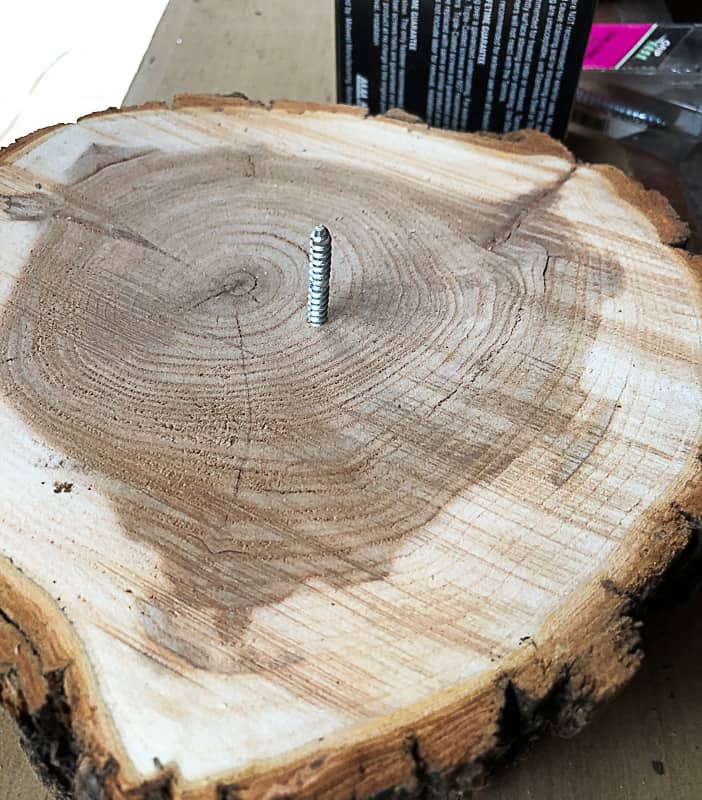
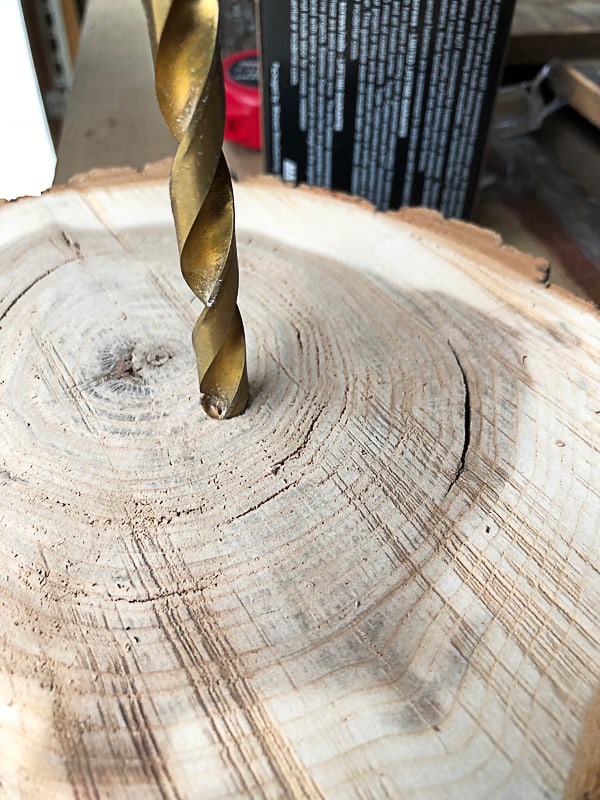
He drilled a hole in the center that was a little smaller than the width of the dowel screws he was using to secure the base to the slab.
He screwed a dowel screw into the hold he drilled.
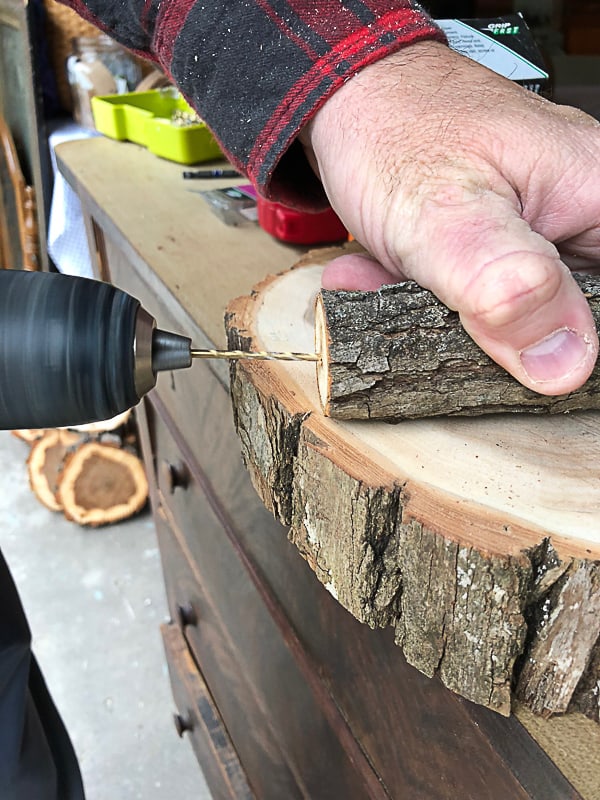
Then, he drilled the same size hole into the branch he cut to go between the slabs.
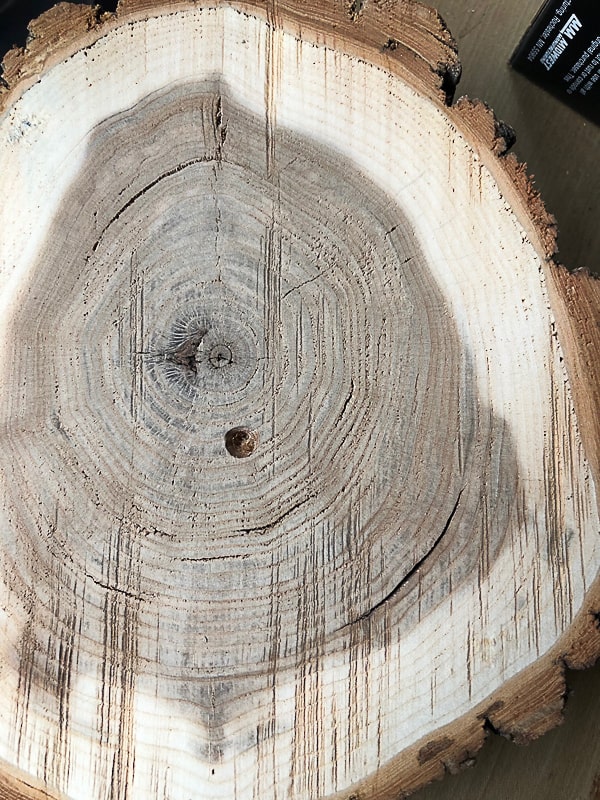
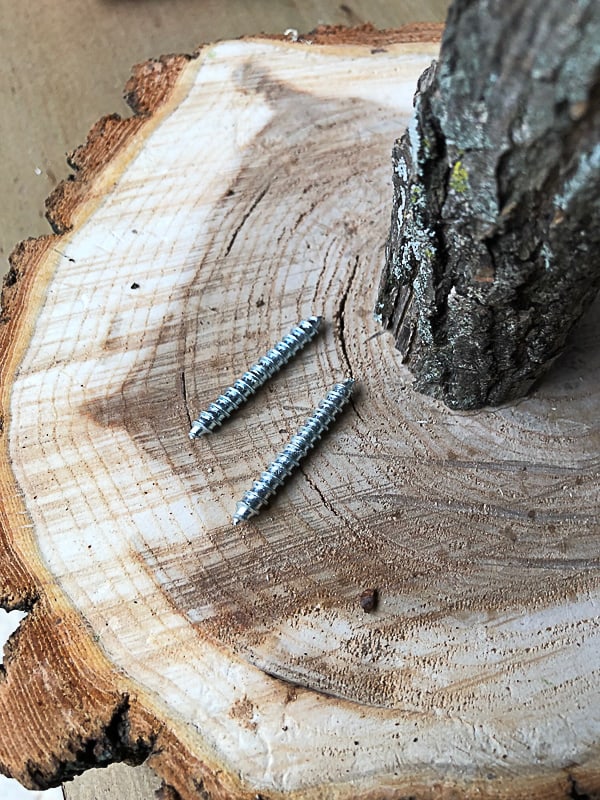
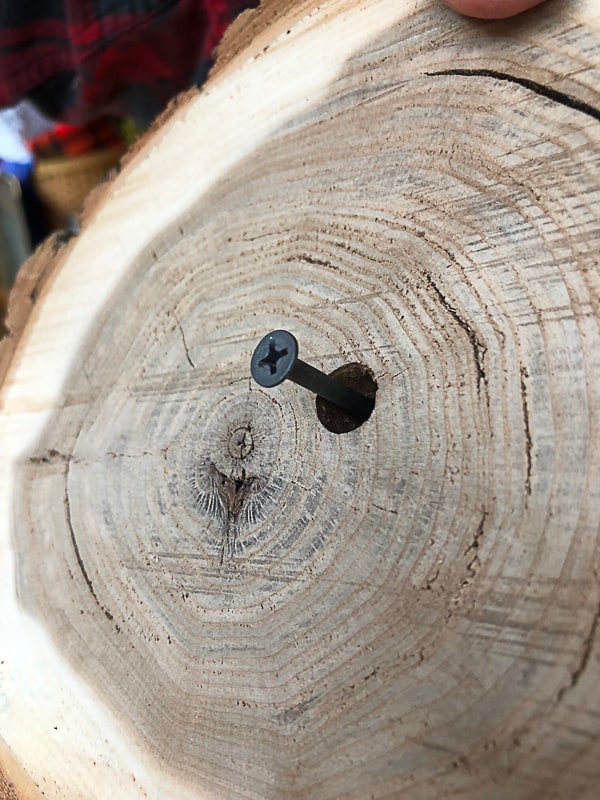
We only had two dowel screws for this project so to connect the top and the bottom of the stand to the bases, Matt got creative and used regular screws. He had to get the screws all the way into the wood slabs so they didn’t stick out. To do this, he first drilled the hole like he did for the dowel screws. But then, he used a bigger bit and drilled down a tiny bit. He just needed to make room for the screw head to fit into the wood and not have it sticking out.
If it was sticking out at all, the stand wouldn’t stand up straight. Then, anything you put on the top would be crooked on the screw.
You can see from the photo below that once the screw gets drilled all the way in. The head will fit inside that crevice Matt drilled out with the bigger bit.
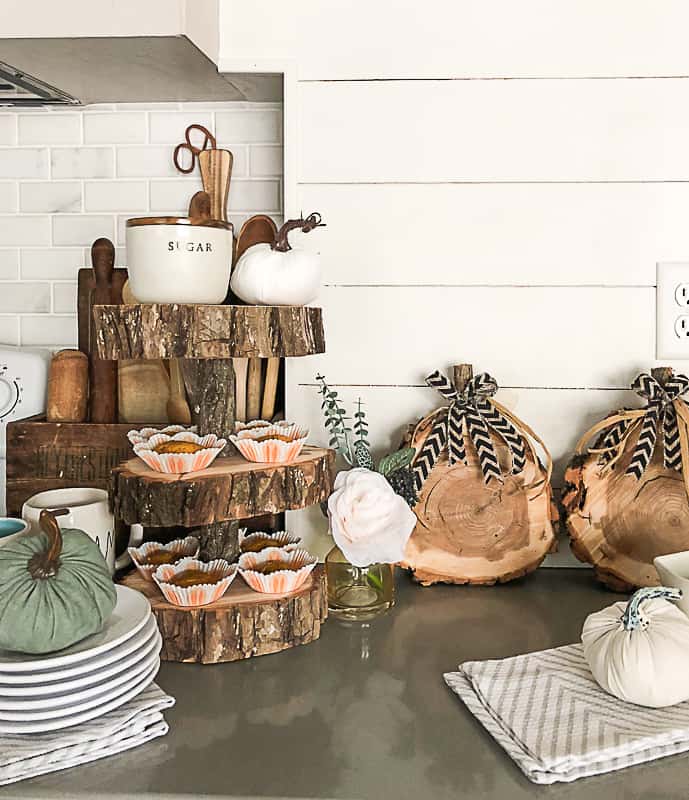
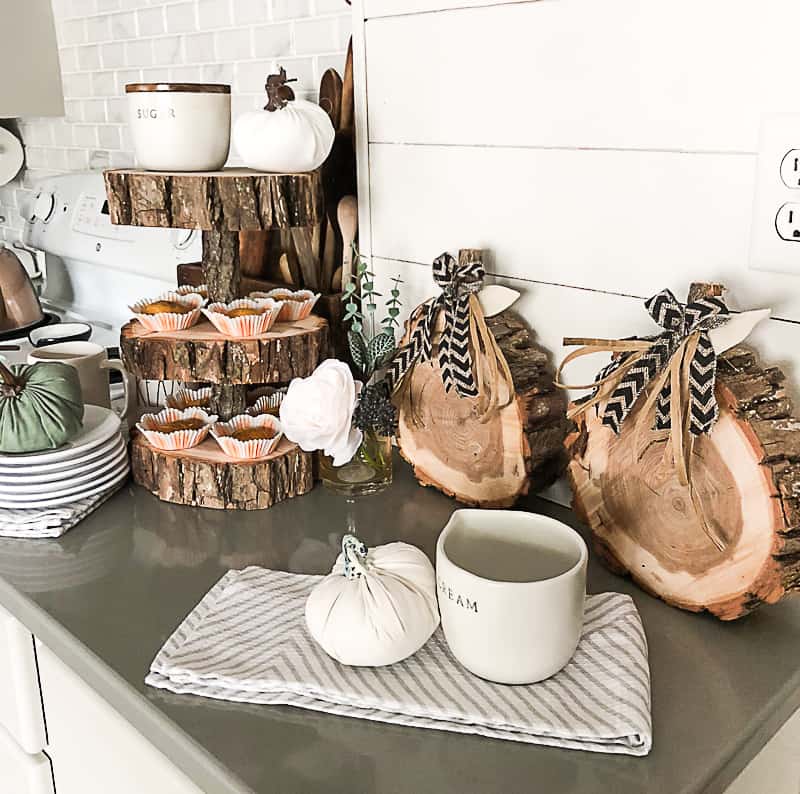
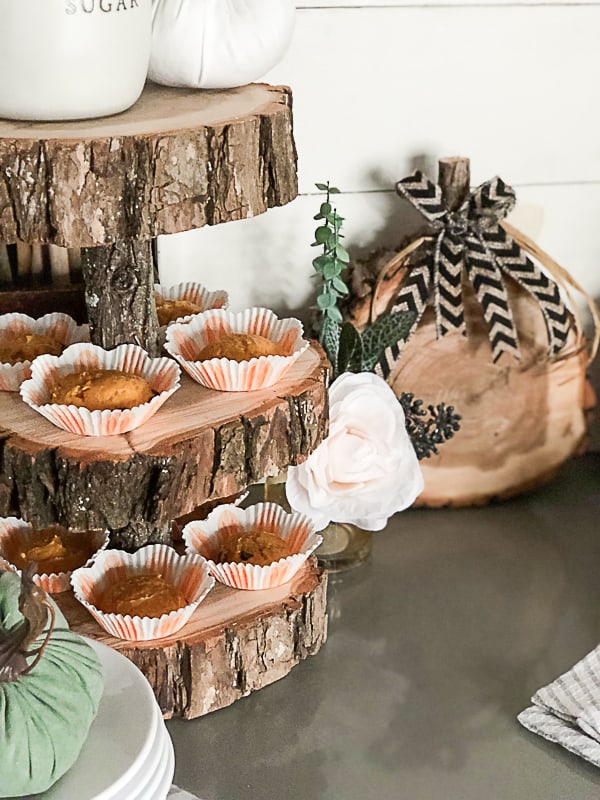
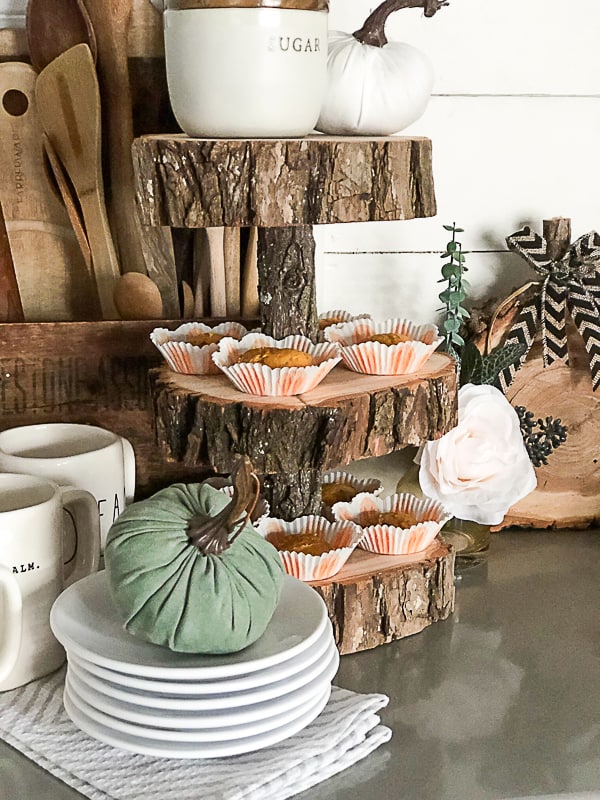
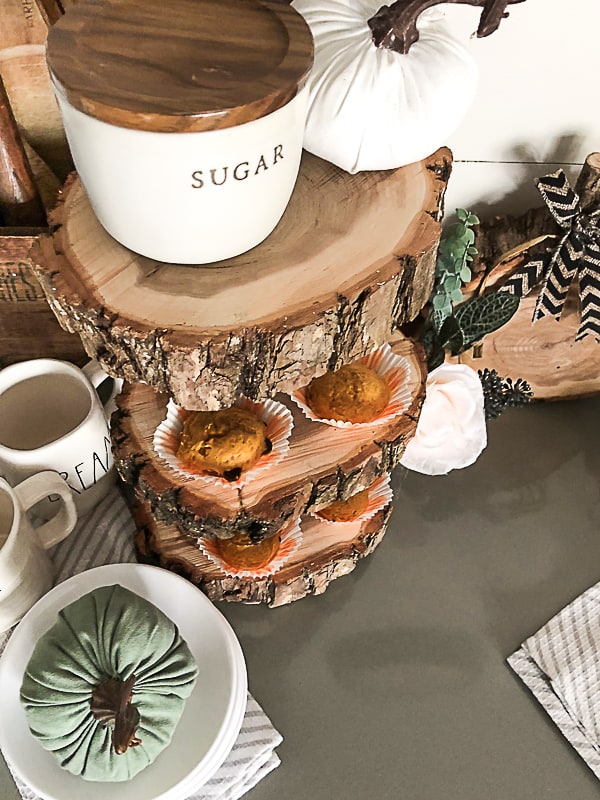
When it was all said and done, we had the cutest, rustic tiered stand that I am obsessed with.
With the rest of the wood slabs, I made pumpkins!
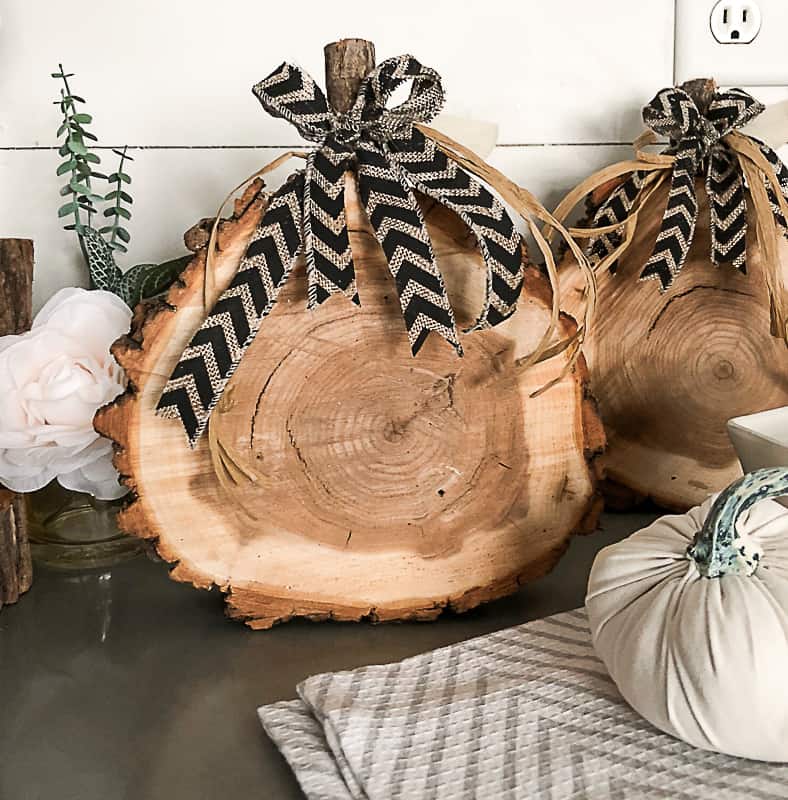
To make them into pumpkins, we drilled a hole on one side and stuck a thicker stick inside to act as the pumpkin stem. To keep it in place, we used construction adhesive inside the hole before we put the stick in.
I wrapped raffia and ribbon around the stem and hot glued a felt leave to the ribbon. That’s it!!!
Both of these projects were easy to do and I love how they look for fall!
The tiered stand and the pumpkins are just a couple of projects you can do with wood slabs. The rustic look makes them both so yummy to me. We will be getting a lot of use from them this fall season! I see the stand full of smore ingredients around the fire pit if the rain ever lets up here in Iowa.
Until then, we aren’t mad that it will be filled with fall, baked goodies. 😉
Do you have wood slabs in your home? How do you use them?
PIN THIS POST!
If you liked the wood slabs projects, you will also love these DIY ideas:
Wood Candlesticks DIY: Make Candlesticks From Table Legs



Love this, and I would love a creek bed down the road! How much time do did you get with the batttery operated power saw? I love creating things with down trees etc.
We were able to cut logs for the fire pit and the slabs for my project before it needed recharged. We were actually surprised how long it lasted for what we were doing with it.
Do you seal the wood at all? Did you heat wood in oven to rid of any bugs? I’ve wondered about making coasters from a thin downed birch tree we had but wasn’t sure how to slice evenly or if safe to bring inside….
Yes. I have heated the wood in the oven before. Just set on low for about an hour. And yes, seal the wood with a top coat. We have done so much with birch logs too! They are beautiful!