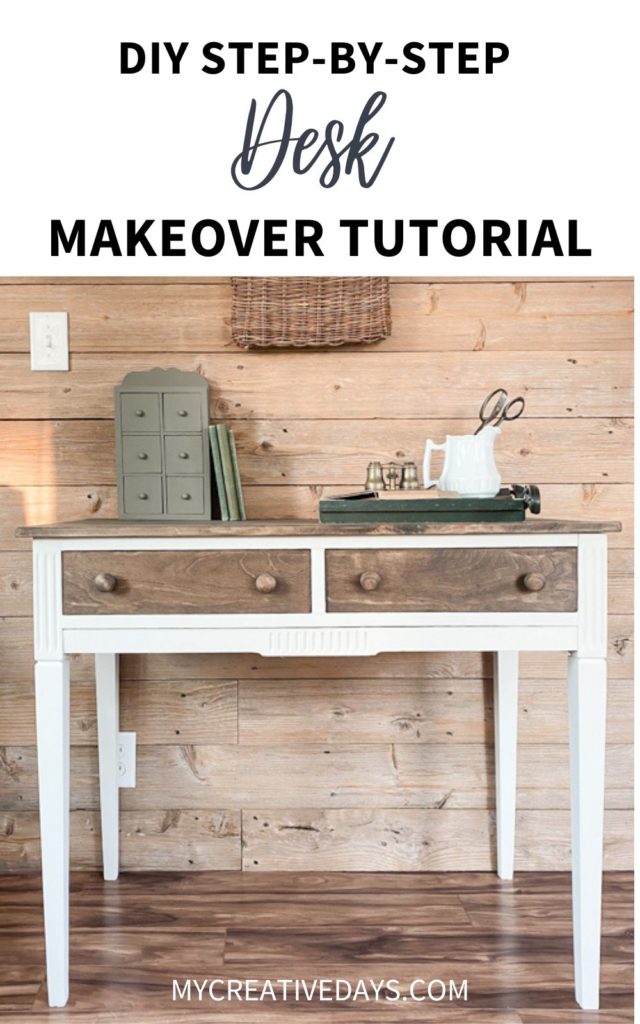
This easy DIY desk makeover will show you the step-by-step tutorial to revamp an old desk into a stylish and functional masterpiece.
This desk was a good find. The top it came with was very warped. By the time I went to take the photos of it, Matt had already taken it off. Putting a new top on a piece like this is very easy. I knew it would be a quick flip.
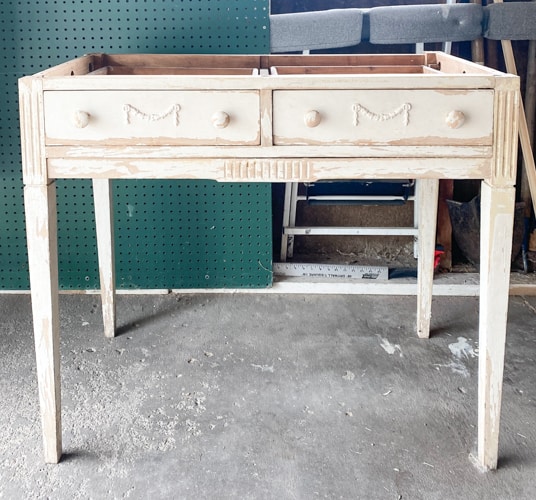
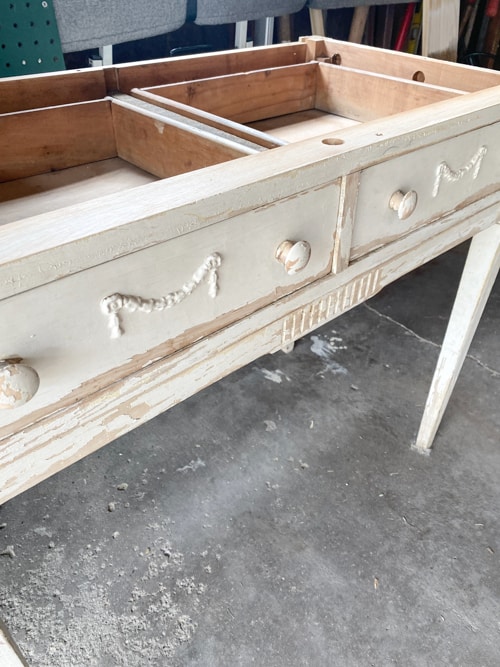
I decided to stain the drawers and the new top and paint the rest of the desk. There were so many cute details on this old desk and it just needed a little TLC and some sprucing up to make it amazing again!
{Affiliate links are used in this post. Click on any of the underlined links to find the products I am talking about. You can read my disclosure HERE.}
Supplies Used In This DIY Desk Makeover
New Board For Top
Steps to this makeover:
- The first thing I did was sand the entire piece. I sanded the drawers all the way down to raw wood and I scuff-sanded the rest of the piece. To understand the difference between the two sanding options, I wrote a post all about Scuff Sanding vs. Regular Sanding. Make sure to read that post so you know what to do with your next project.
- The details on the drawers were so cute but they were broken in some areas so I did remove them. You can create molds to replace them but I didn’t want to do that with this piece. I wanted this to be a quick flip.
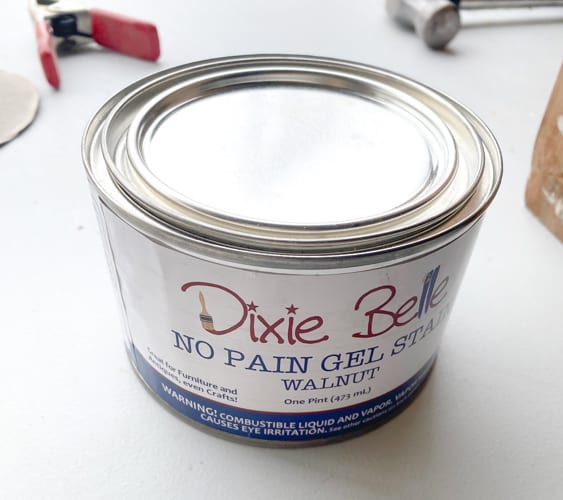
- Once the drawers were sanded down, I applied my favorite gel stain in the color “walnut“.
- While the drawer fronts dried, I applied all-in-one paint to the rest of the desk. I wanted to do a soft white color so I chose the color “Endless Shore“.
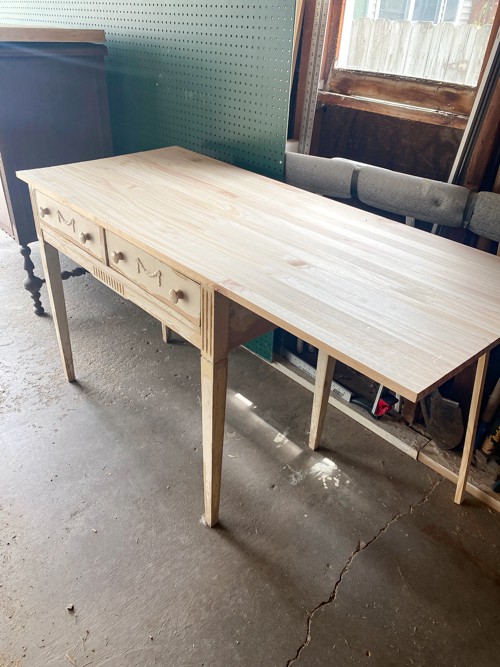
- While the paint dried, I applied the walnut gel stain to the new wood knobs and the new top that Matt cut down to fit.
- TOOL YOU NEED: Once the stain dried on the top, Matt attached it to the desk with an angle attachment. This little tool comes in handy on so many projects. It is under $20 and will pay for itself in no time. The frustration it elevates is worth it alone.
WATCH THE ANGLE ATTACHMENT VIDEO:
Watch how this tool works to attach the top to this desk on my Instagram page HERE. It really is a game-changer for projects like this.
- When the drawer fronts dried, we added the stained knobs. We put the drawers in and the makeover was complete!
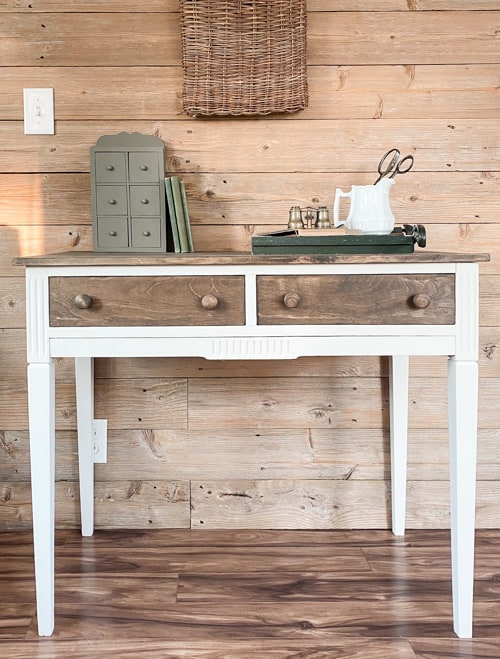
This piece can be used for so many things.
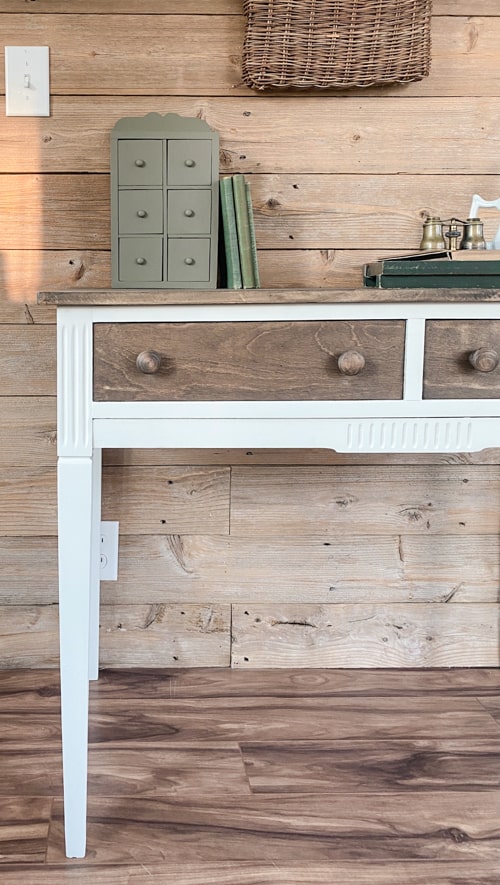
It would make a great vanity.
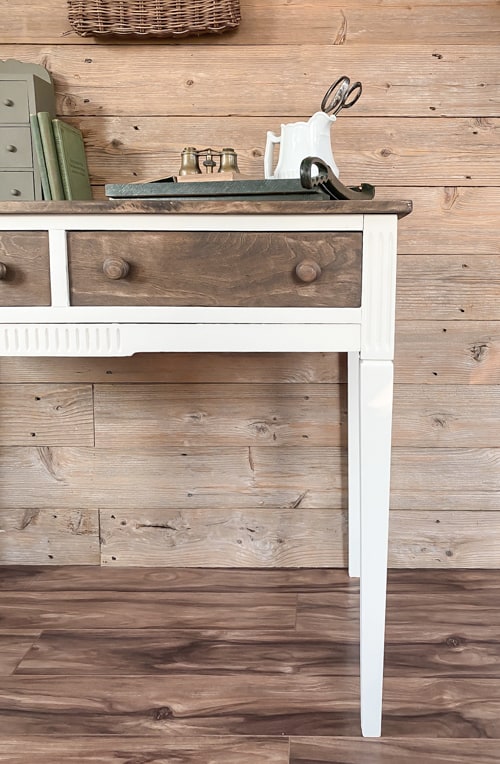
It would make a great entry table.
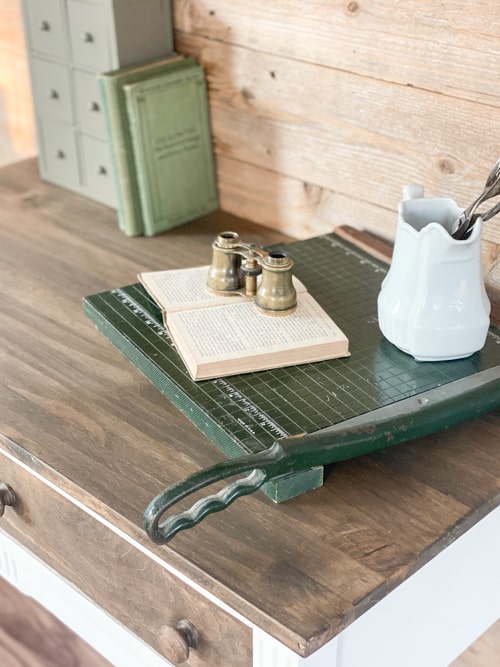
And obviously, it would make a great desk for an office, bedroom, college dorm room, etc.
This was such an easy makeover. It is so fun to find projects that you can see the makeover fairly quickly and there aren’t a lot of steps or repairs.
Do You Want To Make Money Flipping Furniture?
After twenty years of doing this, I am still picking up pieces when I can find them because I love the creative outlet, but I am now coaching other furniture flippers on how to make more money in their business. If you are someone who is looking to start and/or grow a furniture flipping business, I would love to help you. There are ways to make money in your business beyond painting a piece of furniture. Once I learned that, my business flourished. Don’t waste your time trying to figure it out on your own.
To help other flippers, I created The Furniture Flipping Academy! The academy includes everything you need to start, grow, and/or scale a furniture flipping business. It includes courses, resources, templates, social media planner and guide, a private community, and so much more. It will ensure that you are doing the steps that will lead to success and not wasting your time on things that won’t.
You can find all the information about the Furniture Flipping Academy HERE.
Let’s get your business started and/or moving in the right direction. The Furniture Flipping Academy is for any flipper, from beginner to experienced. If your business is stagnant, there is a reason for that. Let me help you grow it into a flipping career that is profitable and fits the lifestyle you want to live.
PIN THIS POST!
If you liked this DIY Desk makeover, you will also love these:

