.This Easy Dresser Makeover couldn’t be easier. HAHA!
I get a lot of questions asking about furniture makeovers. Some of them are from people who want to start making over furniture. Others are from people who are scared to start. Questions are sent in from people who would like to start flipping furniture as a side hustle. Then, there are those who are shop owners who want to start incorporating more furniture into their stores. I get questions from all kinds of furniture lovers, so I am always happy to be sharing makeovers to answer some of those questions.
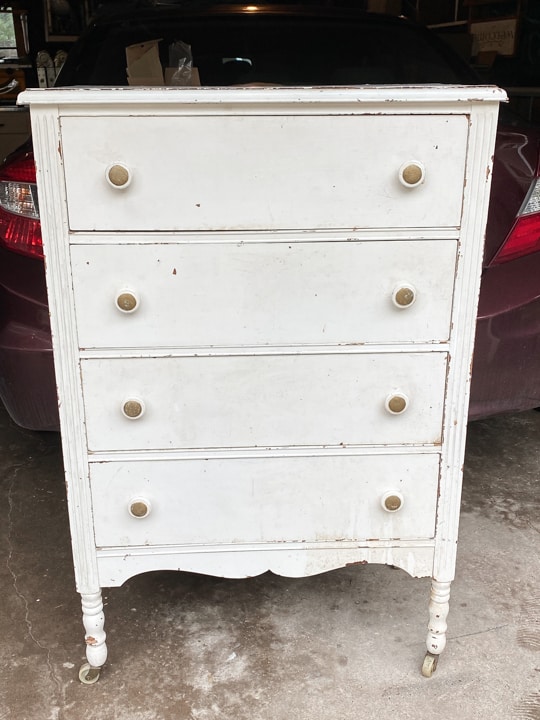
I found this dresser at my local Restore. Thrift stores, Restore and even yard sales have not been open since the whole COVID-19 hit. I have had slim pickins when it comes to finding furniture to flip. I have learned how to be resourceful in this time and find other ways to get pieces to make over. Estate sales have never been my favorite thing because I feel like they are a bit more expensive, but since estate sales have gone online around here, I have found some great deals!
Once things opened up to half capacity, I have been inside a thrift store twice and Restore once. I haven’t found anything in the thrift stores, but I did find this dresser at Restore.
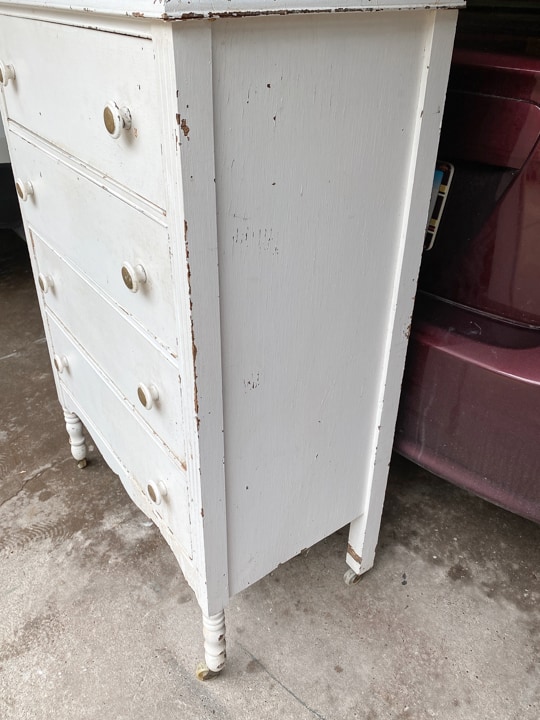
When I saw it from a distance, I just thought it was a chippy dresser, but when I got closer, I saw that it was pretty dirty and it wasn’t “chippy” in the way that the “cool chippy” dressers usually are.
{Affiliate links are used in this post. Click on any of the underlined links to find the products I am talking about. You can read my disclosure HERE.}
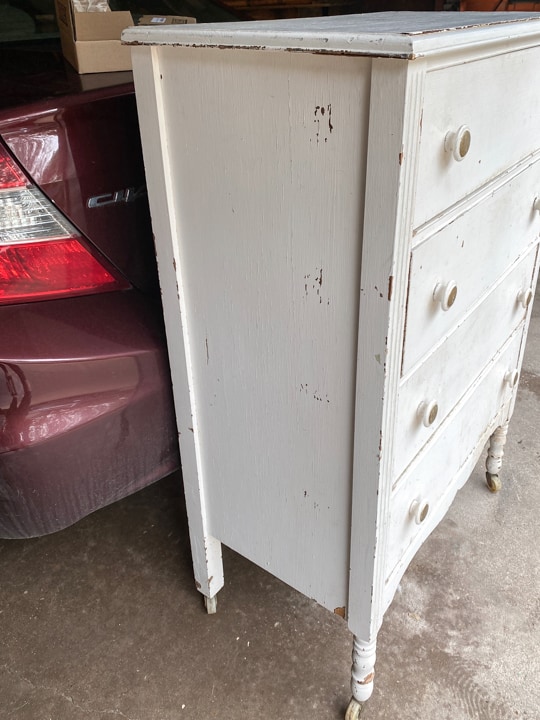
The wheels on the bottom were plastic, so those had to go.
The knobs weren’t great at all, but that is an easy fix.
The sides showed me some potential. They were chipping in a much better way than the front and I thought, if I could use one of my favorite tools, I think I can have this piece looking so much better in no time.
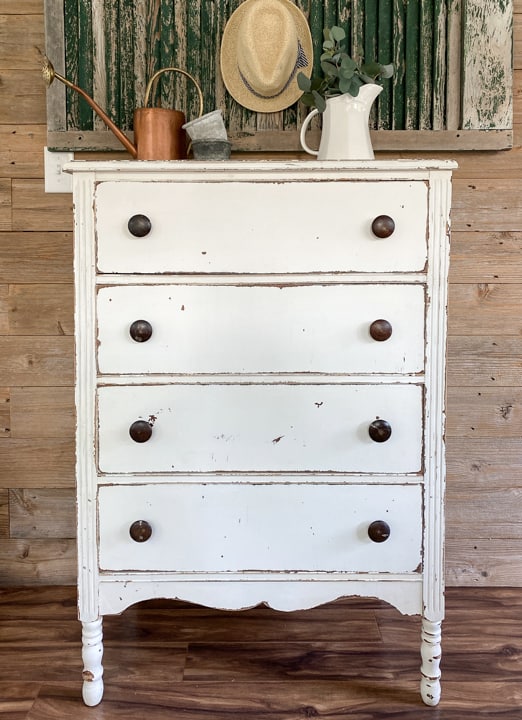
In under 30 minutes, I had this piece looking like the chippy goddess it was meant to be. I removed all the wheels and took my orbital sander all over the white paint. I focused in areas where natural chipping would happen and already was happening on this piece (the edges of drawers, legs, edges around the outside, etc.).
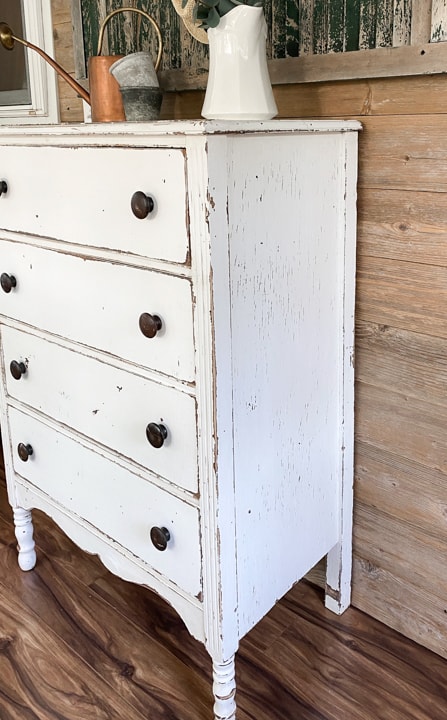
We had some old wood knobs in our stash so I used those on this dresser.
ALWAYS KEEP KNOBS FROM OTHER PROJECTS!
You will save so much money not having to buy new hardware and the old hardware is always better looking anyway.
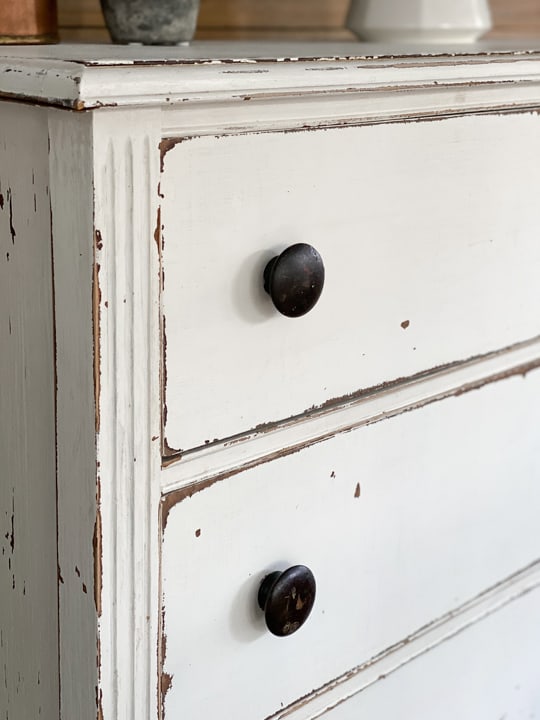
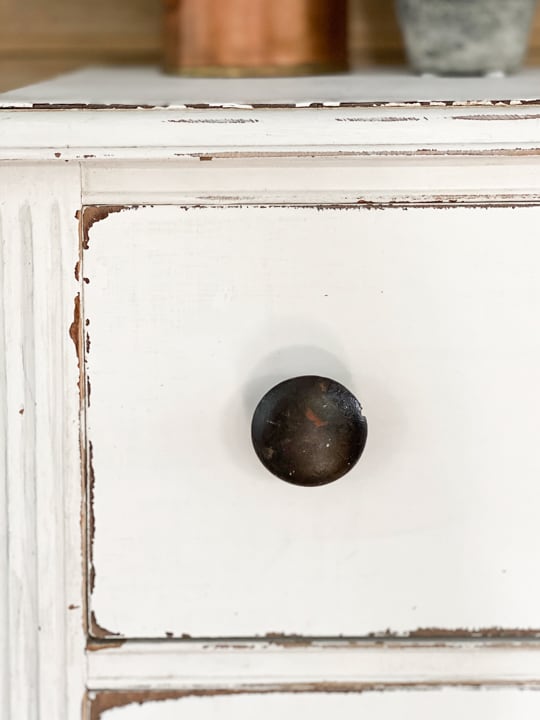
I love a good, chippy piece of furniture.
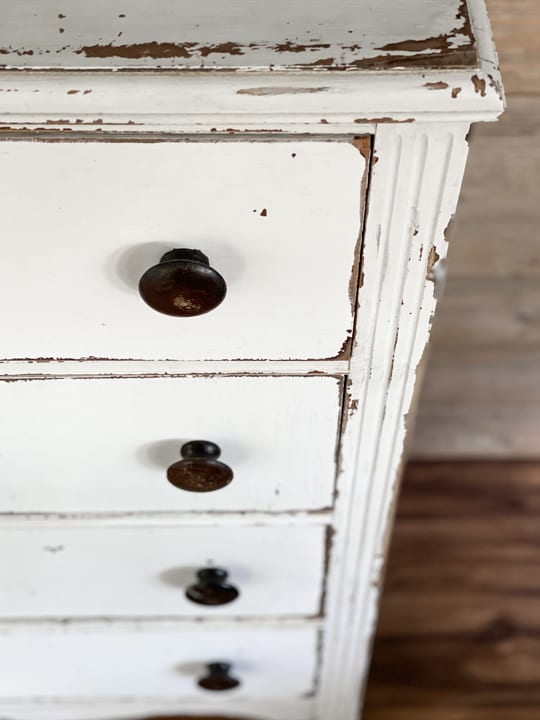
It always adds character and a sense of charm to the space it is in.
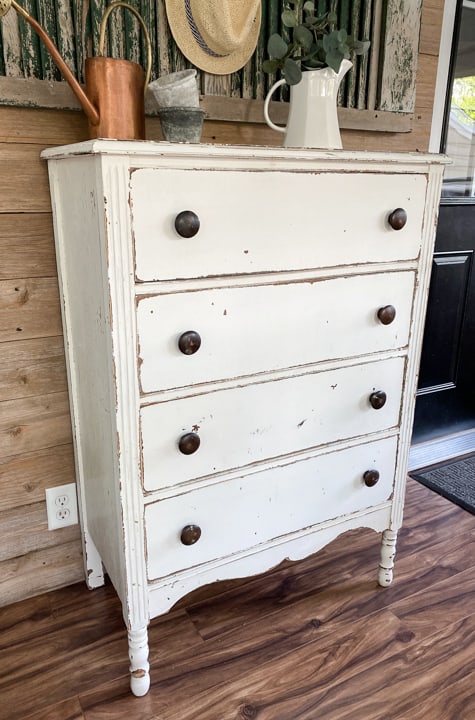
I also feel like it says, “We aren’t too serious, but we are always comfortable and cozy”. That is the kind of pieces I love to add to our home in different areas. It is just like our family. We aren’t too serious or stuffy. We have some bumps and bruises around the edges, but we are comfortable and want you to feel cozy in our home.
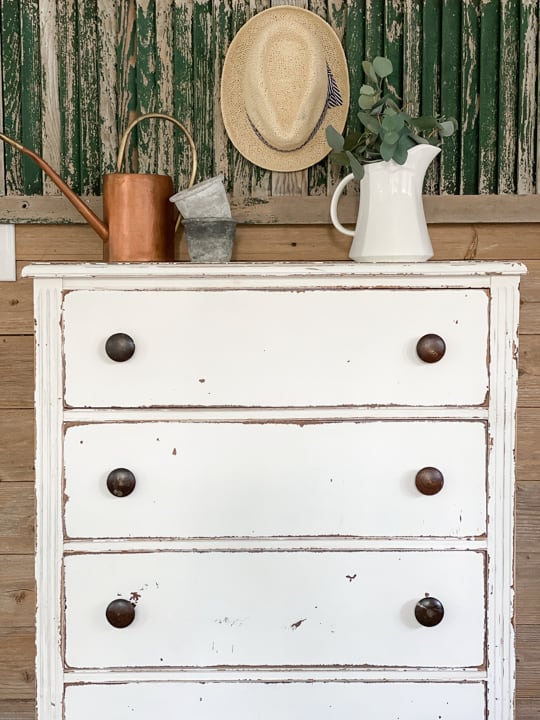
This dresser didn’t need much, but it looks so much better now. The chips and missing paint seem more “purposeful” now, if that makes sense???

Flipping furniture will never get old. I am so grateful that this is my job and I am hoping to teach more of you about it in a more intimate, community-based way. If you would love to learn more about how you can turn a hobby of making over furniture into a business, head HERE.
PIN THIS POST!

If you liked this Easy Dresser Makeover, you will love these transformations:
Two-Toned Painted Dresser Makeover
Rustic Dresser Makeover Tutorial
Vintage Dresser Makeover In Green

