This French Provincial Dresser Makeover turns an old dresser into a beautiful piece with paint, wax and the original brass hardware.
I have said this over and over again, but most of the time when I step into a thrift store, I don’t plan on finding anything worthwhile. With that said, I continually go because I have obviously found so many amazing things inside thrift stores. Furniture is one of those things that I find only once in a while. There aren’t many times I find pieces that are worth rescuing so imagine my surprise when I walked into the thrift store on this day and saw this beauty.
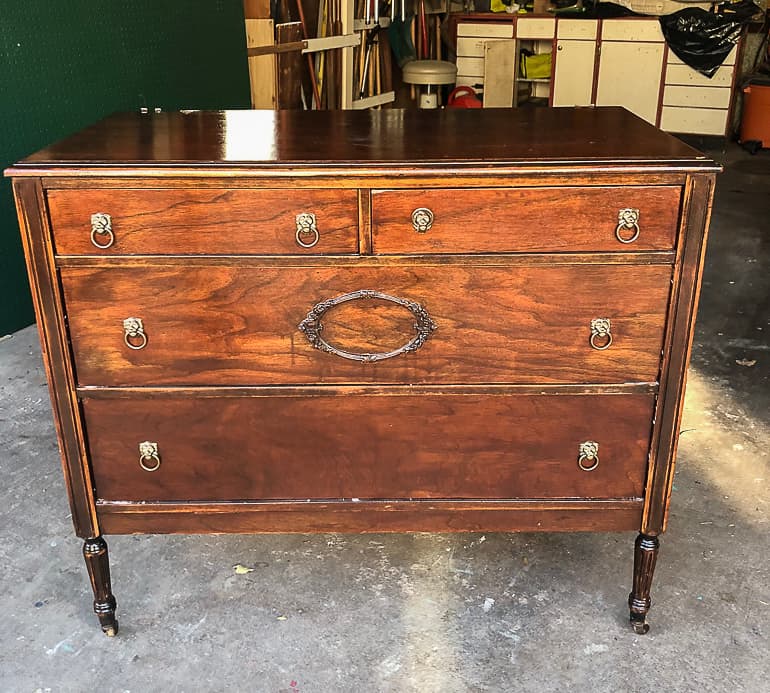
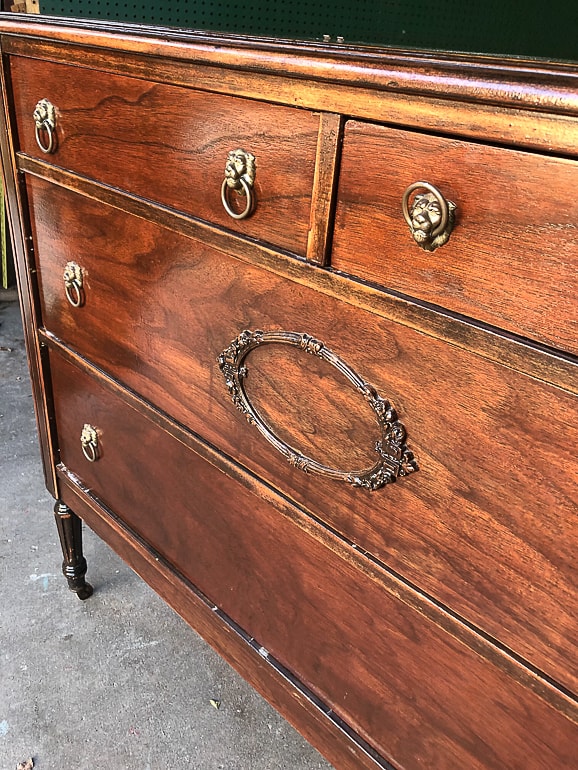
From a distance, it didn’t look like anything was wrong with this dresser. It looked like it was in perfect condition. As I got closer, I saw some things that weren’t great about the dresser.
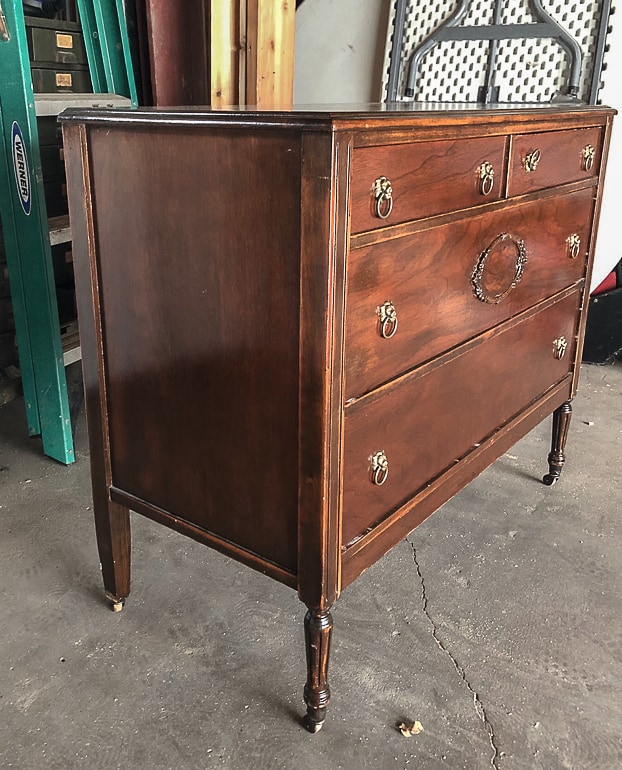
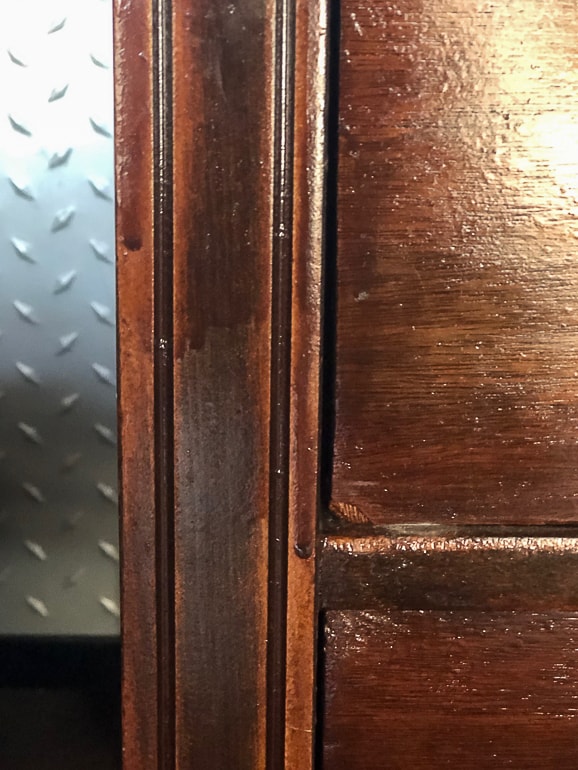
Someone has stained the dresser and put such a thick coat of poly on the dresser that the drip marks were very noticeable when you were close to the dresser. I tried to get a good photo of the drips, but they were hard to photograph.
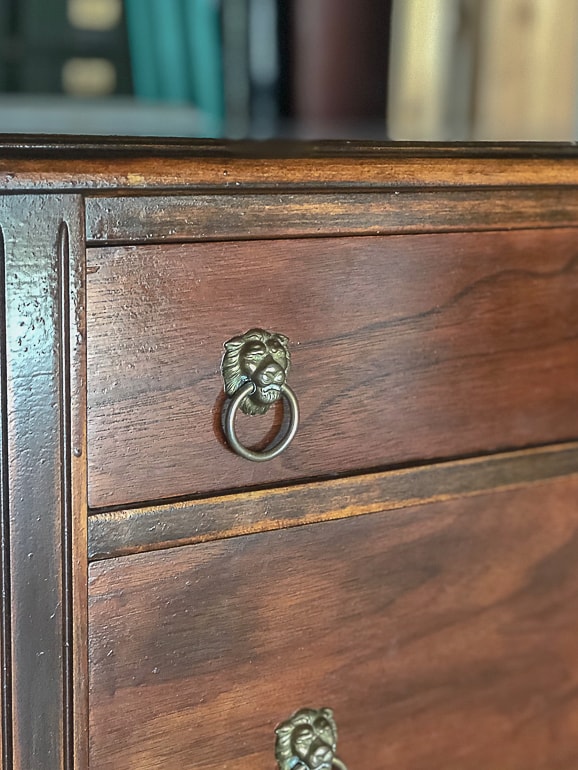
The dresser did have some amazing hardware on it and it was all there! That was a strong selling point for me.
Then, the angels must have known my doubt about the dresser because I found out that it was also half off all furniture that day! SOLD!
{Affiliate links are used in this post. Click on any of the underlined links to find the products I am talking about. You can read my disclosure HERE.}
When I saw the detail on the middle drawer, I immediately thought this dresser would could easily get a French Provincial Makeover that would make it so pretty. The stain and the top coat were too heavy for this piece, so I wanted to lighten it and age it to highlight the details.
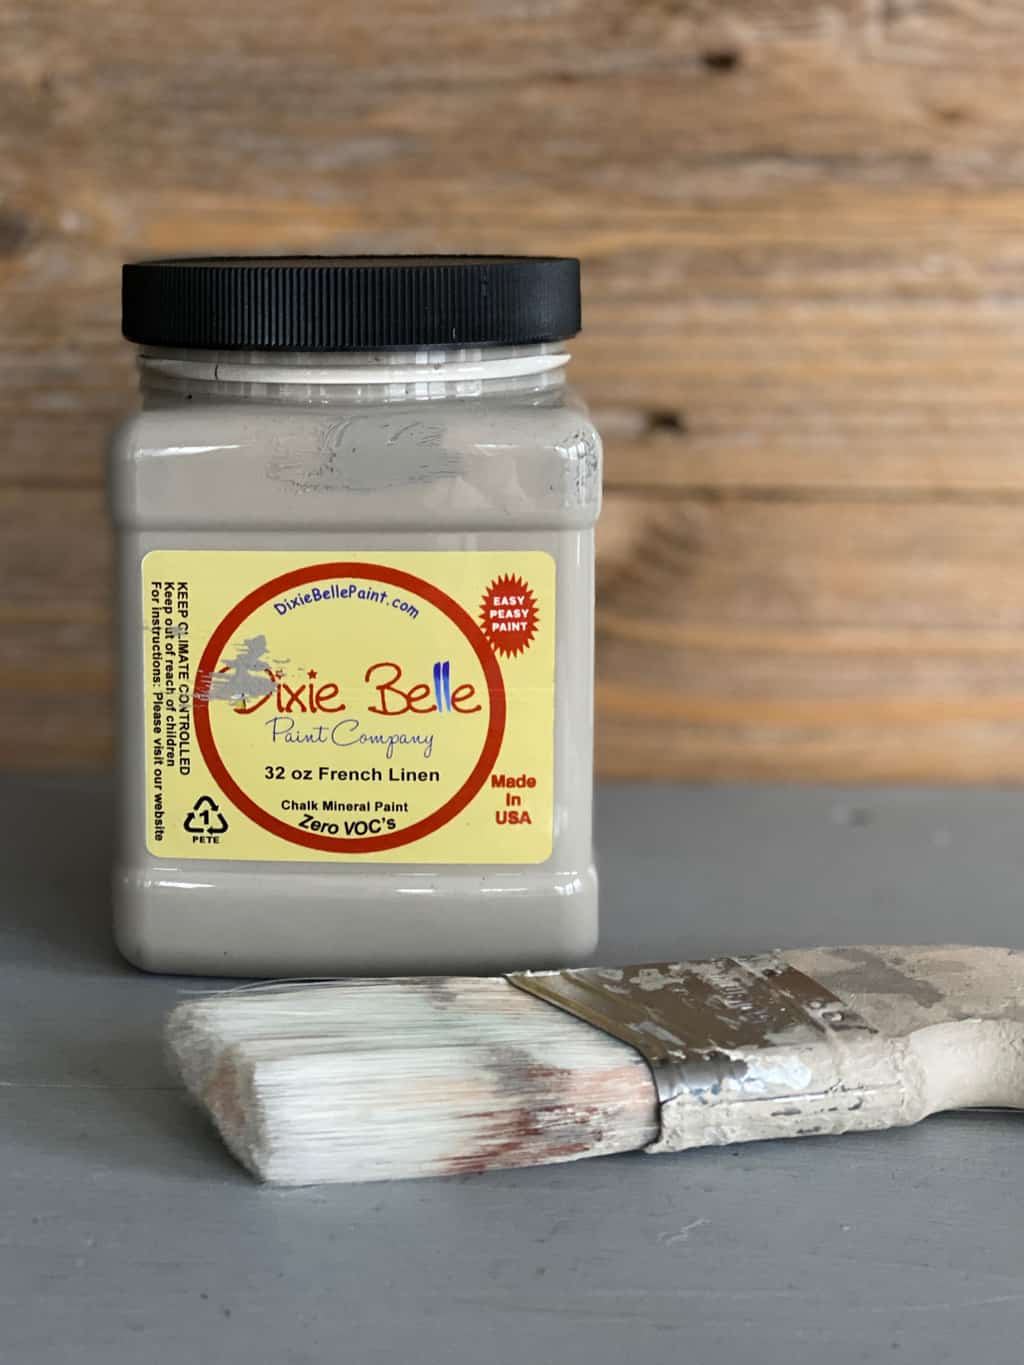
Supplies Used In This French Provincial Dresser Makeover
Dixie Belle Paint – “French Linen”
Dixie Belle Wax – Black and White
Old Rag
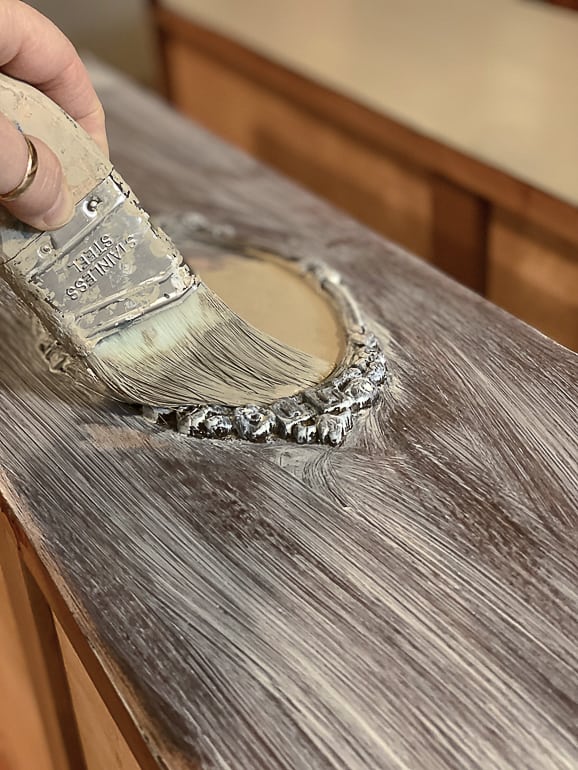
Steps To Give An Old Dresser French Provincial Flair
- The first thing I always do when I make over a piece of furniture, is remove the hardware.
- Next, I removed all of the drawers before I did anything else. Removing the drawers ensures that you prep and finish the entire piece without missing any nooks or crannies.
- Since the top coat was so thick on this dresser, I used my orbital sander to get rid of it and help the paint stick better. I sanded the entire dresser.
- After you sand a piece, make sure you go over it with a damp cloth to pick up any dust from sanding.
- I didn’t want any of the red tint showing through the paint, so I put a layer of BOSS on the dresser before I painted. This stuff ensures you won’t have any bleed-through when you paint. I usually do this when I have a really dark piece and I am painting it a light color or a piece that has a lot of red tint to it.
-
After the BOSS dried, I painted the piece in two coats of “French Linen” from Dixie Belle Paint. How do you get a smooth finish when painting with a brush? I get asked this a lot. Having the right paint brushes is half the battle. I have worked with all kinds of paint brushes, but stopped after I tried Zibra brushes. They are paint brushes that are made for painting furniture and all kinds of other projects. They are the only brushes we have on all of our job sites and any of the makeovers you see here. I can’t sing their praises enough. They are a definite “have to have” item in any DIYer’s toolbox.
- Once the paint dried, I applied Dixie Belle’s Black Wax all over the dresser. I apply the wax with a paint brush and then rub it in with an old rag. The wax is user-friendly. If you find that you got too much in an area, a damp cloth can take much of it away if you don’t wait too long. If you find you have some bare areas, just dab a little more wax on and rub in with the rag.
- Once the black wax had dried over night, I took a small paint brush and went over the detail on the middle drawer with some white wax. I also added a little bit to the legs and the edges of the drawers. It is very subtle, but I think it was what the dresser needed.
- After that, it was time to put the hardware back on and take some glamour shots!

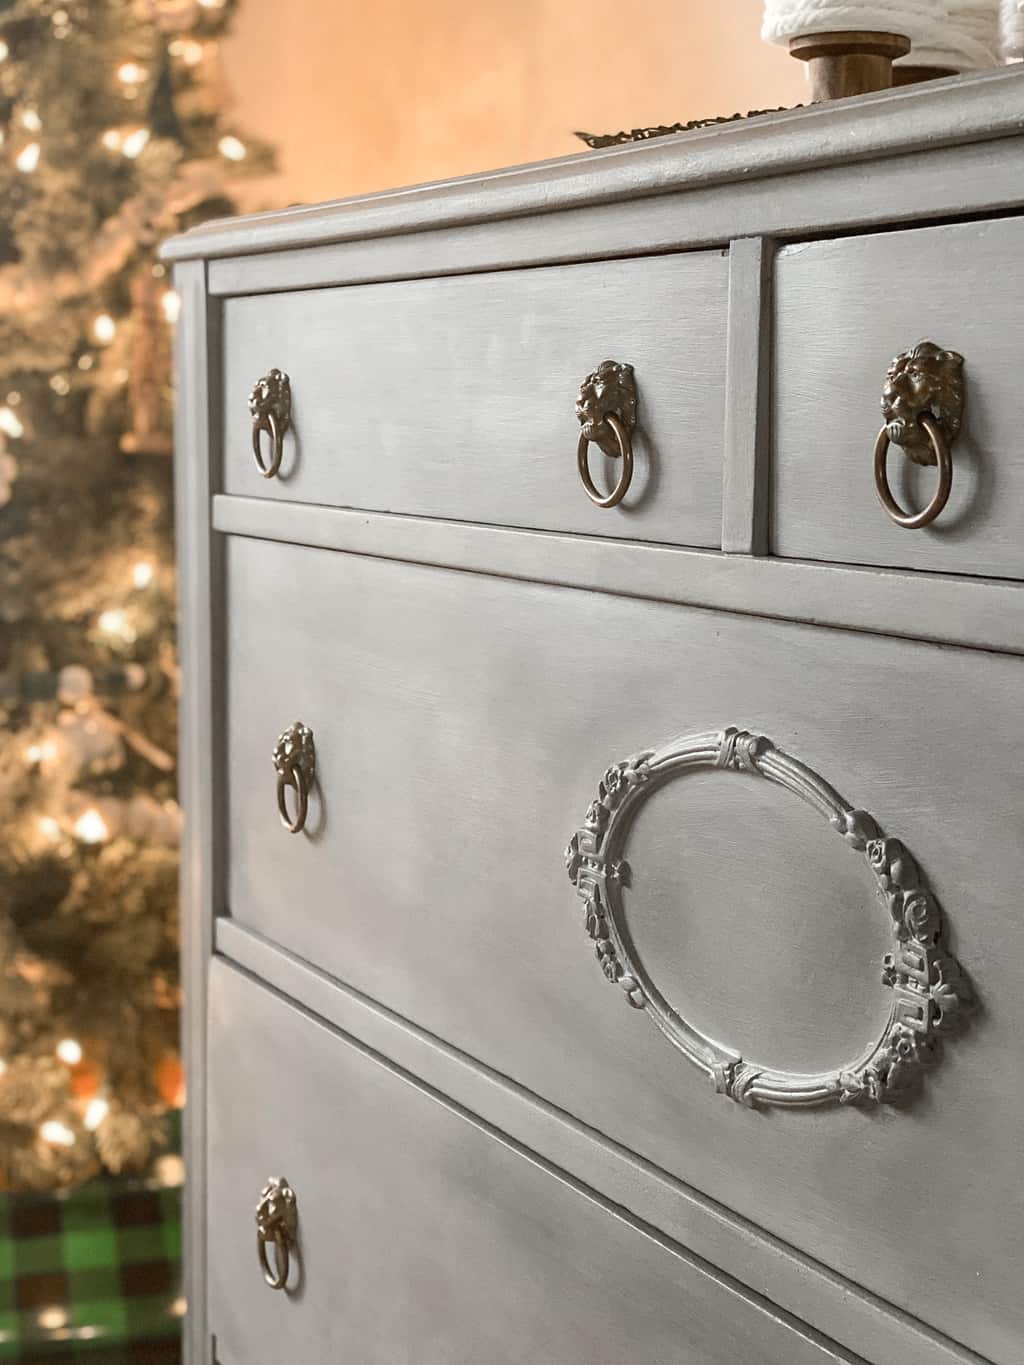
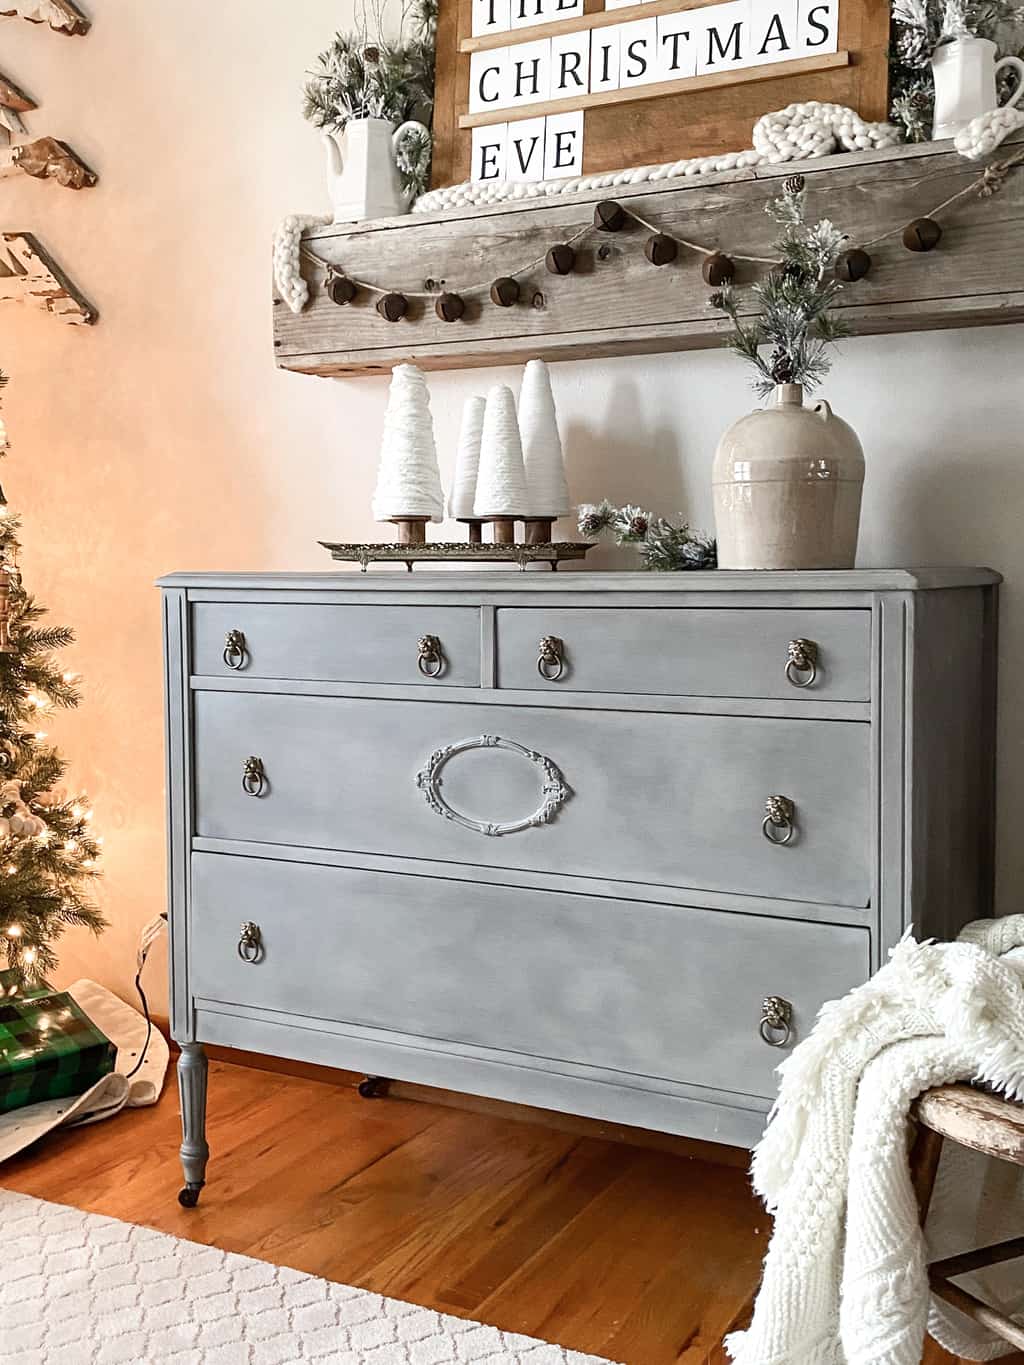
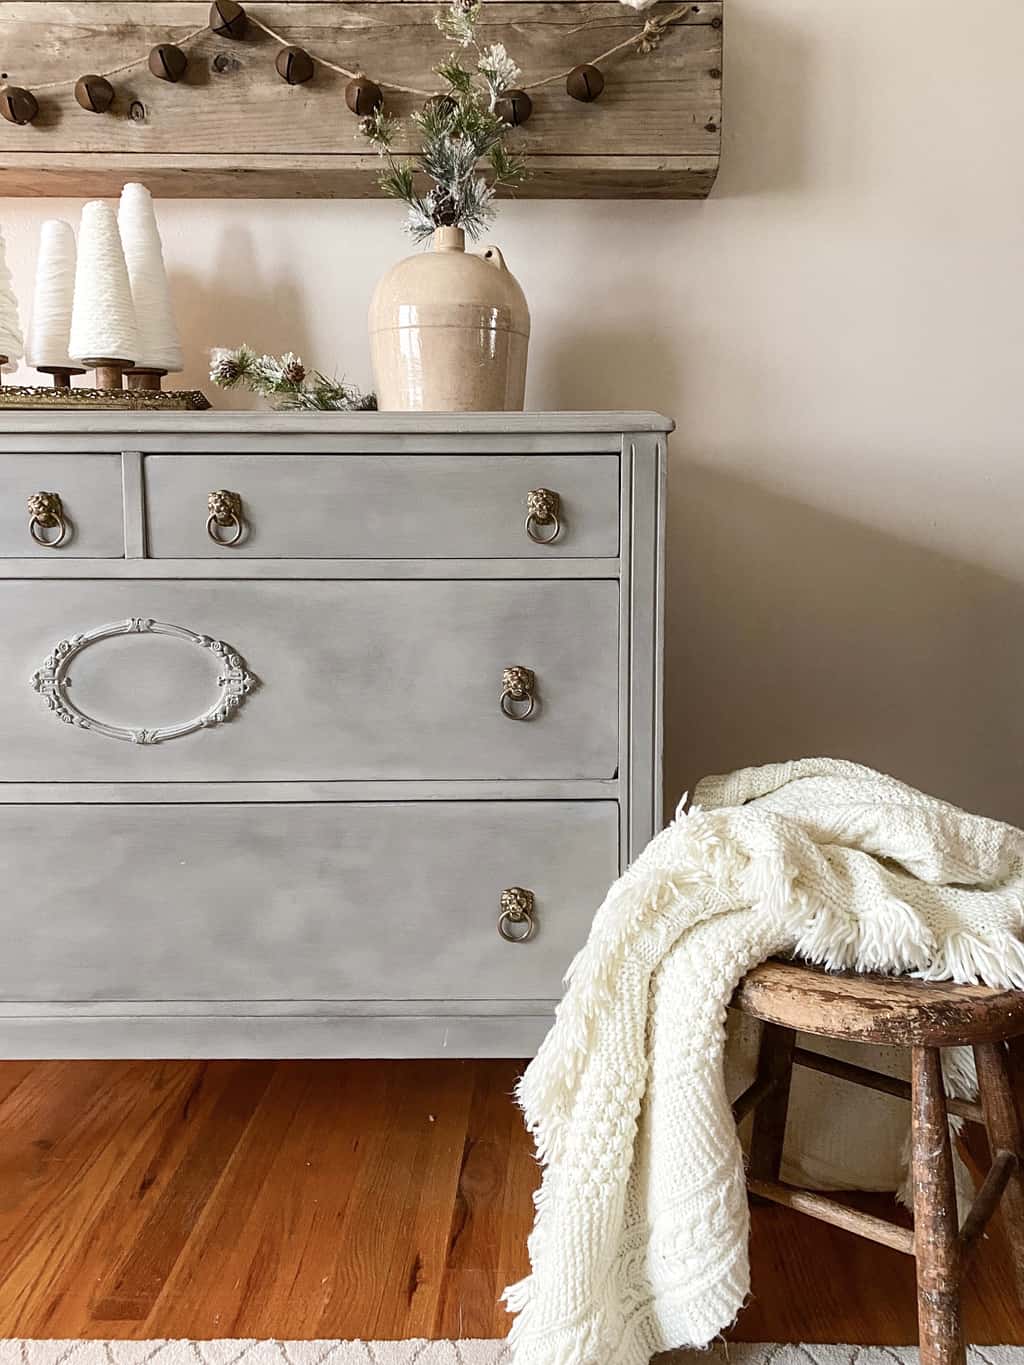
I love this makeover for so many reasons, but the hardware is probably my favorite reason. The brass lions are so fun and they look great against the paint and wax.
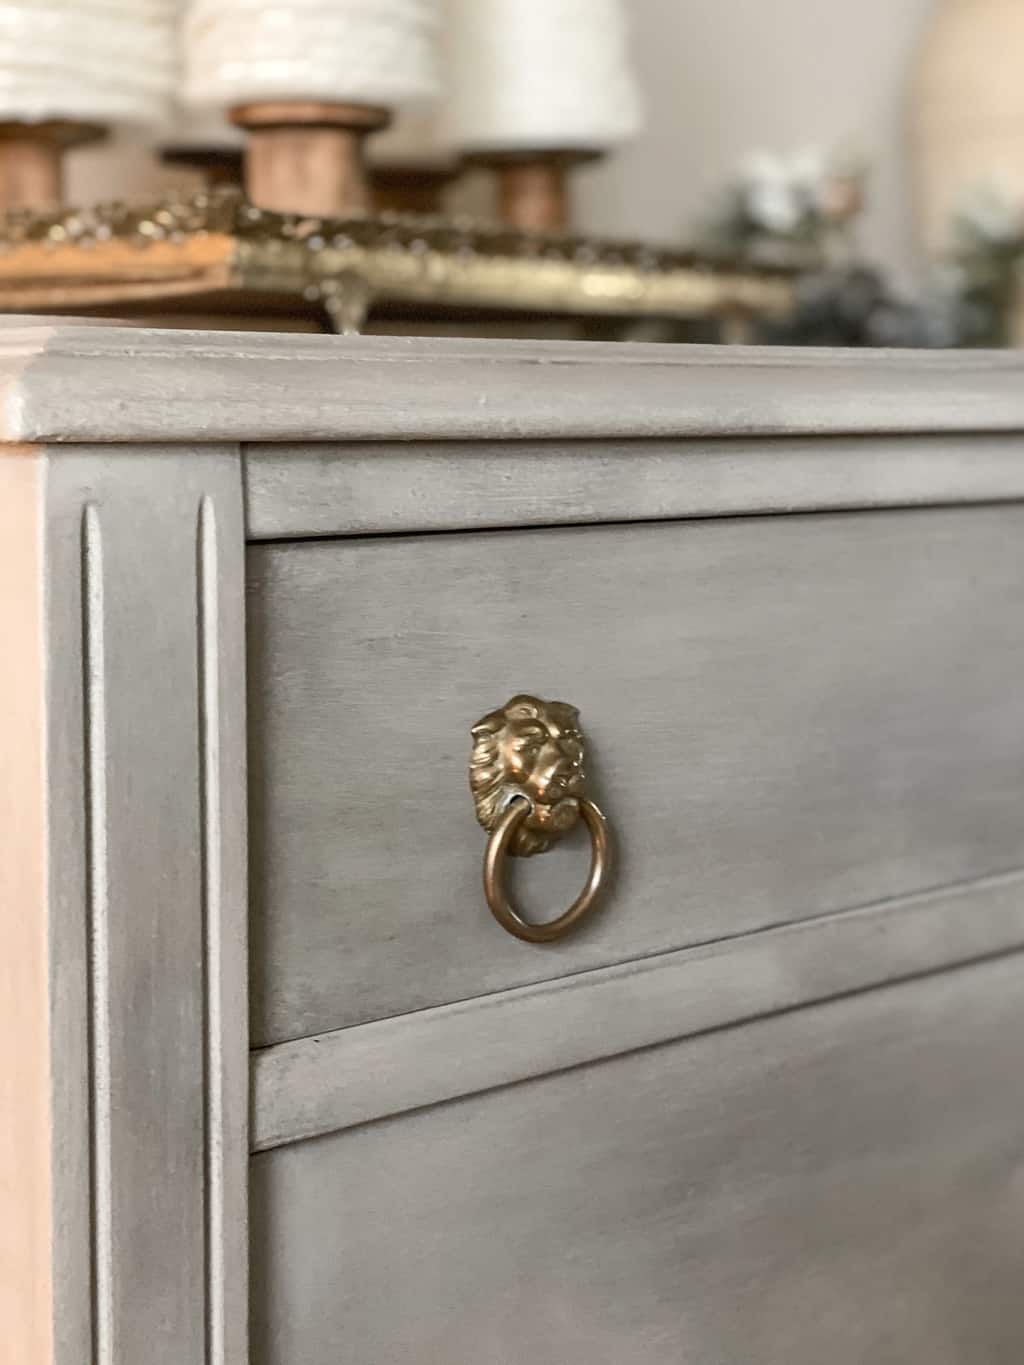
The detail on the middle drawer really stands out now. It is the best wood feature of the dresser and with the black and white wax, it really takes center stage. The glow from the Christmas tree helps the final look too. 😊
After I took photos of this dresser in the living room, I asked the family if we could live without the sofa and just keep this pretty piece there instead. They weren’t having it.
Another dresser made over to show the potential is still had.
What color would you have painted this dresser?
PIN THIS POST!

If you liked this makeover, you will also love these transformations:
DIY Nightstand Makeover For Teen Girl’s Bedroom
DIY Glazed Blue Dresser Makeover
Mid-Century Modern Dresser Makeover
Serpentine Dresser With French Country Style


That was a great makeover I just loved the details. Good job!!
Thank you!
Such a beautiful dresser! I am making over my bedroom furniture and the choice colors were white or grey, but after seeing your makeover, I definitely think I’m going to go with the grey. You did such a great job, and the two different waxes really made it look so much better than just the grey paint alone. I know how to apply the wax, but when making over an already waxed piece, is there an easy way to remove the wax? Thank you for sharing your talent and tips with us!
Your welcome. I would try sand paper first and see if that removes it.