This Gray And Wood Dresser Makeover took a run down piece and made it amazing and functional again.
Matt and I love hunting for great pieces wherever we can find them, but this summer has looked very different because of the pandemic. There haven’t been many sales advertised and then I saw a Facebook post for a yard sale about 25 minutes from our home. The pictures of the items for sale made me want to see what it was all about.
I thought for sure all the “good stuff” would be gone when we got there, but there wasn’t anybody there!!! My pile kept growing and growing as I found amazing things. One of the bigger items I had to get was this dresser.
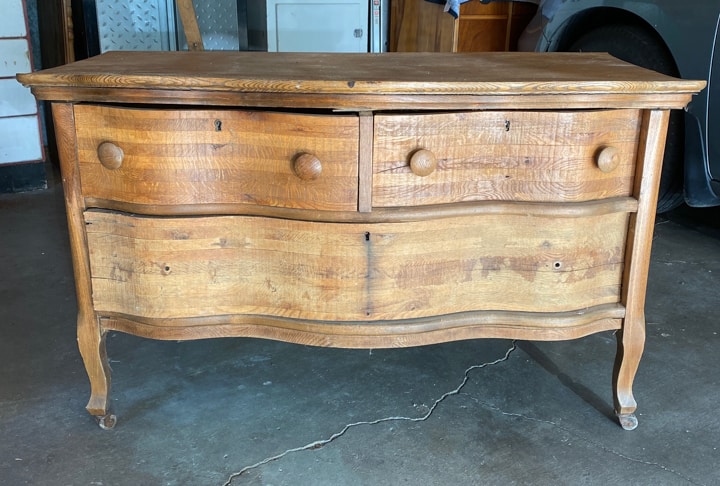
At first glance, it looked like all this dresser needed was some new hardware, a good cleaning and maybe some hemp oil to bring the wood back to life.
{Affiliate links are used in this post. Click on any of the underlined links to find the products I am talking about. You can read my disclosure HERE.}
Don’t ever judge a piece of furniture from the look alone.
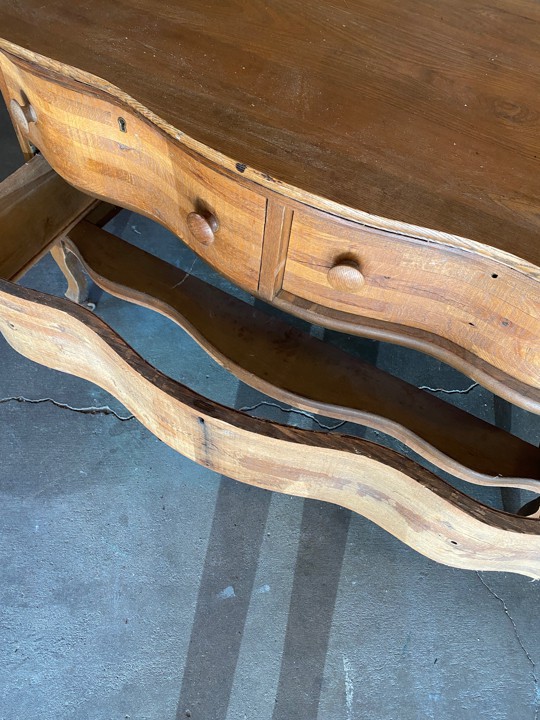
Always, and I mean ALWAYS, make sure you give a piece of furniture a thorough inspection before buying it. After our inspection of this dresser, we found that there were a lot more issues than we initially thought. The bottom piece in the lower drawer was missing. The veneer on one side was cracked. The top of the dresser was coming apart (you can see it in the before photo above), it was missing some knobs and the finish was going to need more than a good cleaning and hemp oil.
I don’t know if it was because we hadn’t been to any sales or that we didn’t have a ton of projects waiting at home, but we decided to bring this piece home and see if we could make it functional and pretty again.
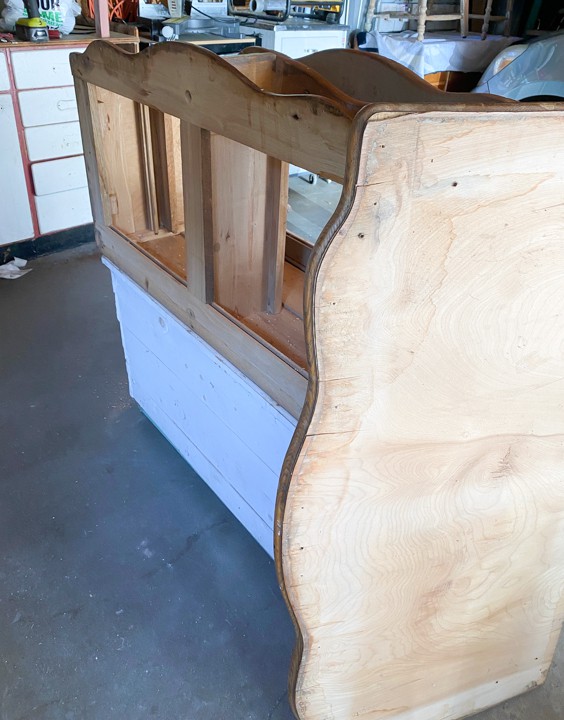
Like with every project we work on, I shared this entire makeover as we were fixing it on my Instagram stories. Make sure to head HERE and follow along.
Supplies Used In This Gray & Wood Dresser Makeover
Paint – “Gravel Road” Dixie Belle Paint
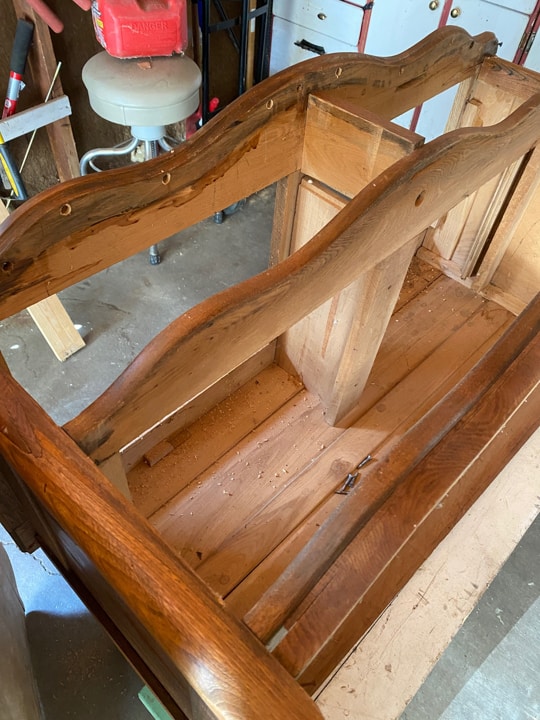
Here are the Cliff Notes from what I shared on Instagram while we fixed the dresser:
- To start the Gray & Wood Dresser Makeover, Matt took the top off the dresser to fix where it was coming apart.
- Then, he drilled screws down into the sides and the middle divider between the top two drawers.
- Next, he drilled holes underneath the top lip of the dresser (you can see them in the photo above).
- Then, he placed the top back on the dresser and drilled screws up through the holes he made to secure the top down.
- Last, he used bigger clamps all around the top to hold it down. This ensured it wasn’t going to come apart again. He left the clamps on for 2 days.
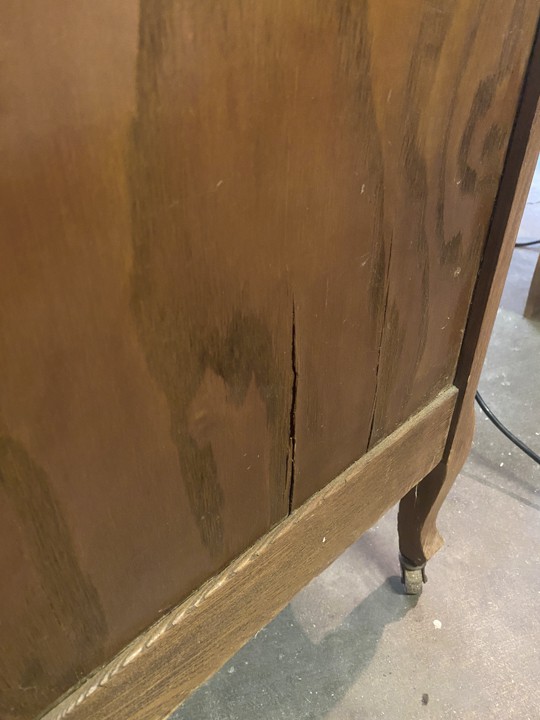
Once the clamps were removed, I removed the cracked veneer on the one side using this method I have shared many times. There are three ways I repair cracked or missing veneer and the method I use, depends on the veneer on the piece of furniture. This piece was simple so I used the same method that I did on this vintage dresser makeover in green.
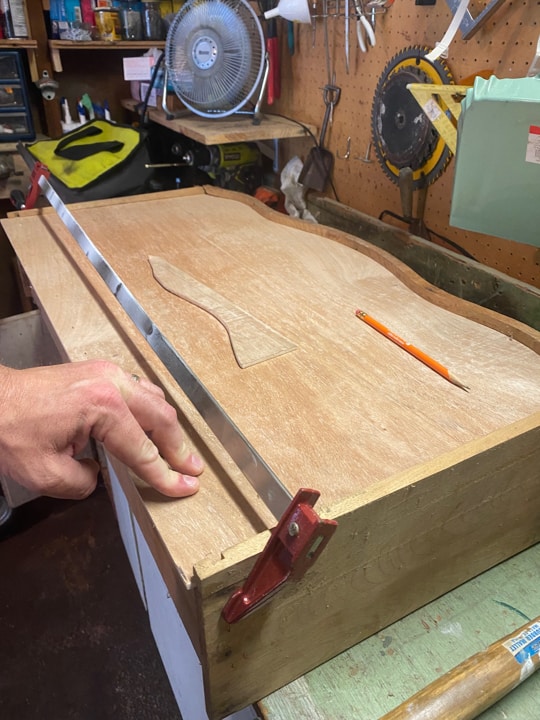
Gray And Wood Dresser Makeover – How To Fix The Drawer
Now, it was time to fix the drawer that was missing a bottom.
Again, I have shared how we do this many times. I wrote a post about it HERE. It is the easiest way we have found to repair drawers that have a missing bottom.
Phew. This piece needed some work! But, now that all the “fixing” was done, I was ready to make this dresser pretty again. I cleaned the dresser and sanded it a bit. The drawer fronts were in pretty good condition so I wanted to keep them wood if I could. The outer shell wasn’t in the best condition so a coat of paint would make a big difference with that part. I used Restor-A-Finish in “neutral” on the drawer fronts. It made them look so much better! If you don’t have this stuff on hand, get it! We use it on so many things (cabinets, floors, furniture, etc.).
Now for the paint. I chose to paint the rest of the dresser in “Gravel Road” Dixie Belle Paint.
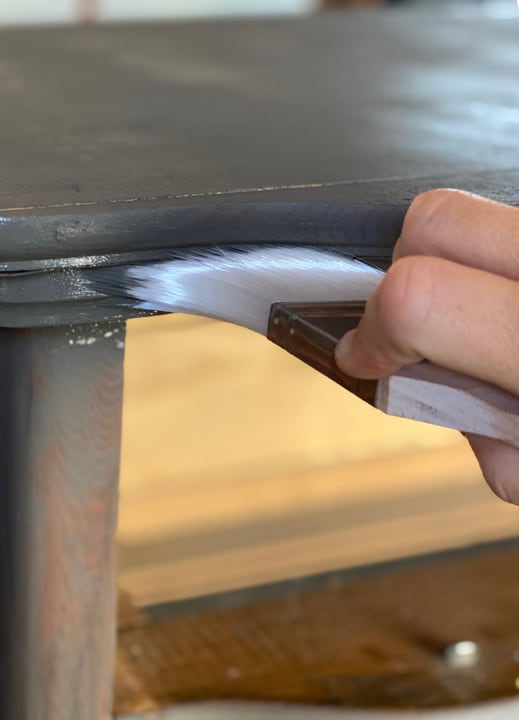
Grabbing my favorite paint brushes from Zibra and picking out a paint color for a project is the fun part. Having good paintbrushes and paint make all the difference in your furniture projects. Zibra has designed paintbrushes with the painter in mind. No matter what you paint, they have a brush that will get the job done quickly and efficiently.
Back to the project.
Once I got two coats of the paint on the dresser, it was time to search our “knob stash” to see if I could come up with knobs that would work.
**PRO TIP** ALWAYS SAVE KNOBS AND HARDWARE THAT YOU CAN SALVAGE! THIS WILL SAVE YOU SO MUCH MONEY WHEN YOU ARE RESCUING PIECES BECAUSE YOU WILL ALWAYS HAVE AN AMAZING STASH OF KNOBS AND HARDWARE TO USE ON NEW PIECES YOU FIND.
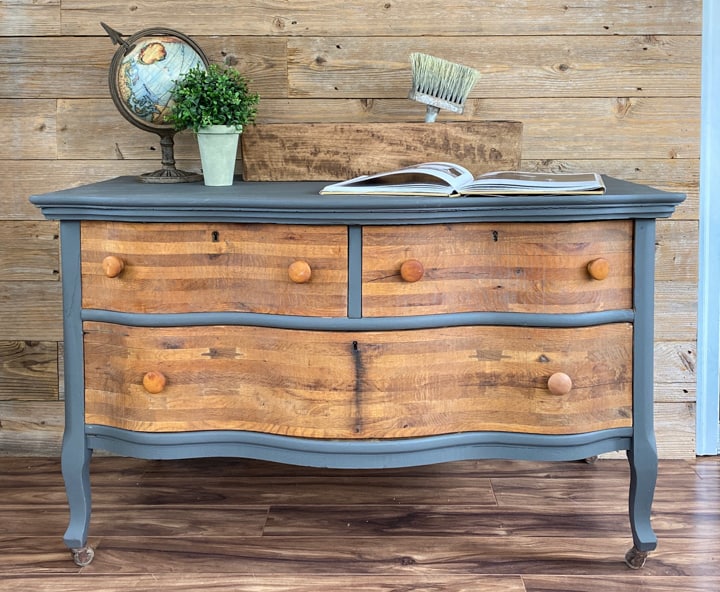
I found some knobs that worked!
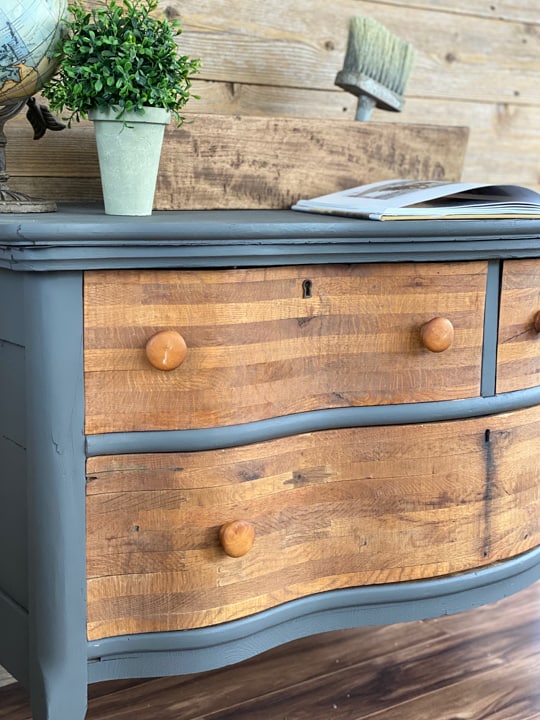
This little dresser has come a long way from when we rescued it. It needed a lot more work than we thought, but it was worth it.
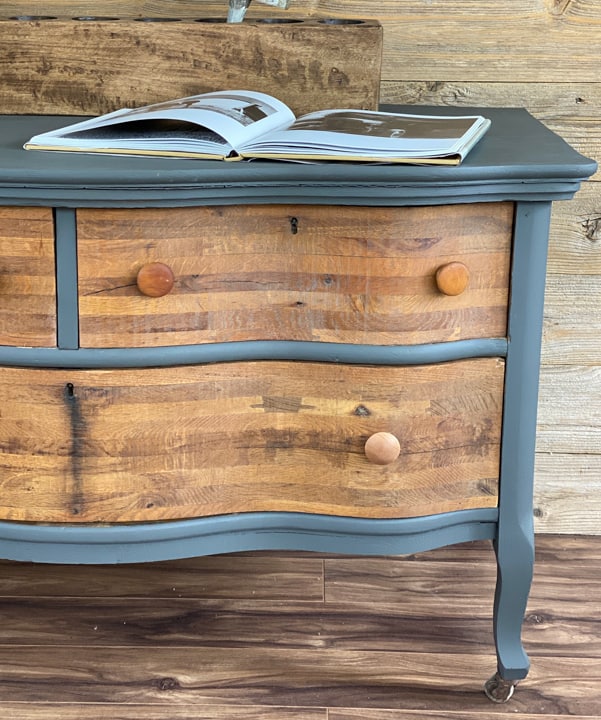
I still have so much fun and get so much satisfaction out of rescuing and transforming furniture.
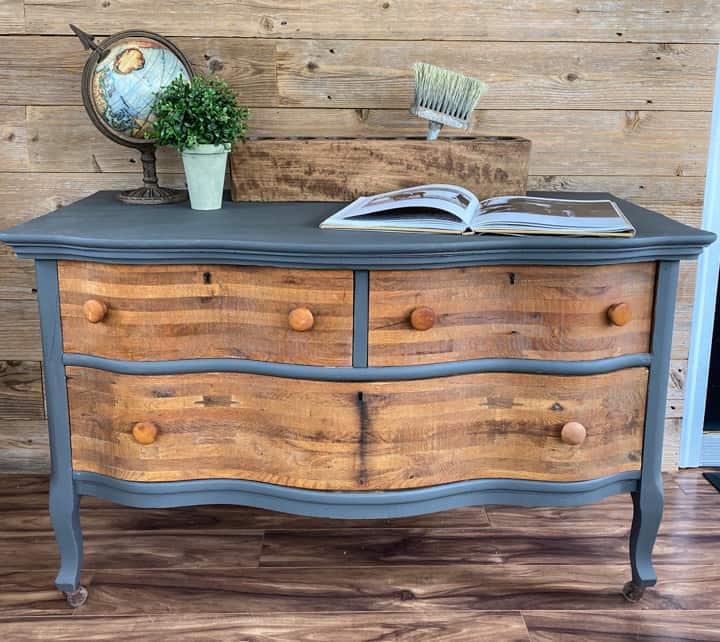
This piece will be sold soon and I am already working on the next few pieces we have had waiting on the sidelines.
Would you have rescued this piece?
PIN THIS POST!
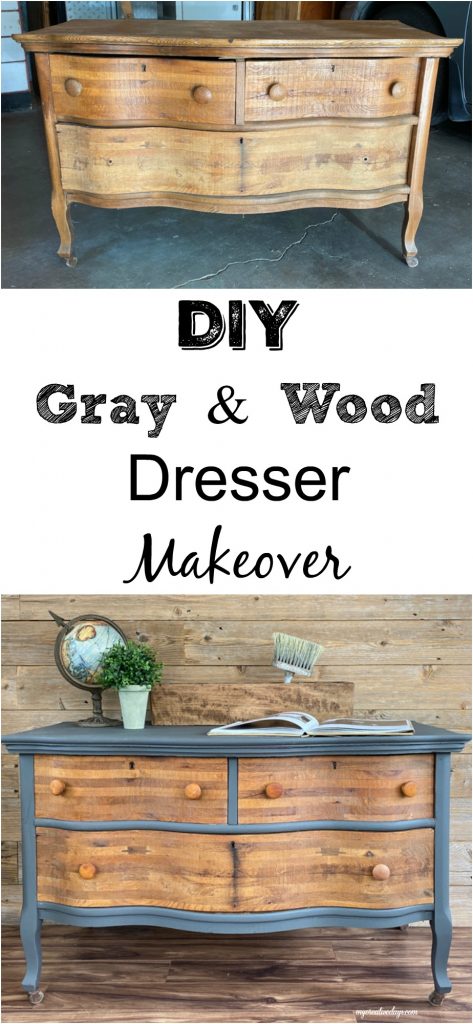
If you liked this Gray And Wood Dresser Makeover, you will love these transformations:
DIY Industrial Coffee Table From A Metal Cabinet

