Replacing interior doorknobs is one of the easiest ways to refresh your home’s style and functionality, and in this guide, we’ll show you how to install interior doorknobs step by step. It was a must for our recent flip house project! The house came as-is, and every door had a mismatched knob. Some doors that needed locking knobs didn’t have them, while others that didn’t need to lock did. We replaced every interior doorknob—adding locks to bedrooms and bathrooms and using non-locking knobs for shared spaces. With quality knobs from Probico and a new tool we discovered, the process was seamless.
Ready to update your doors? Check out the guide for all the steps, plus links to the knobs we used and a handy tool that ensures precise placement every time!
Why Replace Interior Doorknobs?
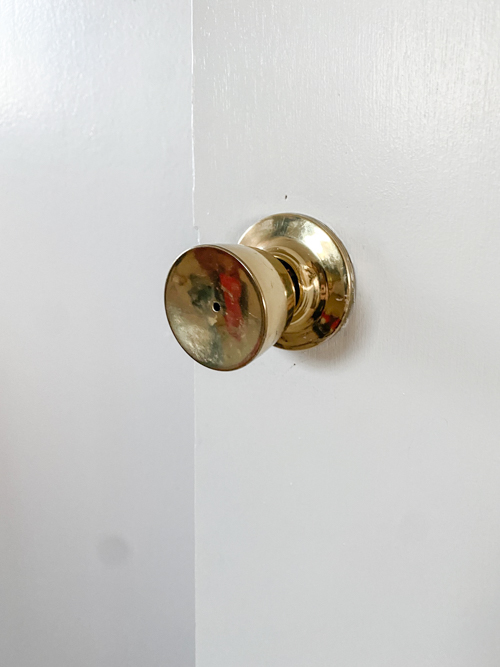
Interior doorknobs can become outdated, damaged, or lose their functionality over time. Whether you’re modernizing your home or flipping a house, replacing them is a simple upgrade that makes a big impact. For our flip house, we needed locking doorknobs for bathrooms and bedrooms and non-locking ones for closets and hallways. Probico sent us everything we needed, and their knobs were the perfect combination of style and durability.
{Affiliate links are used in this post. Click on any of the underlined links to find the products I am talking about. You can read my disclosure HERE.}
Tools You’ll Need
To install interior doorknobs, you’ll need:
- A screwdriver
- A drill
- A doorknob installation template tool (to ensure accurate placement)
- The Probico doorknobs
Having the right tools makes all the difference, especially the template tool for precise measurements.
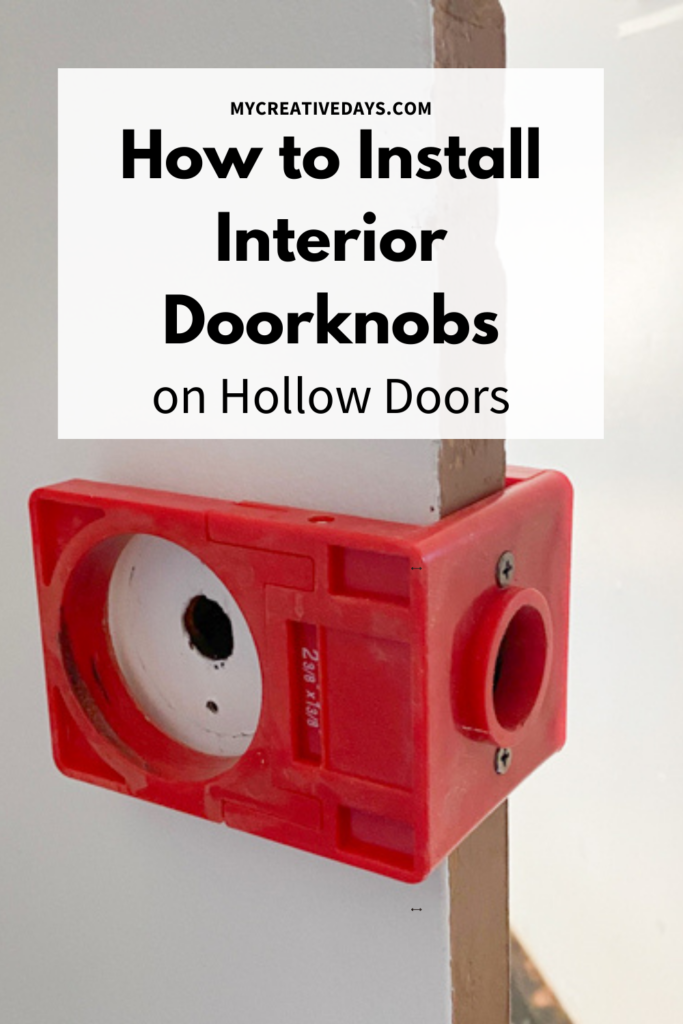
How to Install Interior Doorknobs on Hollow Doors
Step 1: Measure and Mark the Placement
If you’re replacing an existing doorknob, start by measuring the height of the current placement to ensure consistency. Standard placement is typically 36″ from the floor, but adjust as needed to match the other doorknobs in your home. Use the template tool to mark the correct spots for the knob and latch, ensuring they line up with the previous installation.
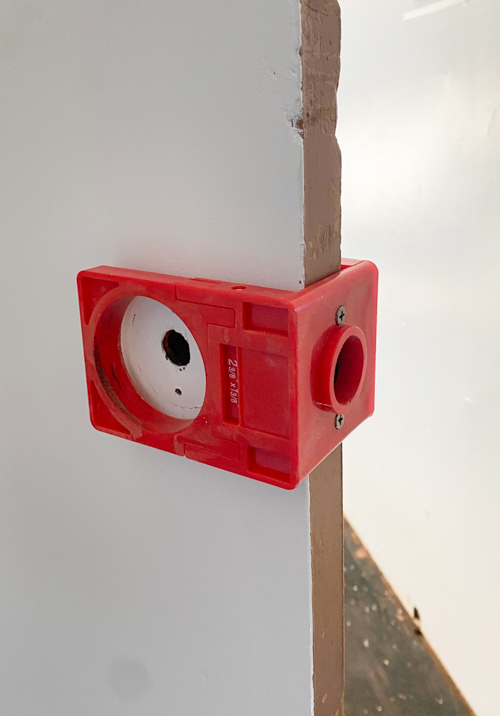
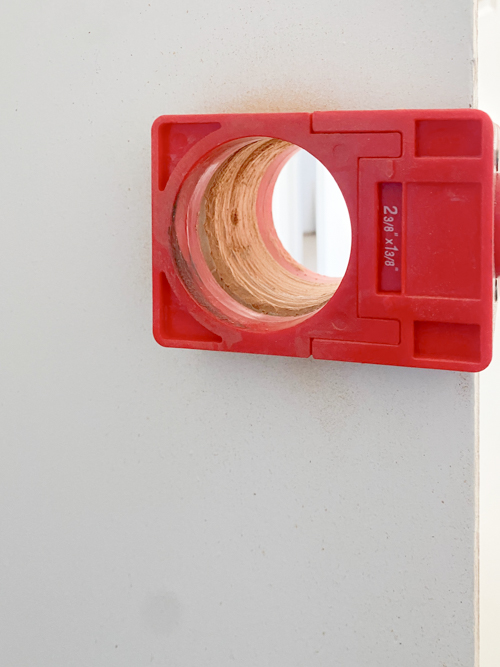
Step 2: Drill the Necessary Holes
Use the template tool as a guide and the circular blade that comes with it to drill the holes for the doorknob and latch. Ensure your drill is steady to avoid splintering the door.

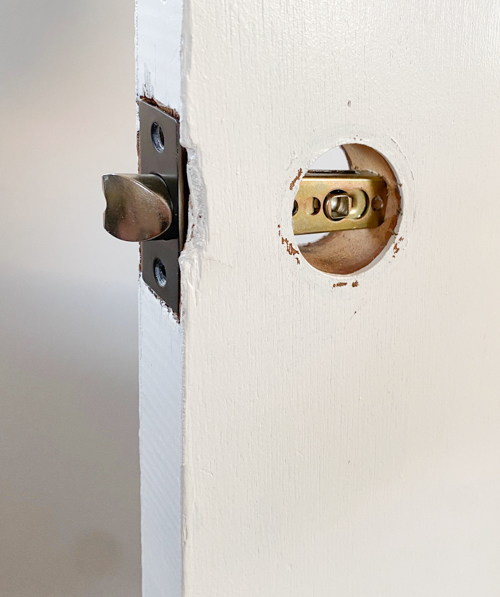
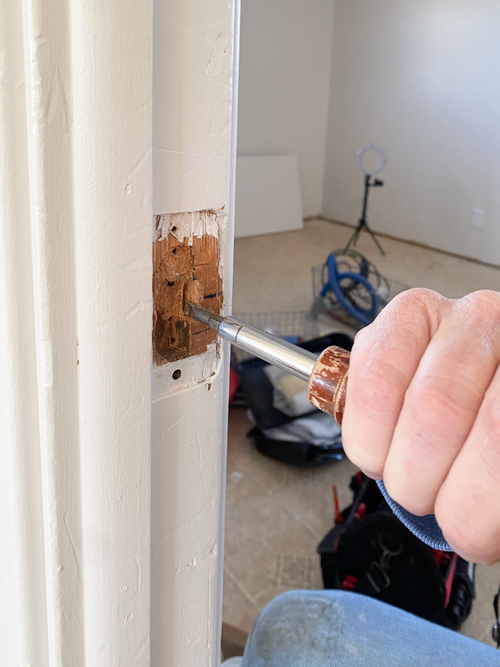
Step 3: Install the Latch Mechanism
Slide the latch into the pre-drilled hole on the door edge and secure it with screws. Make sure it’s flush with the surface.
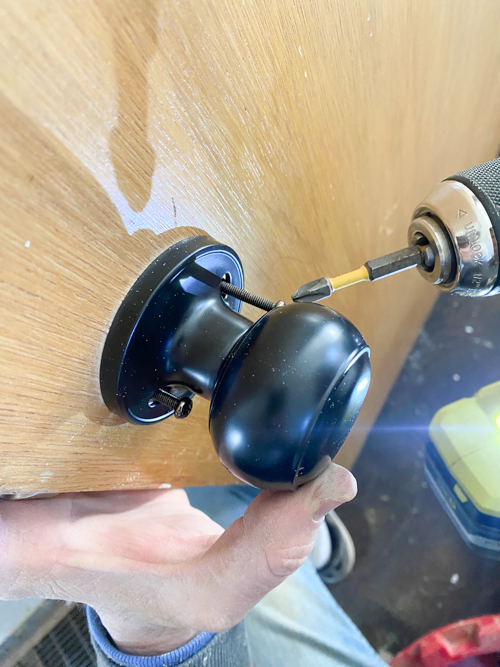
Step 4: Attach the Doorknob Components
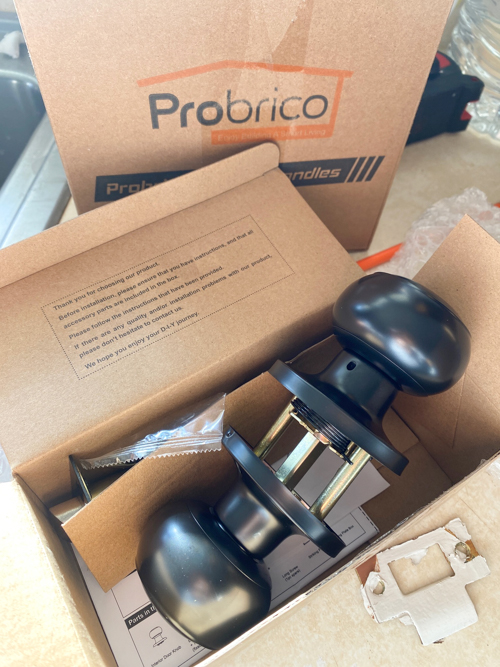
Position the exterior and interior doorknob pieces on either side of the door. Insert the connecting spindle through the latch mechanism, ensuring it lines up properly. We chose the Probico doorknobs for this project.
Step 5: Tighten Screws
Secure the knobs by tightening the screws. Be careful not to overtighten, as this can damage the knobs or strip the screws.
Step 6: Install the Latch Plate on the Door Frame
Since you’re replacing the knob, the outline for the latch plate should already be present from the previous installation. Position the new latch plate in the existing recess in the door frame. Ensure it is properly aligned with the latch mechanism on the door. You might need to make some adjustments, such as cutting and realigning, as we did, to ensure the door closes properly. (Check out our video of this project linked below to see the process in real-time.) Once everything is aligned, secure the plate with screws, ensuring it sits flush with the frame and is level.
Step 7: Test the Functionality
Check that the latch operates smoothly and that locking knobs lock securely. Make any necessary adjustments.
Watch the Real-Time Installation Video on How to Install Interior Doorknobs
Want to see this process in action? Check out our YouTube video where we walk you through installing interior doorknobs on hollow doors step by step. Watch HERE.
Why We Chose Probico Doorknobs
Probico doorknobs stood out for their sleek design, durable construction, and easy installation. They’re perfect for any project, whether you’re flipping a house or updating your own home. With options for locking and non-locking knobs, they met all our needs. Shop the knobs we used here.
Troubleshooting Common Issues on How to Install Interior Doorknobs
If you run into problems, here are some tips:
- Misaligned screws: Double-check that the spindle is properly aligned before tightening.
- Latch not catching: Ensure the latch plate is flush with the door edge.
- Knob feels loose: Retighten screws carefully without overdoing it.
Installing interior doorknobs on hollow doors is an easy project. With the right tools and high-quality knobs, you can transform the look and feel of your space. Be sure to watch our video for more tips and inspiration, and check out the products we used to make this project a success.
PIN THIS POST!
2 Comments