I want to thank Floor & Decor for partnering with me on this How To Install Laminate Flooring Post.
We have new flooring in the kitchen!!
With each project I share in our kitchen makeover, I get more and more happy that we decided to do it. I shared some tips we learned about how to paint kitchen cabinets and now, I am back to share how to install laminate flooring.
To talk about the flooring, I am going to give you a little background to our kitchen. We bought the home from the original owners who built the house. They took great care of the house, but it needed a lot of updating. Good bones but needs a makeover, my kind of project. Sign me up.
One of the first things we did was extend the dining area and remove a 1960 divider cabinet that was there. This also entailed removing the indoor/outdoor carpeting that was in the dining area and kitchen. The rest of the home has original hardwood floors that had been covered with shag carpeting for years. (We really lucked out there. All we had to do was remove the carpet and we had beautiful hardwood floors). One thing that broke our hearts was that the owners did not extend the hardwood flooring into the dining area and kitchen when they built the house. WHY?!
So, after removing the indoor/outdoor carpeting in the dining area and kitchen, we added laminate flooring that was a close match to the hardwood floors in the rest of the house. We would have loved to have someone come in and add hardwood flooring but that was no in the budget.
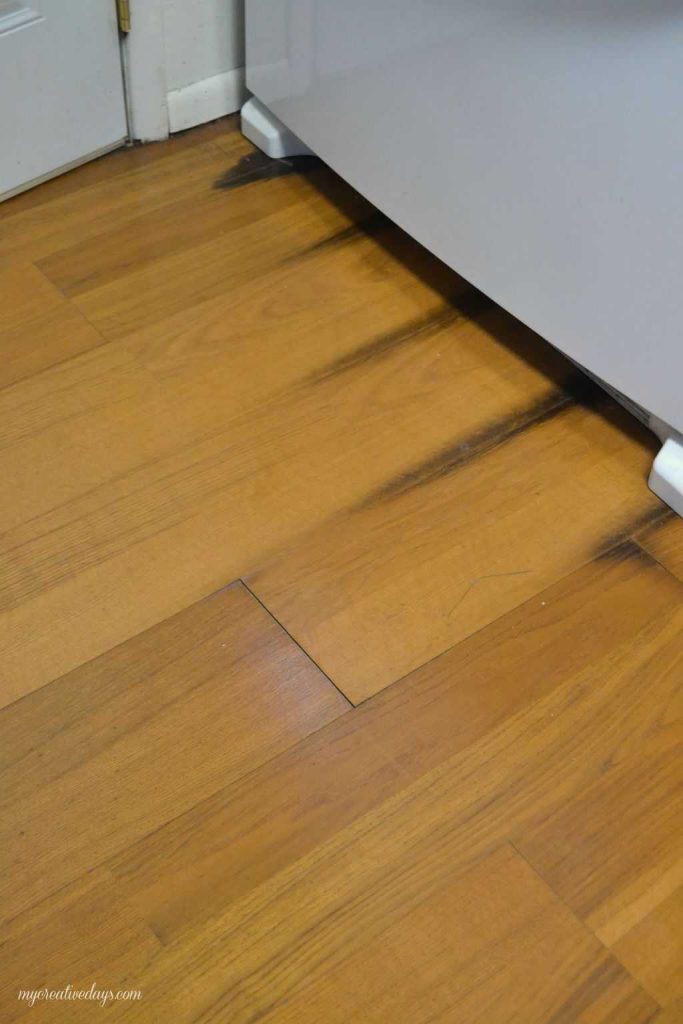
About a year ago, our old refrigerator had a leak and it did some damage to the laminate flooring.
It was time to get new flooring and since we had been thinking about a kitchen makeover for a while, it just made sense to do it all at once.
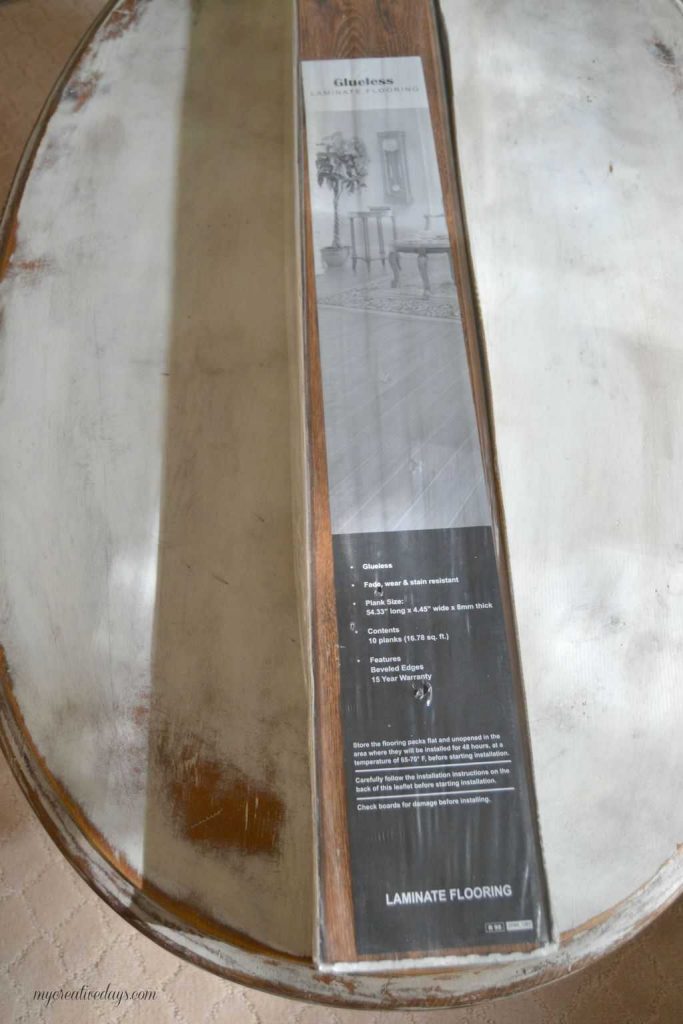
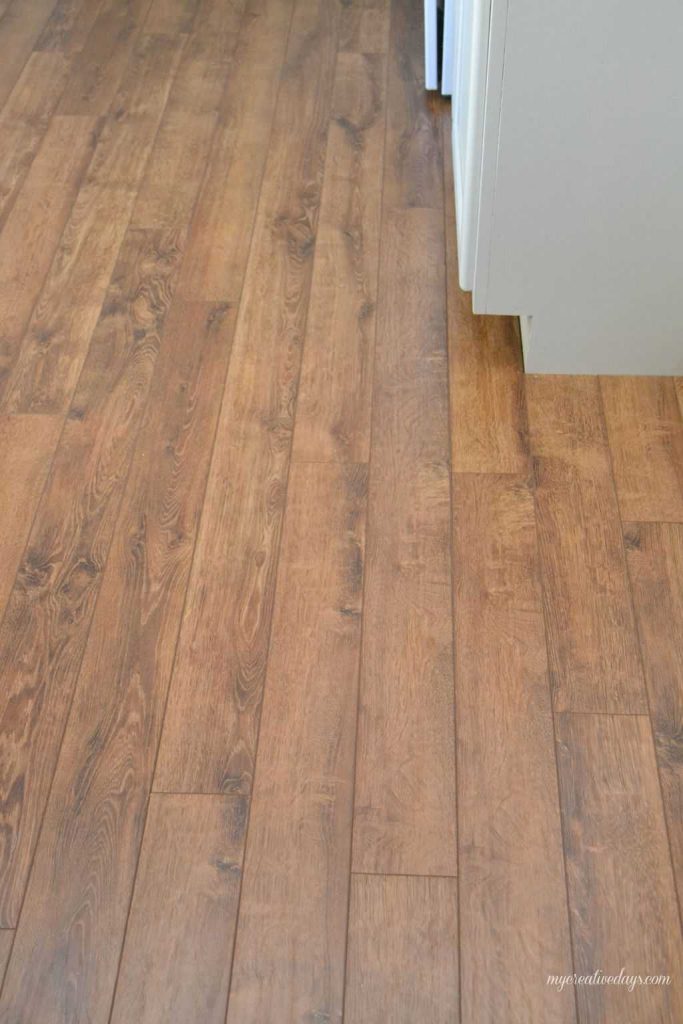
For the new laminate flooring, I chose the Mountain Oak Handscraped Laminate from Floor & Decor. Floor & Decor has so many flooring options that it was hard to choose one.
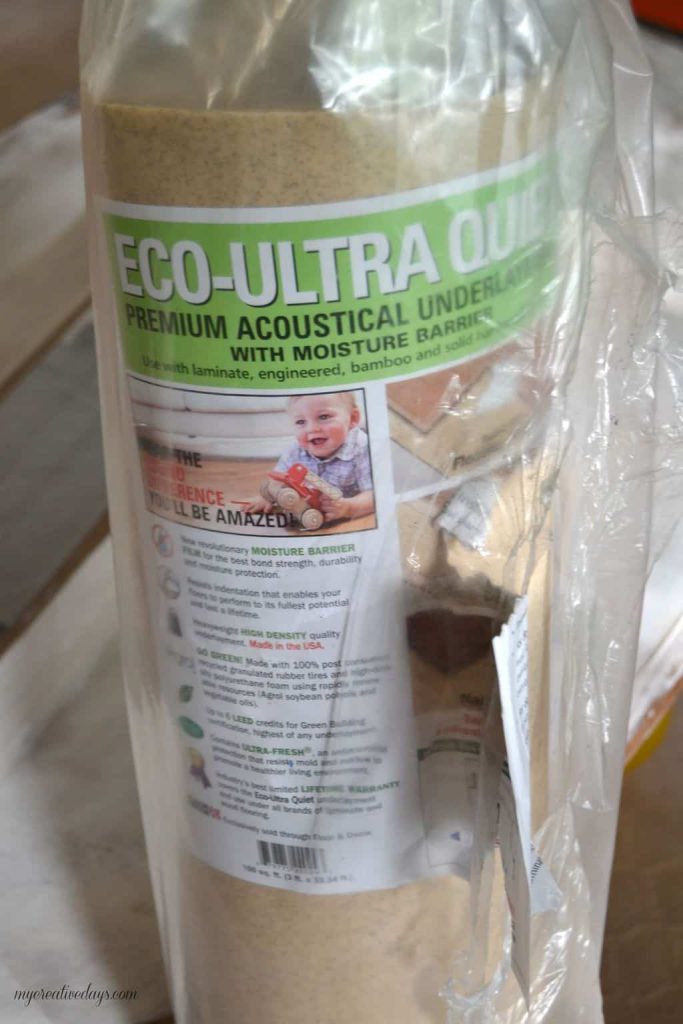
We also got the Eco Ultra Quiet Premium Acoustical Underlayment.
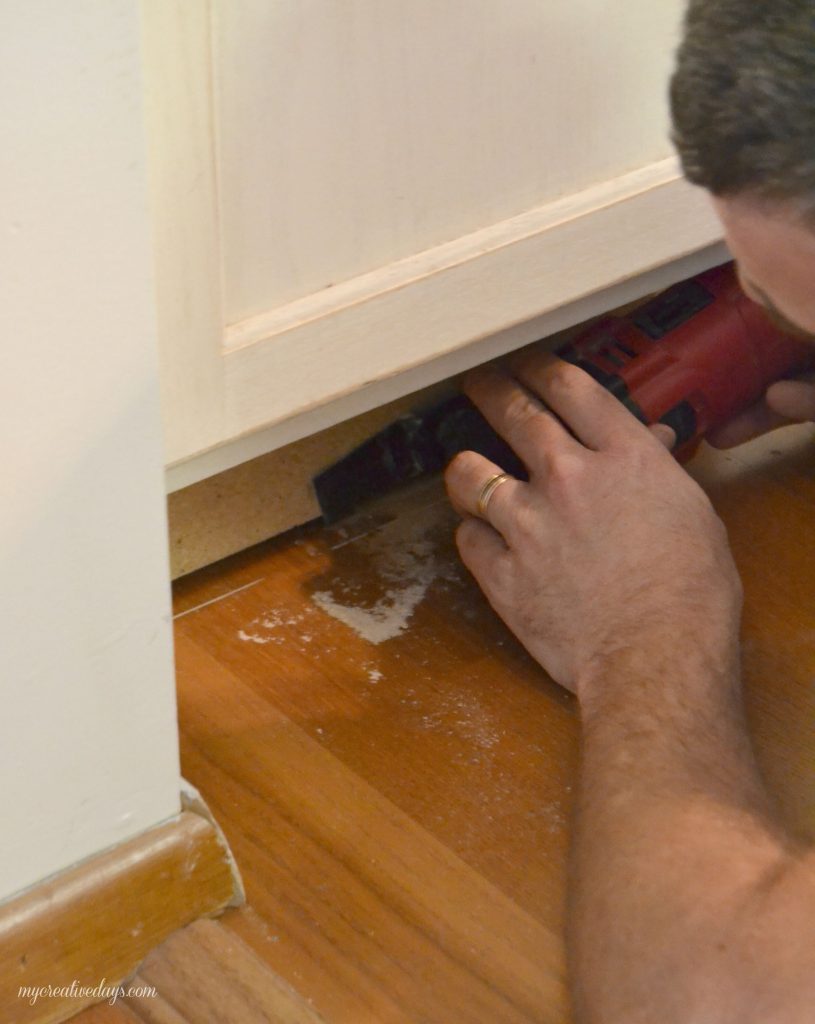
To start this project, we needed to cut some of the old laminate.
We learned how to install laminate flooring when we moved into this house about 12 years ago. Since then, we added some built-ins in our dining area. Since they were on top of the laminate, we had to cut the flooring to get it out.
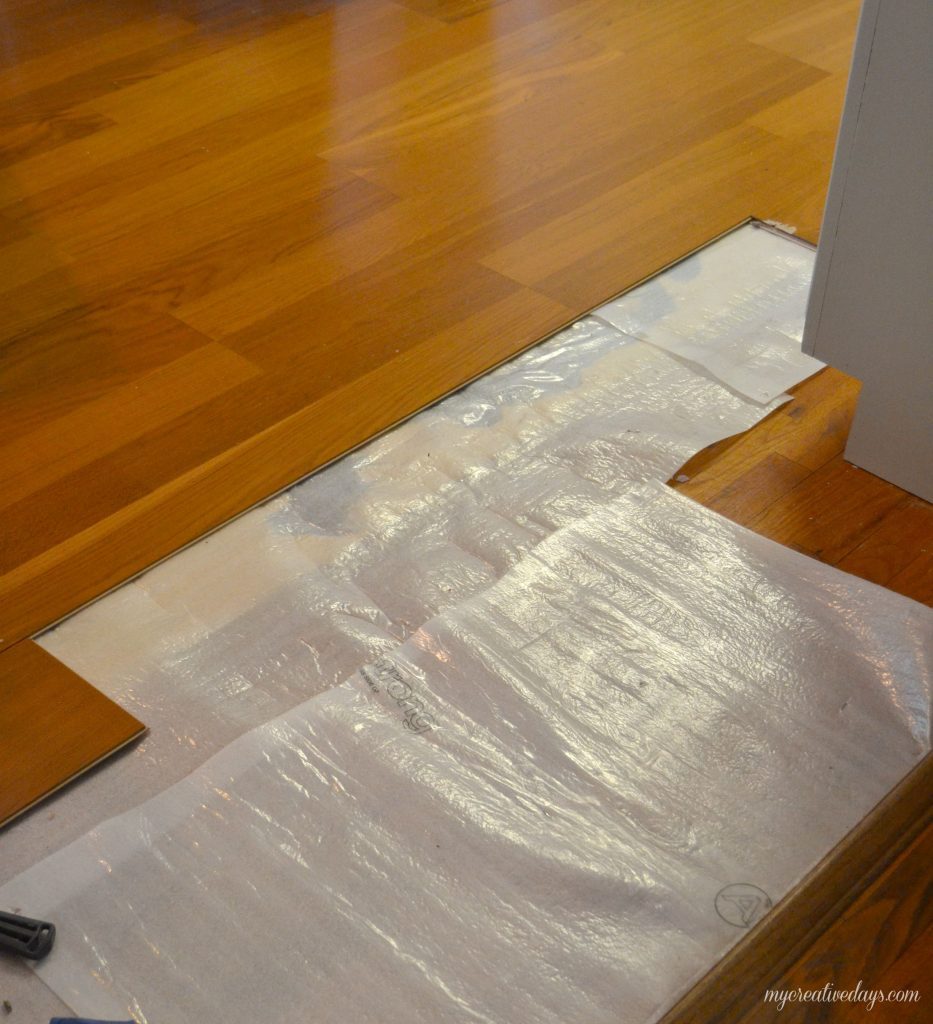
The picture below shows the old laminate floors and underlayment as we were taking them out.
Initially, I thought I would go with something that matched the hardwood floors again, but I don’t like the “orangey” color of all the oak in our home so I went with flooring that has a little different look and color.
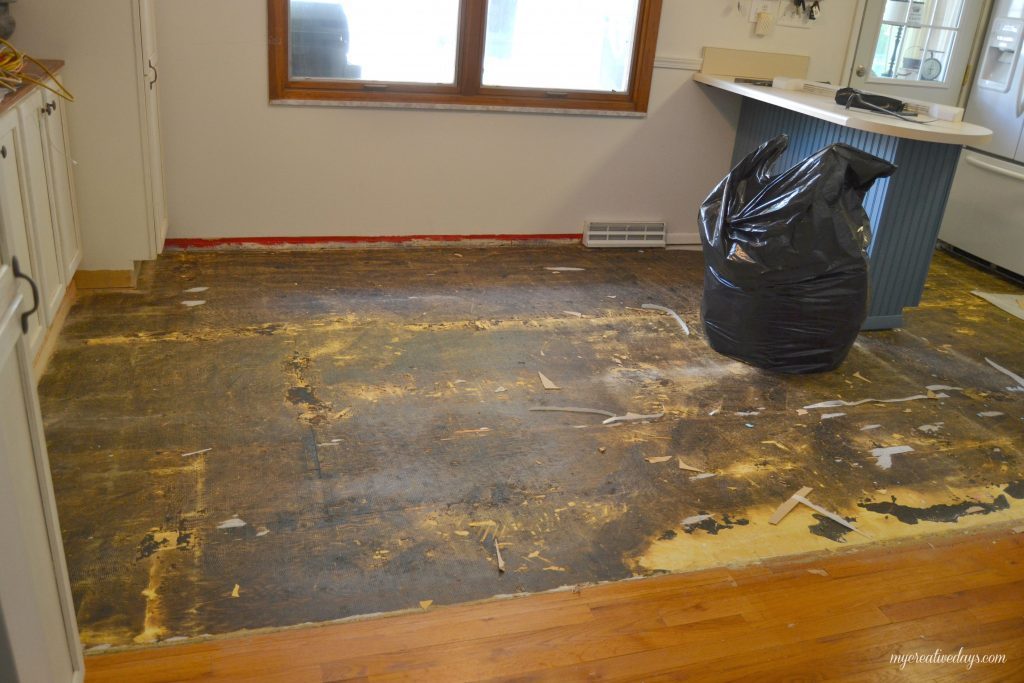
The picture below shows you where the hardwood floors end. This gives you an idea of where the dining area initially was. It was a pretty tight space.
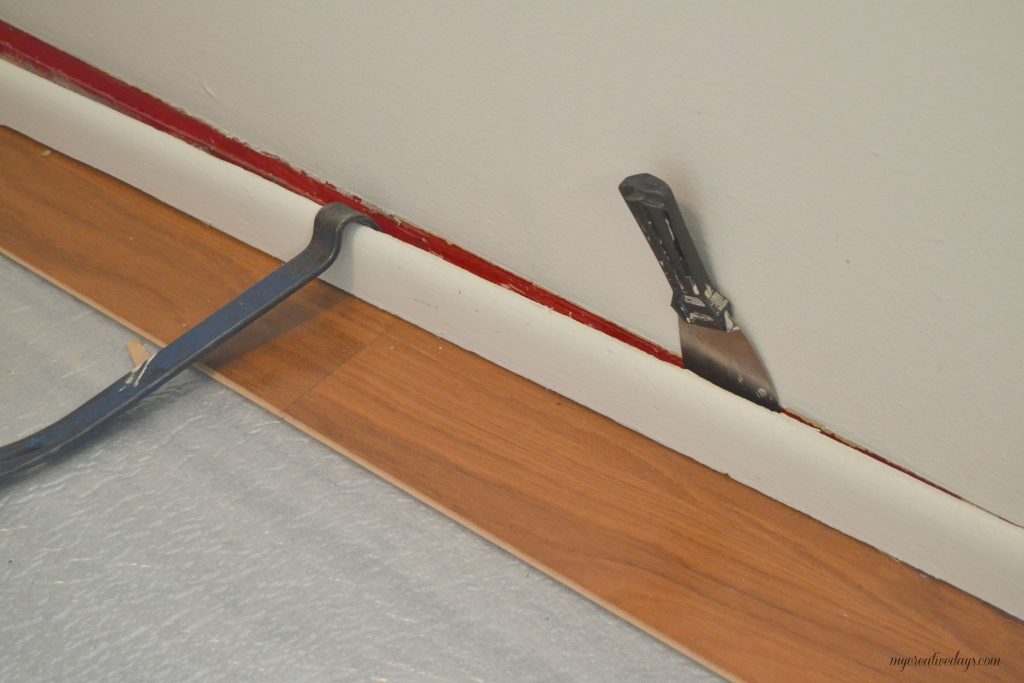
Removing trim is easy with a couple of tools.
You just have to be gentle when you are tugging on it so you don’t split it. We have been there and done that so many times.
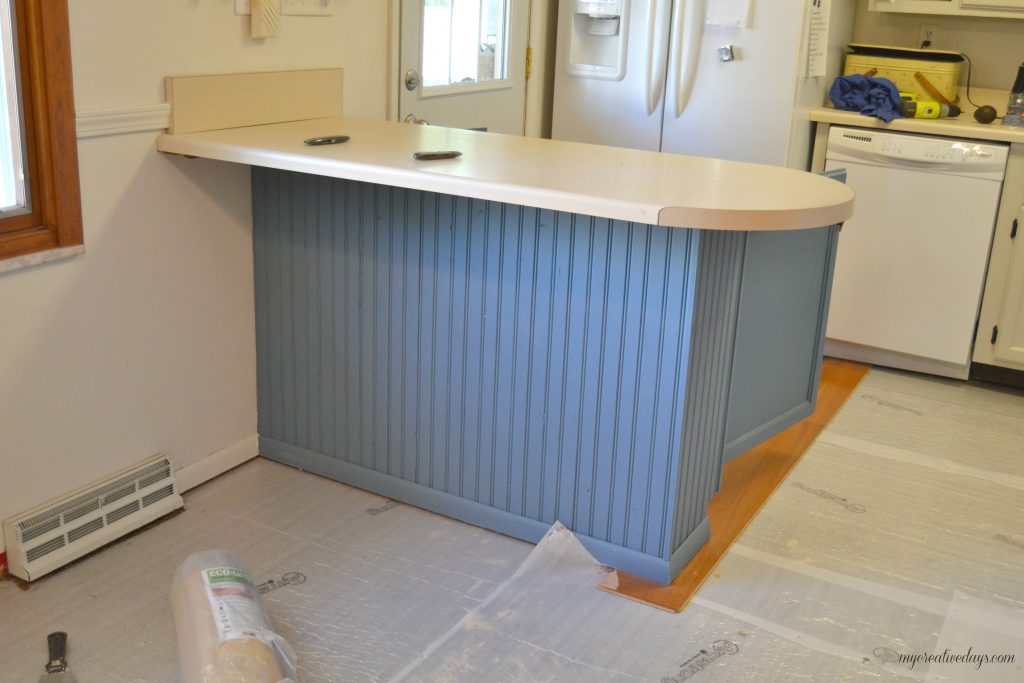
I will be sharing the bar transformation in a post on its own, but I thought I would mention it here. It was the same orange color as the cabinets. When I was thinking about painting the cabinets and I was so scared to try it, I thought I would just paint the bar and see how it went. If it was a horrible experience, I was fine with having the bar be a different color. If it went well, I would take on the rest of the cabinets.
The cats out of the bag….. it went well.
We added the bead board to the back of the bar to give it a little character. The color is something I mixed from some paint I have left over. The bar has changed colors and we are adding some fun details to it.
More on that to come.
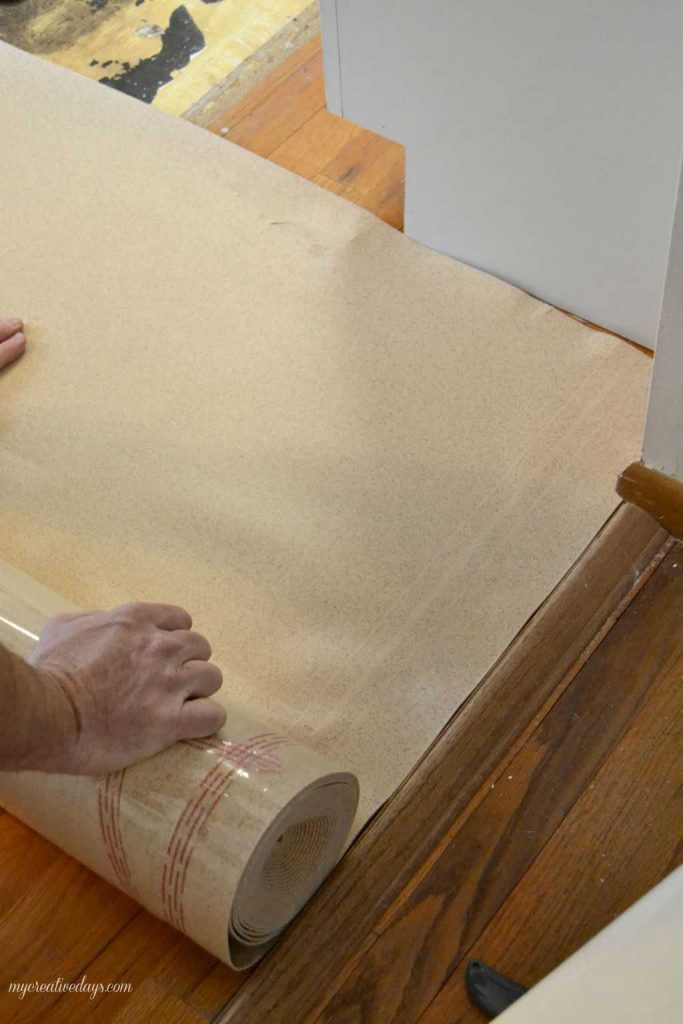
The Eco Ultra Quiet Premium Acoustical Underlayment is very soft and “cushion’y'”. It was a lot better than what we had under our previous floor. It was simple to cut and lay down with its sticky edge that helps keep it in place as you go.
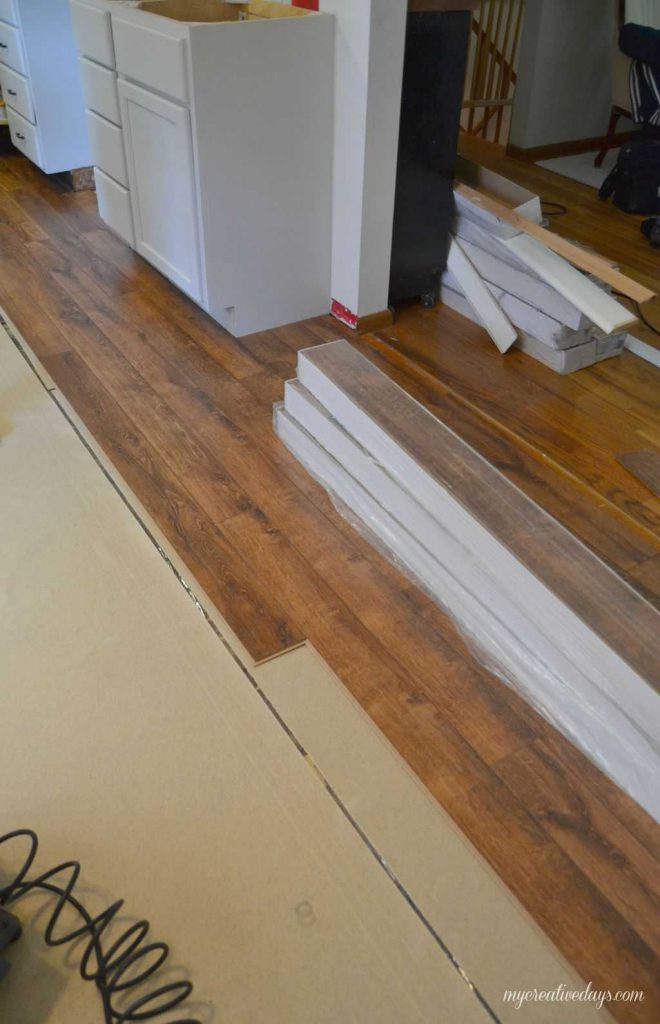
Our first few rows of new floor!
The picture below shows you where the original hardwood floors and the laminate meet.
*Tip: As we worked, we laid the boxes of laminate on the rows we had completed. Their weight helped keep everything in place so the flooring wouldn’t shift as we were moving along.
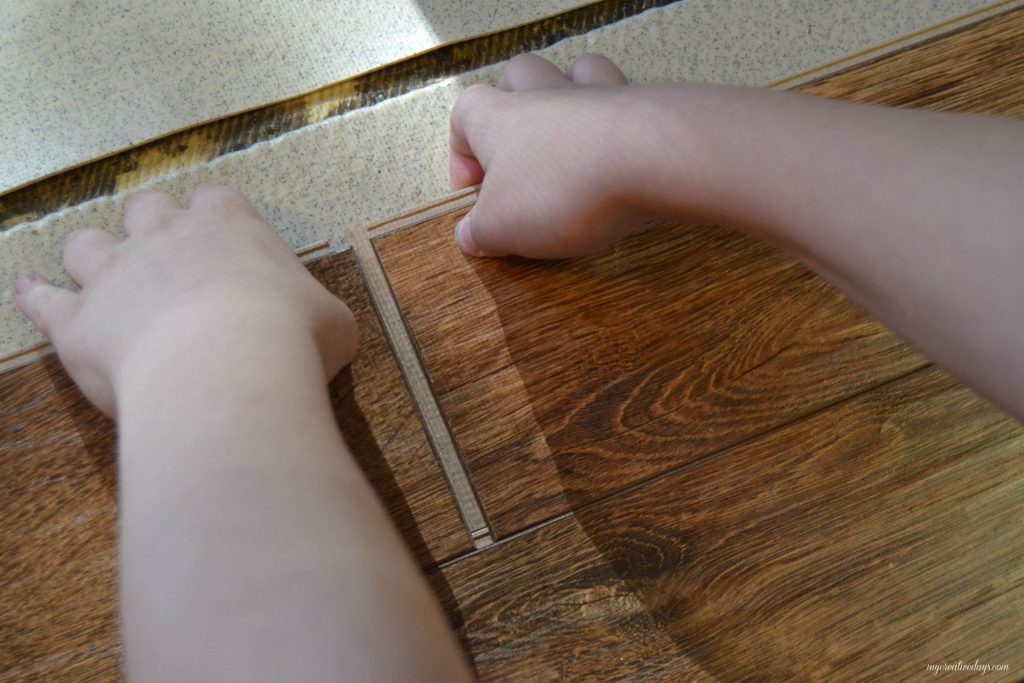
I wanted to show a picture of the best way we found to lay the floor.
I would hold the two pieces of flooring we were connecting, up and at a slight angle……..
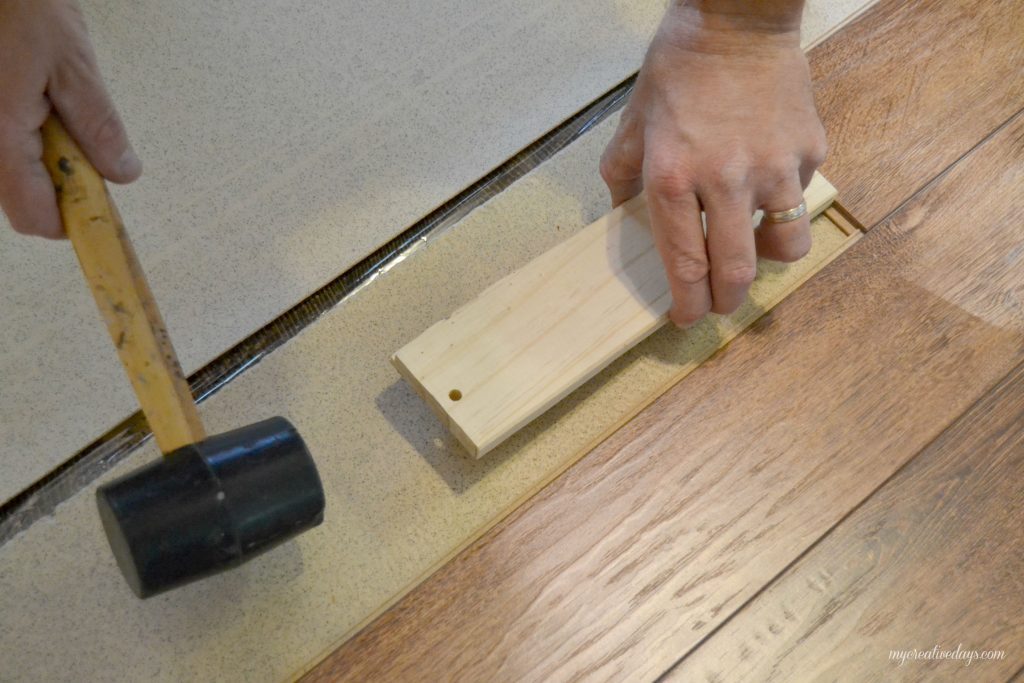
….. as Hubby would tap them in from the end with a soft mallet and block of wood.
This system worked so well and the process went fast.
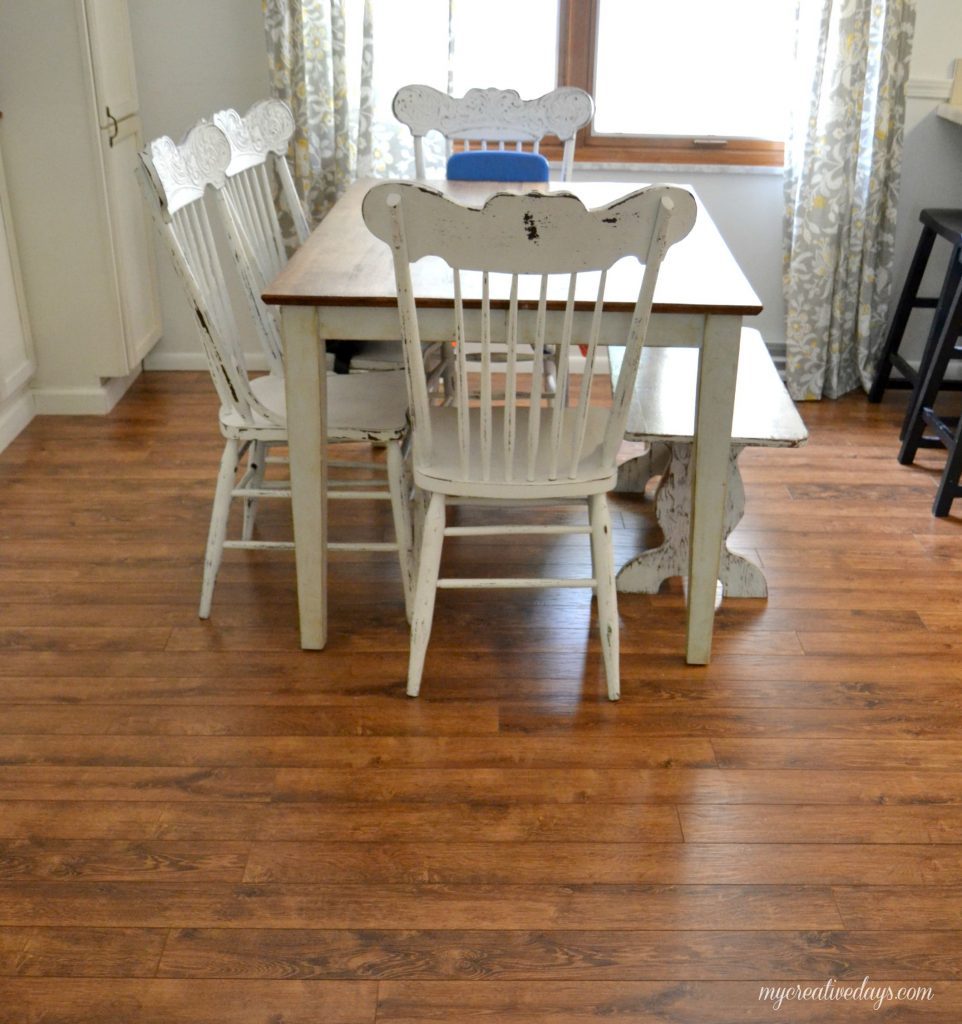
Look at those floors!
This flooring has given our kitchen and dining area an entirely new look.
The handscraped look and color are amazing.
I can not say enough about Floor & Decor. The staff was so helpful with every minute of my flooring decision. They answered all my questions and were very helpful.
Floor & Decor have so many beautiful flooring options to choose from. If you are in the market for new flooring, head over to Floor & Decor. You will find exactly what you need.
I hope this post about how to install laminate flooring has helped you in your flooring needs.
Pin This Post!
If you like this How To Install Laminate Flooring post, check out these other projects:
The Easy Way To Paint Paneling
How To Paint Furniture Without Sanding


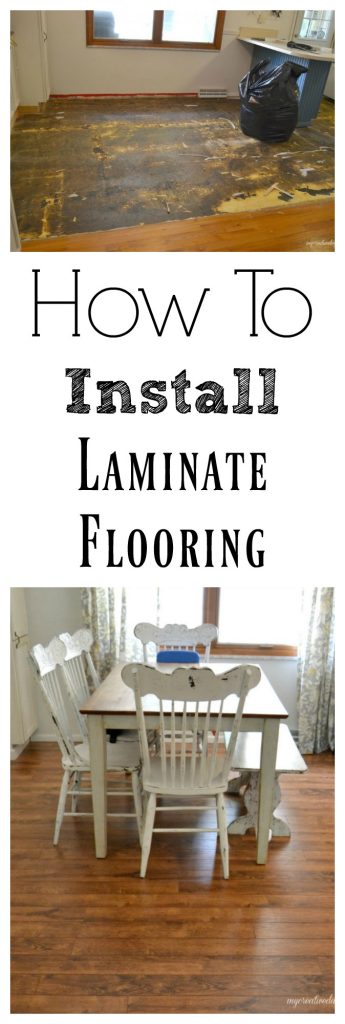
What a difference!~
That looks fabulous!
Great job!
Hugs,
Karin
Thank you Karin!
How very beautiful! Your new flooring looks stunning! I’d love to rip out the carpet in our living room/dining room and put in flooring like yours.
We love it and it was so easy to put down. Working with Floor and Decor was so nice. They were so helpful!!!!