I have done a million furniture makeovers over the years. Okay, a million might be pushing it, but I have done a lot. I have shared a lot of them here and I have been asked a question a few times and thought I would write a post sharing how to test for lead paint on furniture pieces.
{Affiliate links are used in this post. Click on any of the underlined links to find the products I am talking about. You can read my disclosure HERE.}
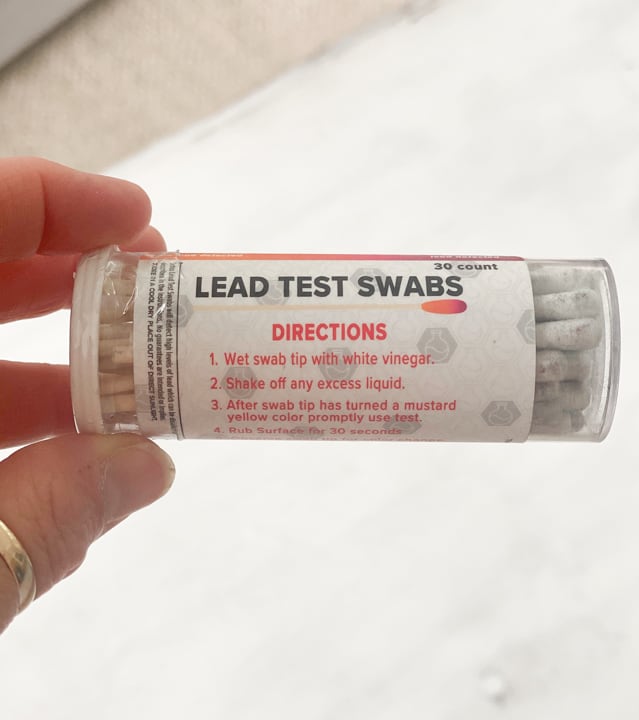
If you rescue furniture or other painted pieces and worry about lead paint, I would highly recommend getting a lead test kit to always have on hand. I bought THIS ONE that comes with 30 tests inside. It is so easy to use too. Let me show you how to use it.
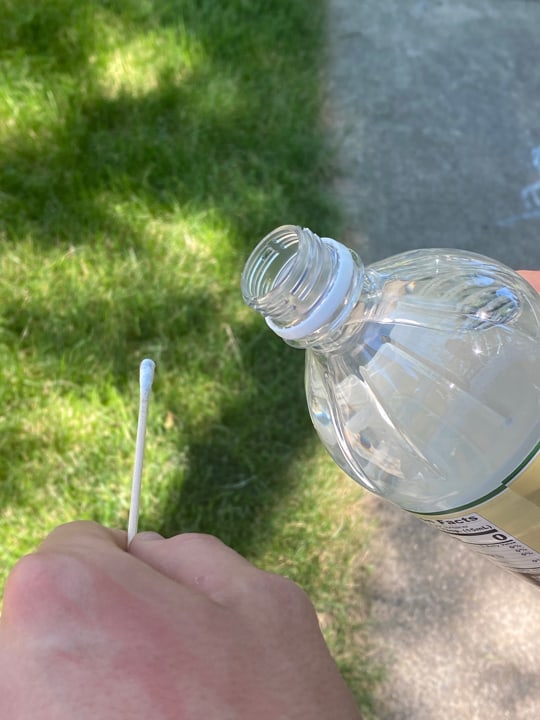
For this particular lead test kit, you need vinegar to use it.
I feel like all households have vinegar and it is something we always have on hand, so I chose this one.
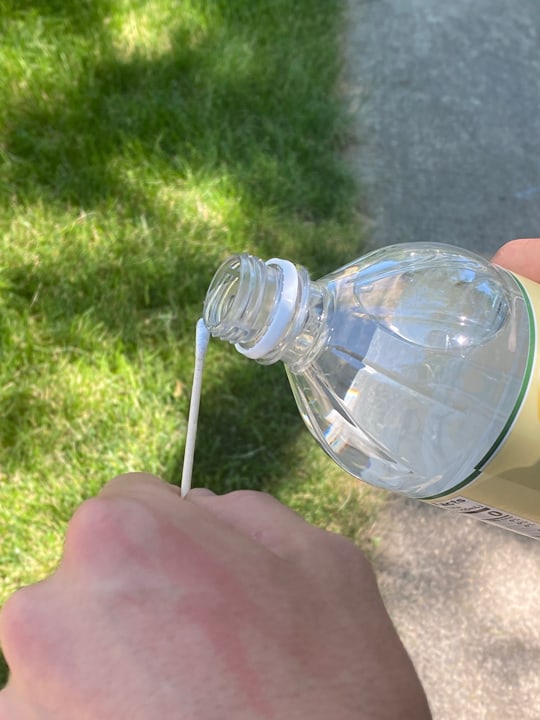
You pour vinegar on the swab part of the stick and shake off any excess vinegar. The swab will turn yellow like in the photo below.
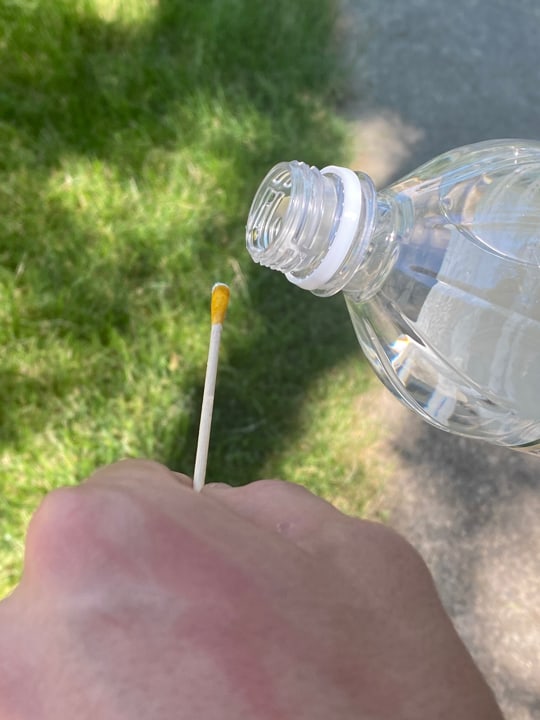
As soon as the swab turns yellow, you rub it on the piece you are wanting to test.
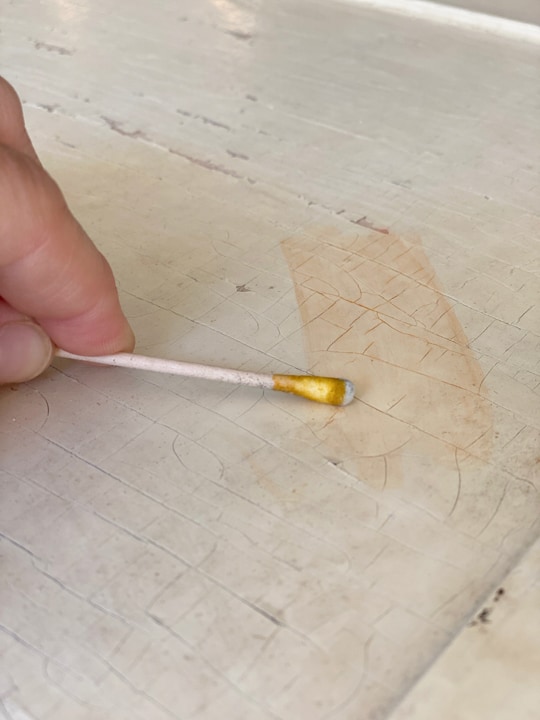
The piece will turn a color. If it is on the orange side, there is no lead detected. If it is on a more purple/red color, lead it detected. The colors are on the side of the kit container, so it is easy to read and determine what you are dealing with.
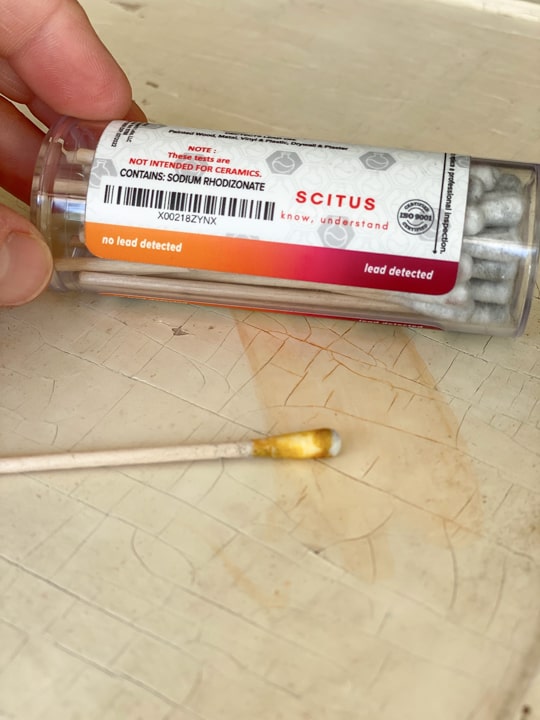
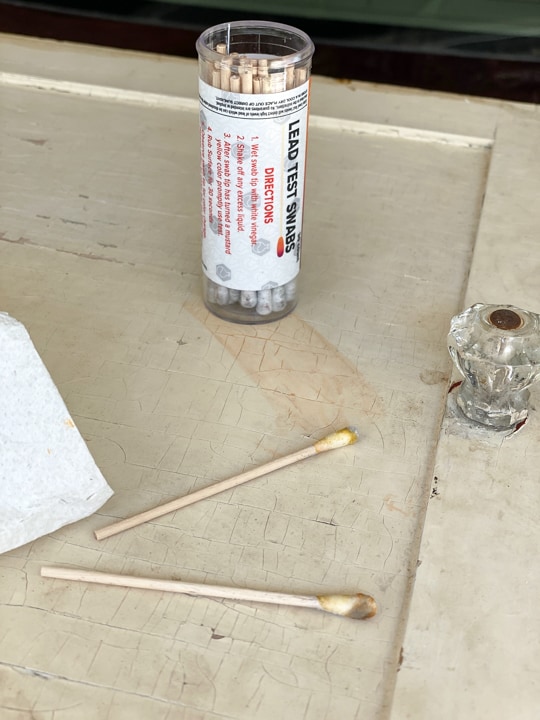
This piece did not have an lead paint detected. I need to state here that you should do the test on an area of the piece that you won’t see it. Old, painted pieces are all different. Some of them, I have been able to wipe clean and others were a little stingy. I would be cautious on every piece and just test it on the back side or somewhere not noticeable in case it doesn’t come clean.
What Do You Do If Lead Is Detected?
This is a question that will come up if lead is detected and I get asked all the time what I do. I have rescued so many pieces over the years and have literally only had a couple of pieces where lead was detected. It isn’t the norm, but it does happen. I say that you need to be comfortable and you need to decided what you want to do with these pieces. I wear a mask, gloves and long sleeves and most of the time, I am sanding and priming these pieces to paint.
The priming and painting will contain it. If you add a top coat on it as well, it will add another layer. Again, I have not had many pieces to make it an issue for me, but you may run into more. This testing kit is something you could have on hand and if you can carry a little vinegar as well, you may be able to test before you buy if the owner will let you. Lead paint doesn’t scare me because I know there are ways to contain it and to test for it. I also think because so many of the pieces I have rescued has not had any lead detected. I am not afraid to bring home an amazing piece (if it is a great deal 😉 ) and work with it when I get home.
Do you worry about lead paint when you rescue pieces?
PIN THIS POST!

If you liked this how to test for lead paint on furniture pieces, you will love these posts:
Furniture Restoration: How To Fix Peeling Veneer


could you shoot me the link to where to get those swabs . thx
The link is in the post. Just click on the words that say I bought THIS ONE. It will take you right to them. Thanks
Hi Lindsay- Thank you for your wisdom & sharing! Love your site and the TLC you put into sharing with us!
Need your advice please, if you can (direct email is great too): I rescued a nice unique oak (bleh) buffet, in flawless original condition, with interesting carved ‘wood’ pattern on door panels. The back of buffet stamped only ‘12.1969’ and fancy French & Italian words for brown oak. It looked like same manuf of my husband’s 1968 bar cart I refinished- so I was thrilled to find it!
I applied 4 thick coats gel stripper (yep, 4, on top/sides/doors… still most finish remains!). On doors, I find after scraping one… are real oak door trim/grain goes to sides – but, on ornate center panels… the brown ‘stain’ just won’t come off… while my very nice, new sharp 5-in-1 scraper has been helpful… I know a big faux-pas – but my new motto on this project is “80 grit or flame-thrower!”
The problem: I can see the doors’ ornate panels /carved block wood areas … are not stain as it appears, but actually a gross brown paint over onion skin-thin veneer, and hollow resin ‘trim detail’. It took one day of 6 hours for 1 door stripped, scraped & sanded (some blown veneer but will add ‘grain’ after new stain with Mohawk pens).
My fear is lead (I wondered/researched due to finding this area is paint, and top/sides stained sprayed-on very thick stain & varnish near impossible to remove- now learning lead was used in tinted varnish/lacquers as well), and already did hours of sanding on that door with only N95 mask.
– Do you know if lead will appear on DIY 3M /HomeDepot lead test strips if stripper applied to surface? (I read TSP neutralizes lead into lead phosphate – too late for me now! LOL) – Your example is great for light paint!
– Have you refinished any of these late 60’s dark pieces with finishes that won’t come off? – and survived without lead poisoning LOL?
I have finished so many pieces over the years and survived without lead poisoning. There are different lead testing kits out there. Maybe you can find one with your specific need.