When installing new wood laminate flooring, proper laminate flooring subfloor prep is key to achieving a smooth, professional-looking finish. One of the best ways to fill gaps, cracks, and uneven areas is by using Durham’s® Rock Hard® Putty. This reliable, rock-hard putty is an excellent choice for fixing imperfections before laying down laminate planks. In this post, I’ll walk you through the step-by-step process used to flip a gap we had in a flip house. Using Durham’s® Rock Hard® Putty created a stable and level foundation for the flooring we were adding throughout the house.
Why Choose This Putty for Laminate Flooring Subfloor Prep?
Durham’s® Rock Hard® Putty is a trusted product known for its strength and durability. Unlike other fillers, this putty dries rock hard and doesn’t shrink, making it ideal for laminate flooring subfloor prep. It adheres well to various surfaces and sands smoothly, ensuring an even base for your new flooring.
Benefits of Using Durham’s® Rock Hard® Putty:
- Rock-hard finish – Once dry, it creates a solid surface that won’t crack or crumble underfoot.
- No shrinking – Unlike other fillers, it maintains its shape as it dries.
- Long Work Time – You don’t have to worry about it drying while you are getting it in place.
- Easy to sand – Allows for a smooth, level surface.
{Affiliate links are used in this post. Click on any underlined links to find the products and sources I am referring to. You can read my disclosure HERE.}
Supplies Needed For Laminate Flooring Subfloor Prep:
- Durham’s® Rock Hard® Putty
- Something to mix the putty in
- Putty Knife
- Sander
How to Use Durham’s® Rock Hard® Putty for Laminate Flooring Subfloor Prep
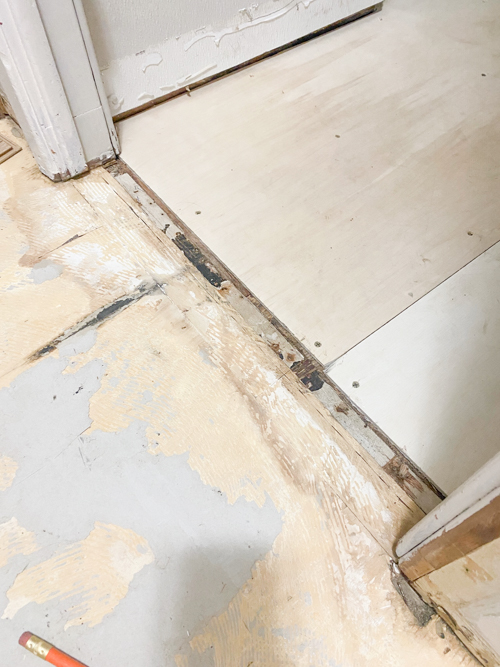
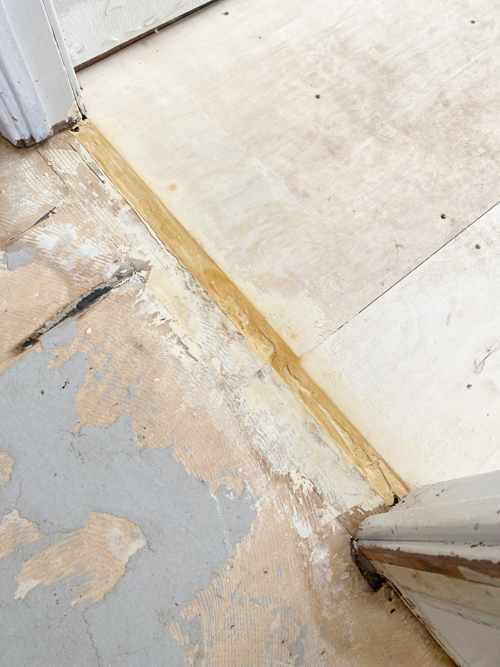
Step 1: Assess the Floor Condition
Before applying Durham’s® Rock Hard® Putty, inspect your subfloor for cracks, dips, or holes that could affect your laminate flooring subfloor prep. Pay close attention to seams and joints, as these areas often need extra attention.
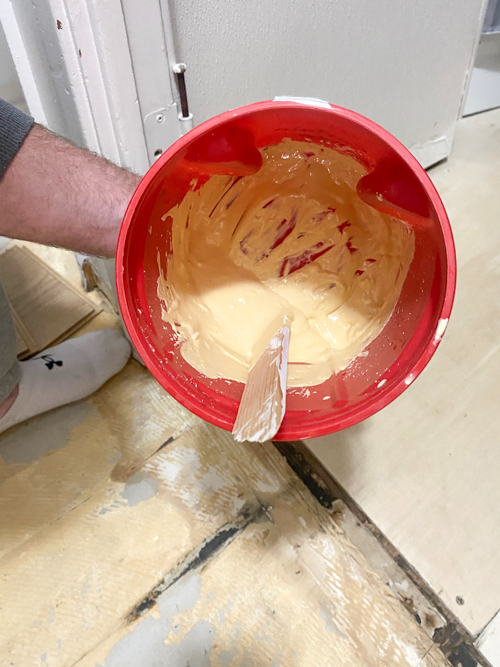
Step 2: Mix the Putty
Durham’s® Rock Hard® Putty comes as a dry powder that needs to be mixed with water. It is a 3-to-1 ratio. You can easily double or triple the batch if you have a bigger gap to fill like we did. You want the mixture to be a thick, peanut butter-like texture that is easy to spread but not too runny.
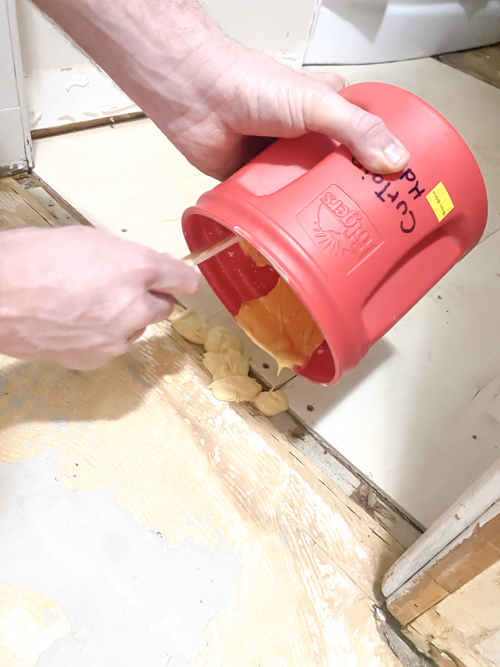
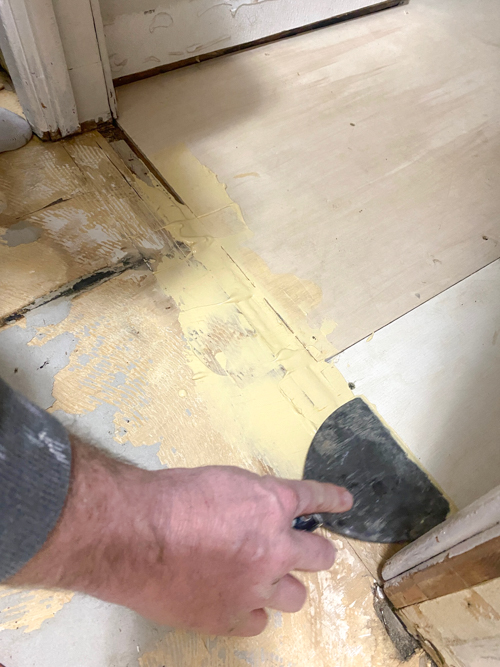
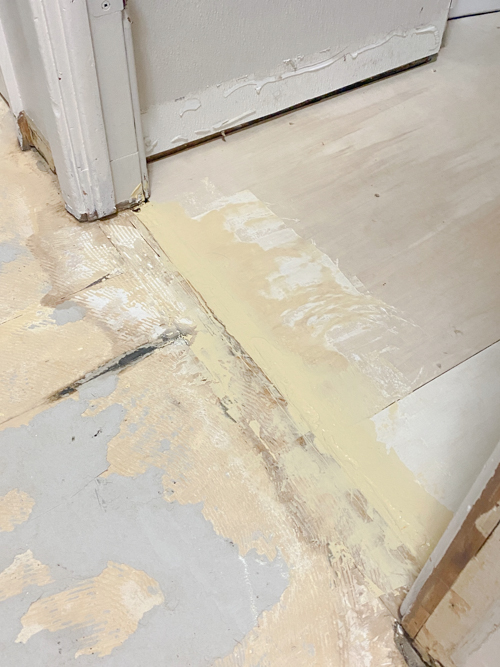
Step 3: Apply the Putty
Spread the mixture over the problem areas using a putty knife, filling gaps and leveling uneven spots. Work in thin layers to prevent excess buildup. If filling deep holes, you may need to apply in multiple coats, allowing each layer to dry before adding more. You can watch us do this project in this short video HERE.
Step 4: Let It Dry Completely
Drying time may vary depending on the thickness of the application. Follow the recommended drying time before proceeding to the next step. We let ours sit for 24 hours for this project.
Step 5: Sand the Surface
Once the putty is fully dry, sand it smooth using a fine-grit sandpaper. This ensures a level surface for your laminate flooring subfloor prep and prevents any bumps or ridges from affecting the final look or performance of the flooring.
Step 6: Clean the Area
Vacuum or sweep away any dust from sanding to ensure a clean surface. Any debris left behind could interfere with the laminate installation.
Step 7: Install Your Laminate Flooring
Now that your subfloor is smooth and even, you can begin installing your wood laminate flooring.
Using this putty is a simple yet effective way to ensure your laminate flooring subfloor prep goes smoothly. By taking the time to prep your subfloor correctly, you’ll avoid future issues such as gaps, creaks, or uneven planks. Whether you’re tackling a DIY flooring project or working as a professional, this product provides the durability and reliability needed for a high-quality finish.
For more DIY tips and home improvement guides, be sure to head over to my YouTube channel where I get more in-depth with projects like this and I am sharing all of our latest flip house projects. Make sure to subscribe to my channel when you are there. I am launching new videos every week! Find my channel HERE.
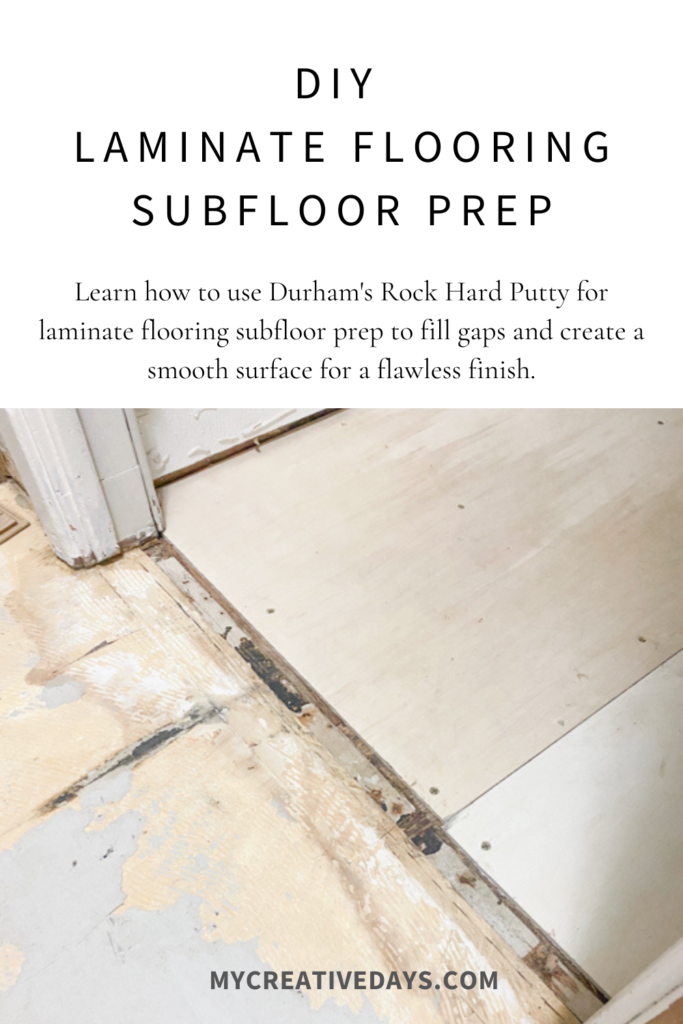
PIN THIS POST!
If you liked this Laminate Flooring Subfloor Prep post, you will also love these:
How to Fill a Table Crack with Durham’s Rock Hard Putty
How to Install Interior Doorknobs on Hollow Doors
Fix Chipping Cabinet Edges Easily: Save Thousands Without Replacing Your Cabinets