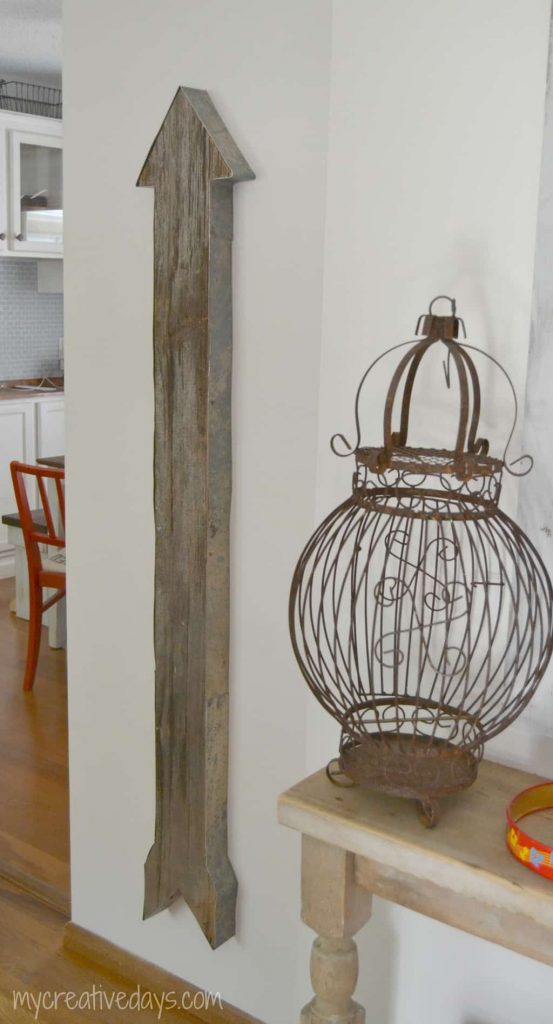
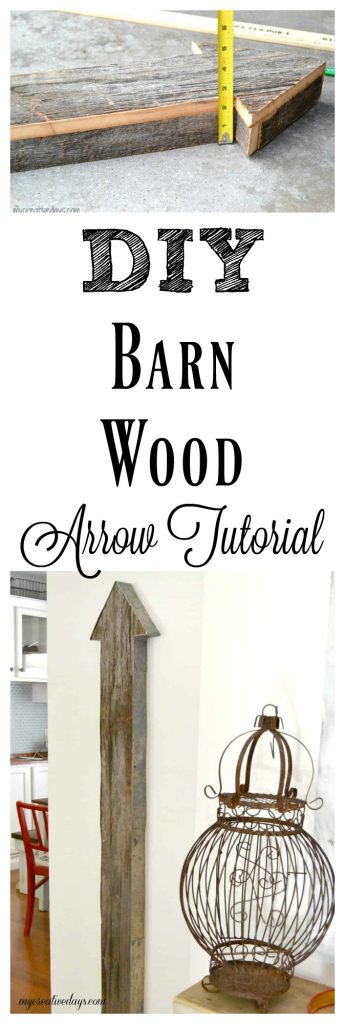
I have a special place in my heart for barn wood. I love everything about it; the character, the texture, the history and the look. Pair it with galvanized metal and you have a match made in heaven. I think the two materials fit so well together that I wanted to incorporate them in this DIY Barn Wood Arrow project.
{Affiliate links are used in this post. You can read my disclosure HERE.}
Supplies Needed To Make This DIY Barn Wood Arrow:
Square Tool
Tape Measure
Barn Wood (or any wood you have lying around)
Circular Saw
Galvanized Metal
Metal Snips or Jigsaw With Metal Blade
Pencil
Nail Gun
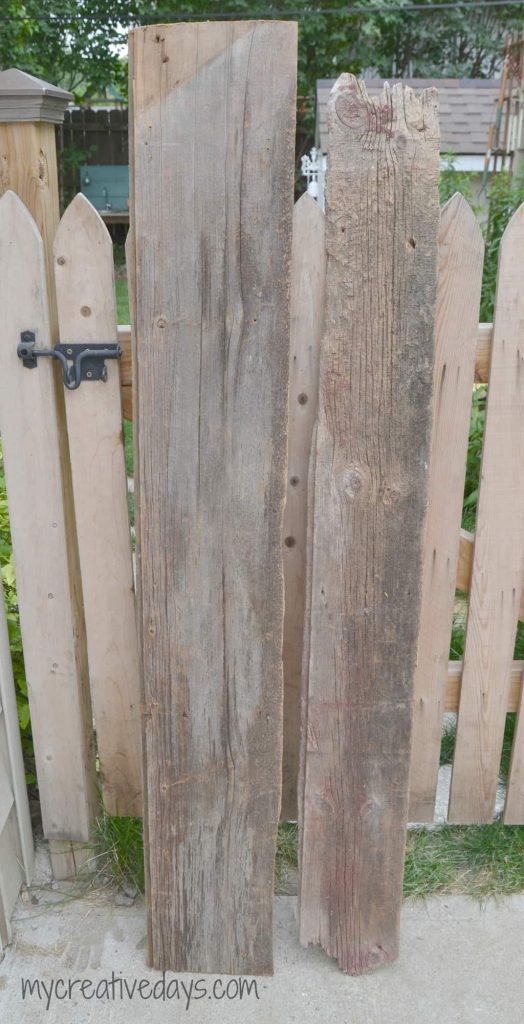
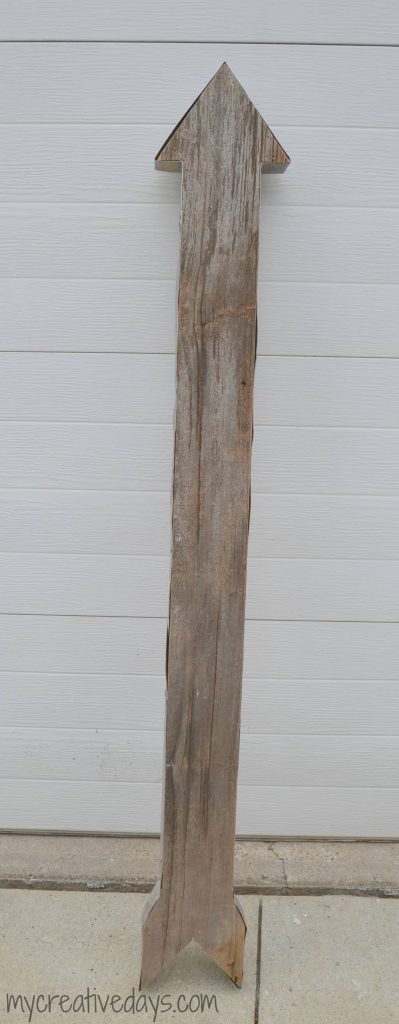
I really wanted this DIY Barn Wood Arrow to be substantial and three-dimensional. We had a couple of barn wood pieces in the garage that would enable us to make a five foot arrow. Perfect size.
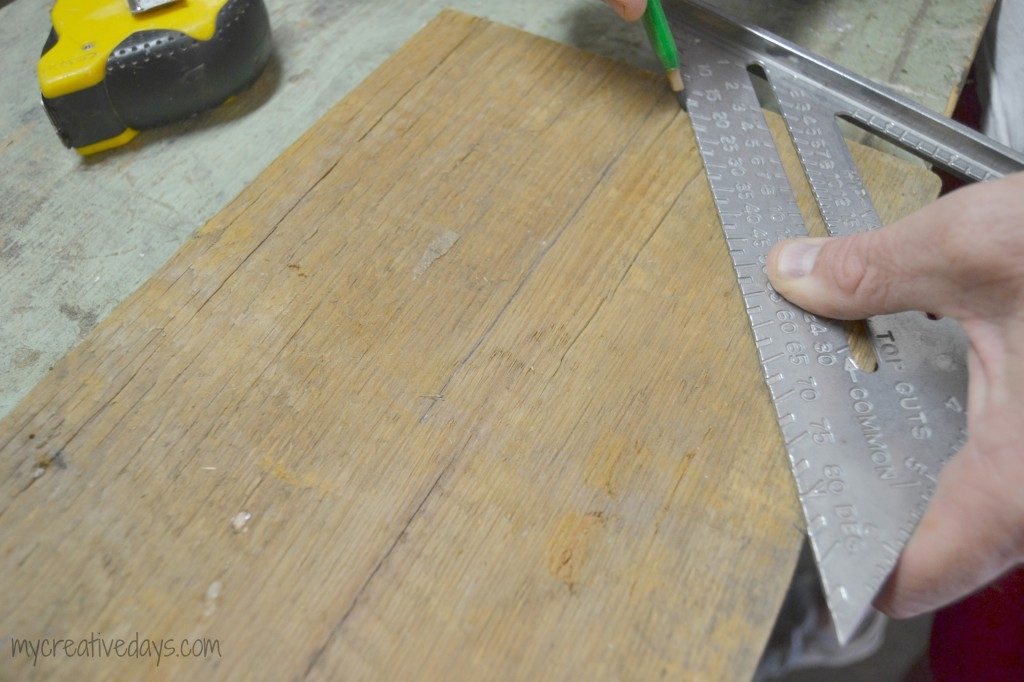
To start the project, I drew the shape of the arrow I had in my mind on the back of the barn wood. Then, Matt came in and measured it to make it all symmetrical.
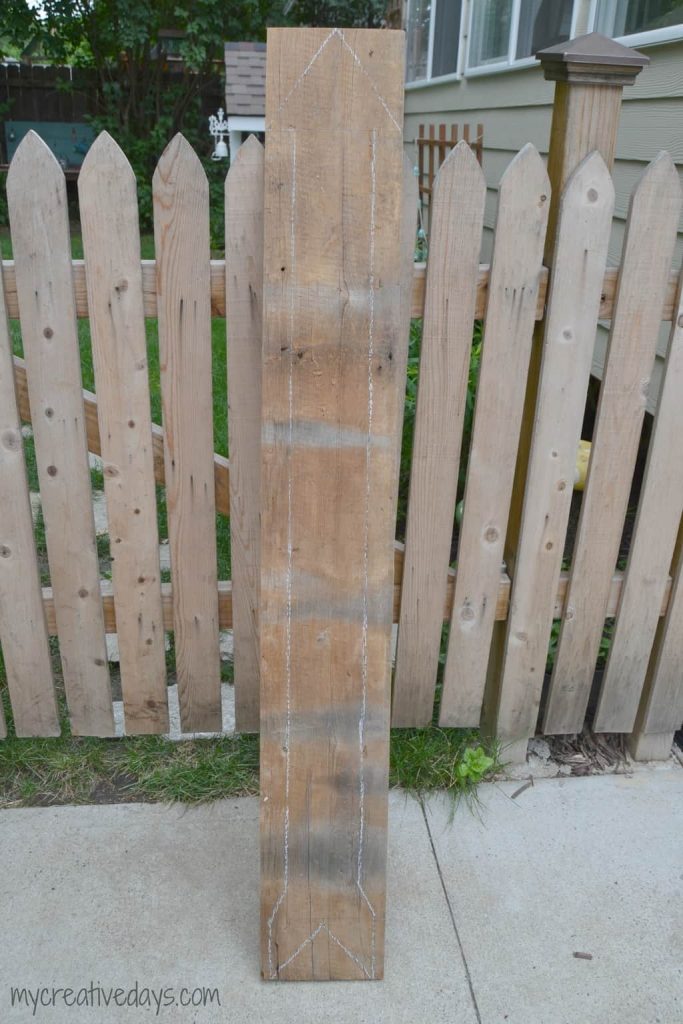
After all the measurements were done, I went over the pencil lines with chalk to see what we were going to end up with. I was already excited.
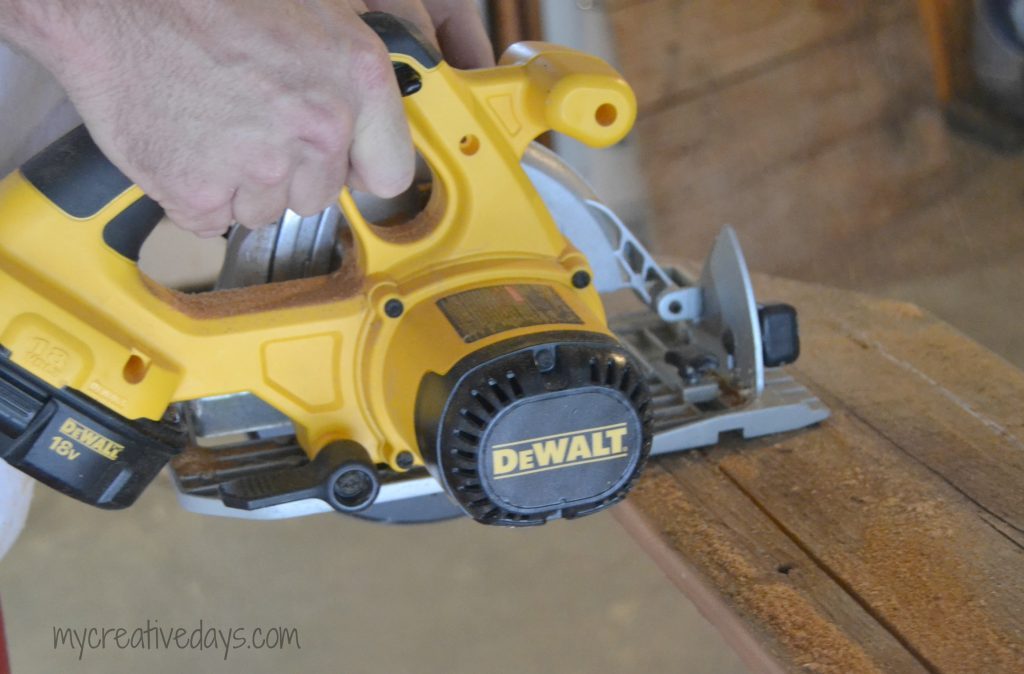
Matt cut out the arrow.
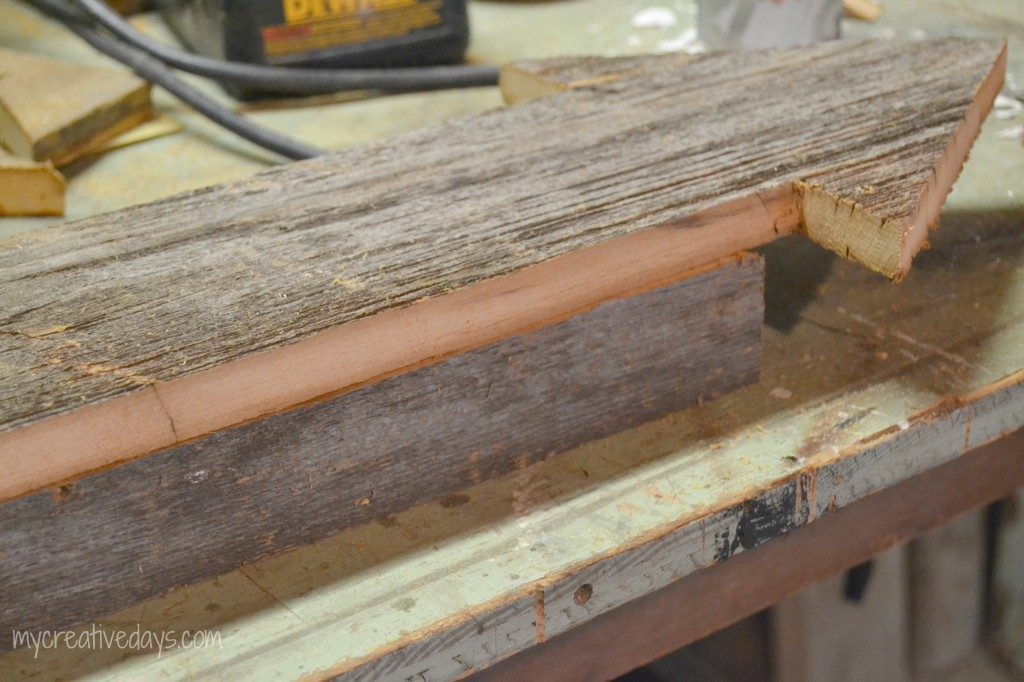
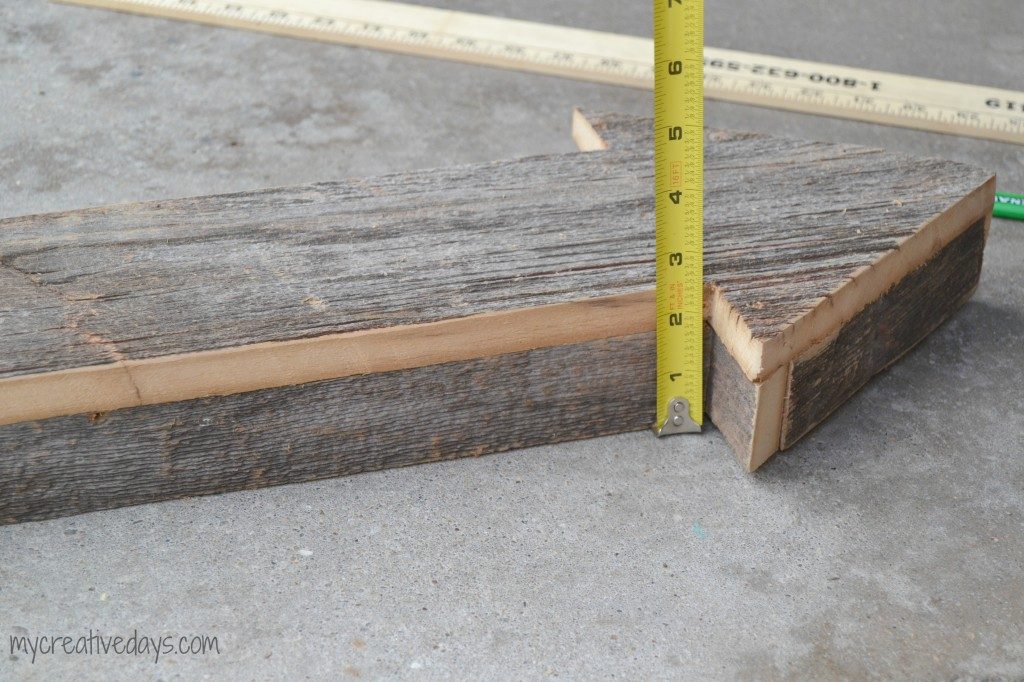
To make the arrow three-dimensional, Matt cut the scrap barn wood from cutting out the arrow at 1 3/4″ to use as the sides.
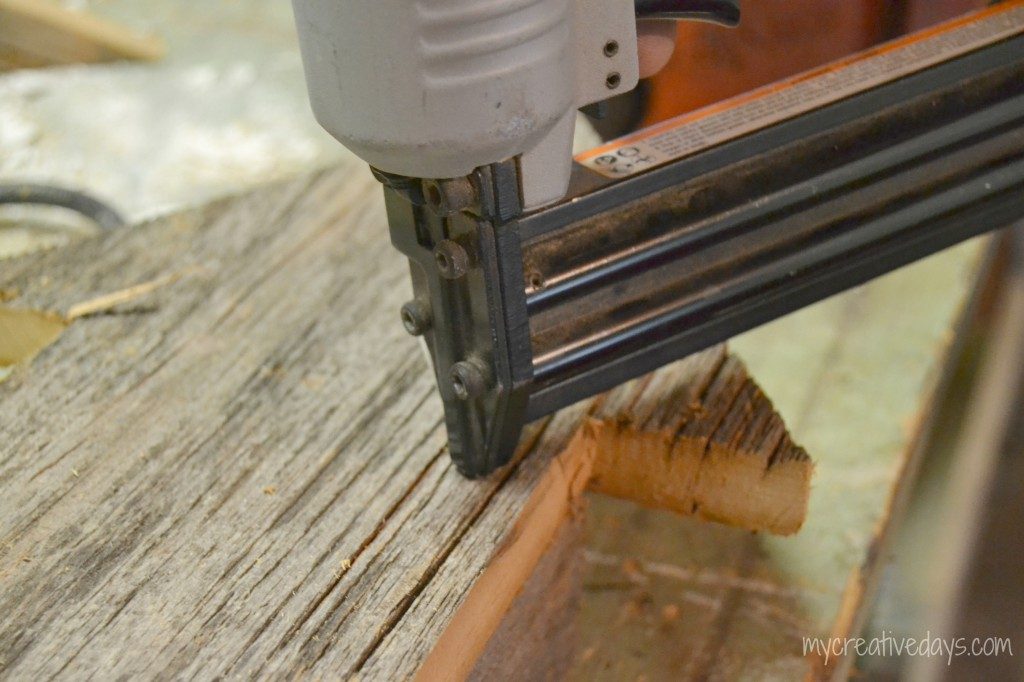
We used a nail gun to attach the front of the arrow to the sides.
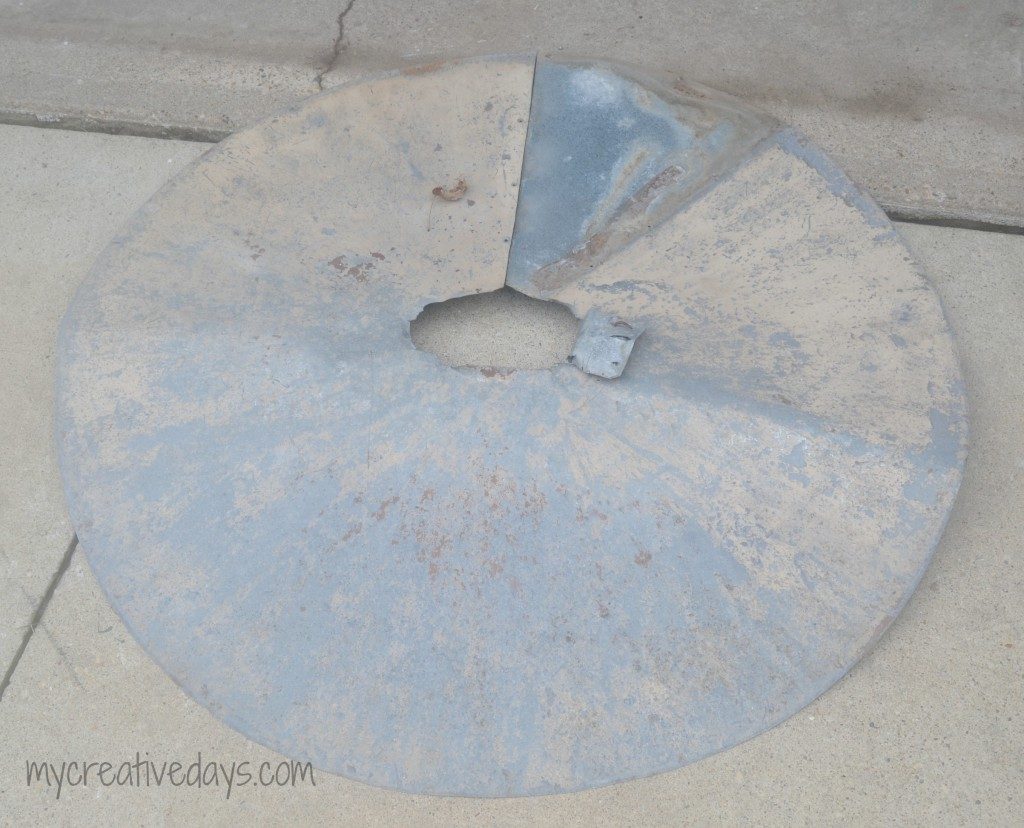
To incorporate some galvanized metal to this arrow, I used this piece that I have been saving for a rainy day.
What is that thing, you ask? It was a piece off of an old bird feeder that prevented squirrels from getting to the feeder. I kept it because I loved the weathered look it had and I knew I could use it for something. Now, it is going to become the sides to my barn wood arrow! I love it when a plan comes together like that.
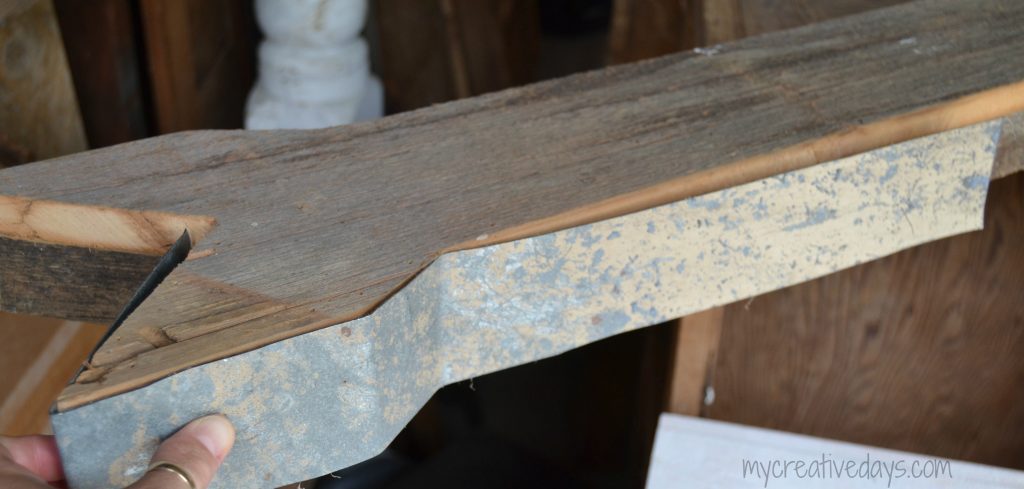
To get the metal on the sides of the arrow, we measured and cut the metal to size with a jigsaw (fit with a metal blade). We didn’t have enough metal to fit the entire arrow in one piece, but I didn’t mind it being “patched” together.
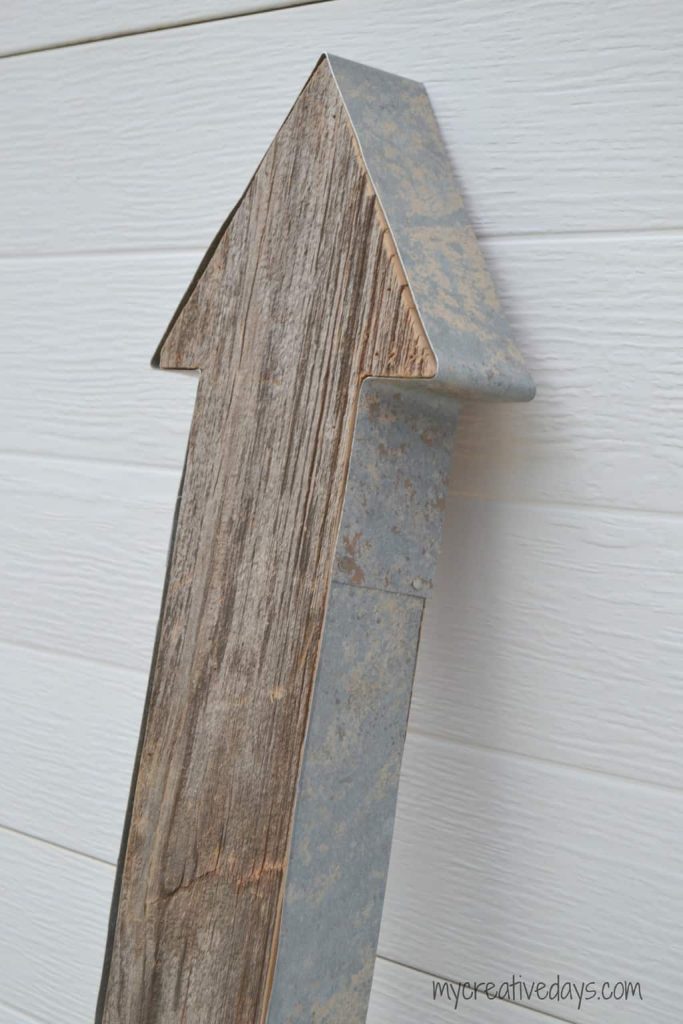
In the end, we didn’t have that much “patching”. We were able to get all sides of the arrow covered in just five strips of metal.
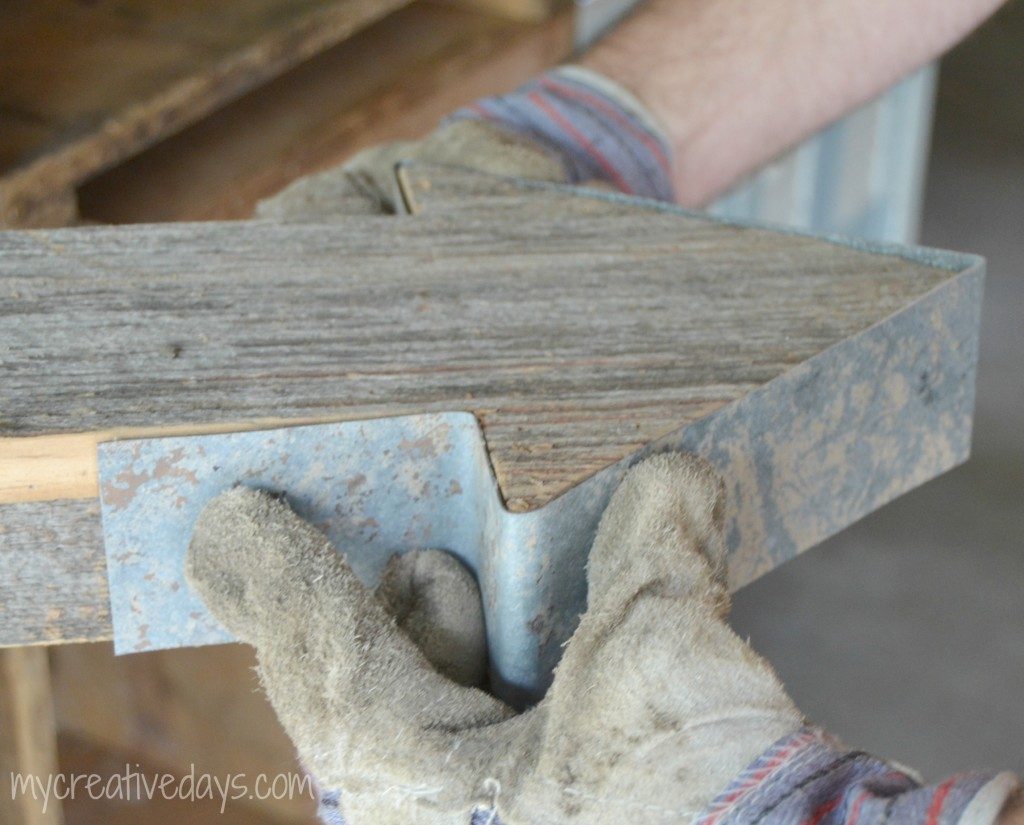
As you can see, it was easy to bend and mold the thin metal around the edges and corners of the arrow to get a good, tight fit.
I am over the moon with my arrow! It is so much fun to see an idea come to reality. This barn wood arrow came together better than I imagined. Challenging your creativity and making one-of-a-kind pieces with little to no money spent makes “repurposing” a DIYer’s favorite tool.
PIN THIS POST!
If you liked this DIY Barn Wood Arrow Tutorial, you will like these easy DIY projects:
Repurposed DIY Tiered Stand Tutorial
Architectural Salvage For The Entry


AWESOME idea! I looks like you spent a lot on it. I need to source out some tin to try this on a project too, pinned!
Thank you! I didn’t spend much on it at all which makes it that much better for me! 🙂
Oh my, LOVE! It is perfect!
Thank you Becky!
oh this is so incredibly cute!! love this idea! thanks for sharing.
now i just gotta find some tools…..haha
Renee Young
Thank you Renee!
Wow! Great job, love it!!
Thank you Jan!
Don’t have a website, but ivLOVE this. How did you attach metal? It all looks perfect.
We just used nails! Thank you!
Now this is just AWESOME, Lindsay!! How cool! It looks perfect on that wall. Can you make one for me, too?!? 🙂
Yes! 😉 I have had friends ask me to make them one too.
I love this Lindsay – what a fabulous project and great feature to your wall. Awesome!! Thanks for sharing it with us at Work it Wednesday- I’m featuring you this week!!
~Krista at the happy housie
Thank you so much Krista!
This is so cool! Great job, Lindsay! 🙂
Thank you Erin!
Where did you get the metal for the arrow? It looks great!
It was from an old squirrel feeder. You can see it in my post. It was circular and we had to cur strips to fit the sides of the arrow.