About a month ago, we put new flooring in my home office. We loved it so much that we added the new laminate flooring to the teen room as well.
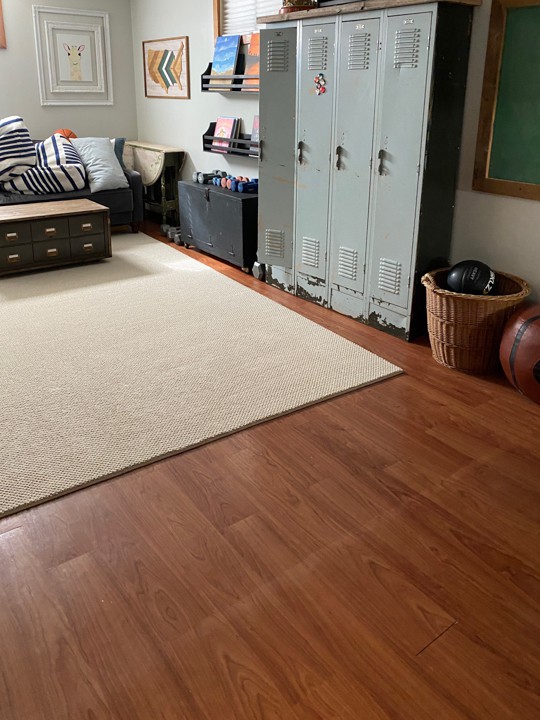
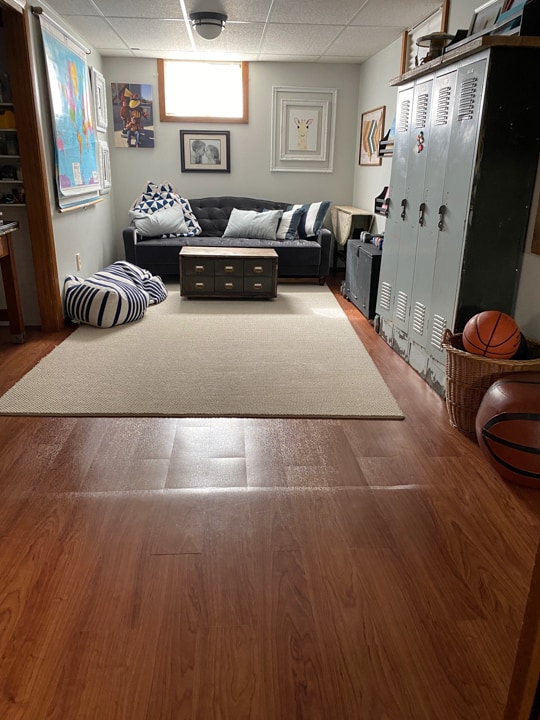
This room is called the “teen room” because we don’t know what else to call it. It is next to my office in the lower level of our house. It was always a toy room when the kids were smaller. Now that the kids are older, it is still their room, but it functions and looks different. We still have an art table in there for Gabrielle, and we added a couch and some poufs for comfortable “hang out” seating when friends come over. When Gabrielle babysits at home, she uses the room just like I did when I did childcare in our home. I am so glad we have this extra space for these kinds of things, but we have needed new flooring in there for some time.
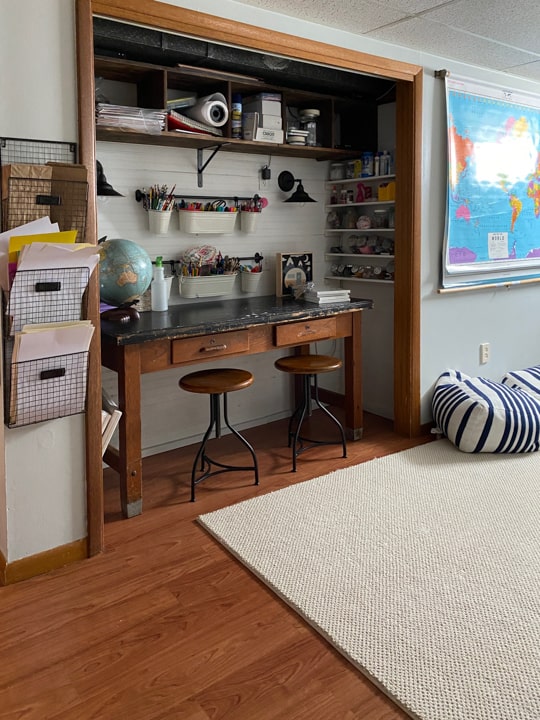
You can see in the before photos that the flooring we had in the teen room did not wear well. It bent in places and it was coming apart in some areas.
{Affiliate links are used in this post. Click on any of the underlined links to find the products I am talking about. You can read my disclosure HERE.}
The old flooring was very thin. I shared the difference in thickness between the old flooring and the new flooring on my Instagram page. It was a big difference. The old flooring didn’t even compare to the new flooring.
Since the teen room is right next to my office and because I LOVE the new flooring in my office, we went with the same Select Surfaces Spill Defense flooring. Here are a few features of the flooring:
“The Select Surfaces Spill Defense Collection is designed with a tighter seal than regular laminate and this collection can withstand liquid spills for up to 24 hours and can be wet mopped. Each Select Surfaces Spill Defense Collection floor has an AC4 traffic rating, making it suitable for heavy residential use. It’s backed by a lifetime residential warranty. Select Surfaces laminate flooring is extremely durable—it will not dent, stain or fade, even in high-traffic areas.”
Now that I have had the flooring in my office for some time, I can attest to the fact that it is very durable. The color is perfect for our home and anything I spill on it wipes right up. Since I have had it in my office and have been able to live and work on it for some time, I knew it is the best solution for the teen room. Gabrielle does a lot of creating in the room and this flooring will wipe up well and hold up to any creative spills she has on it. Another thing Matt and I love about the flooring is how easy it is to work with and install. We have installed many different laminate floors in our house and our flip houses and this flooring is Matt’s favorite so far.
You can subscribe to my YouTube channel and see the video I shared when we installed it in my office HERE.
Tools We Used To Lay This Laminate Flooring:
Pencil
Prepping The Room For New Flooring:
No matter where you are adding laminate flooring, there are a few steps you need to take to prep the space for the flooring.
First, you need to remove any existing flooring. In my office, we needed to get rid of the old carpet and the tack strips. For the teen room, we had to remove all of the old flooring and then we chiseled away any of the original vinyl that was leftover underneath. We used a flat shovel to take it up. It worked like a charm. If you have any kind of glued-down flooring or old vinyl to bring up, use a flat shovel. Once the flooring (and tack strips if you have carpet) is removed, it is time to take off all the base trim in the room.
***IMPORTANT TIP*** As you are removing the base trim, number it in a way that you will remember where each piece goes. We usually start at a door in the room. The first piece by the door is #1 and then we go around the room clockwise from there. We have done this so many times that this step is routine for us now. This tip will save you a lot of time when you have to put the base trim back on.
Once you have all the trim off and labeled, it is time to thoroughly clean the flooring. It is very important that you put the new laminate flooring on a clean surface. You don’t want any debris, dust, sand, etc. under it. I use a broom and dustpan first. Then, I use a worksite vacuum to make sure everything is cleaned up.
After the sweeping and vacuuming are done, it is time to lay the new flooring.
I shared a lot of the process of laying this floor on my Instagram page. Make sure you are following there for behind-the-scenes looks into all the projects we are working on.
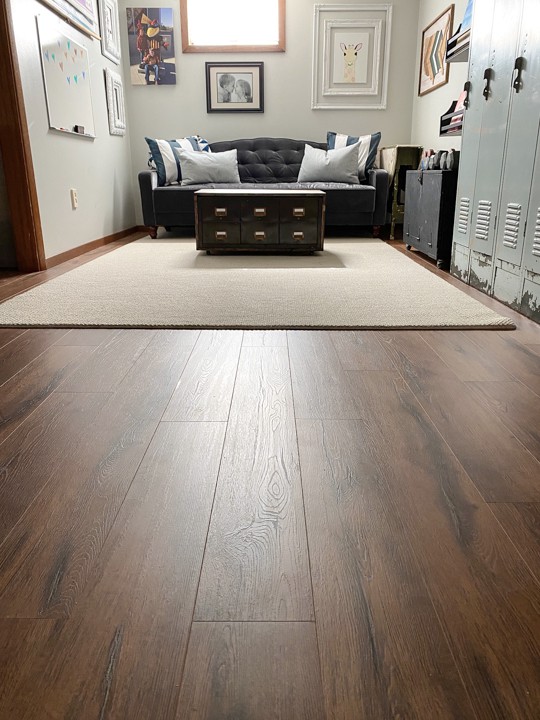
The first few rows of laying laminate flooring are usually the hardest.
You need to make sure to get the flooring level and make sure that it doesn’t move on you when you are adding new rows. Matt will sometimes add wood shims between the wall and the first row of flooring to keep everything in place. Other times, I will hold a flat bar between the wall and the first row to keep everything in place as he is adding more rows. You don’t want the first row of flooring to move as you are adding the second and third row. Once you get past the third row, everything will usually hold itself in place. It just takes some maneuvering in the first few rows. You also want the flooring to have a staggard look so all of the seams don’t match up on every other row. This will ensure your flooring is secure and won’t pull apart over time. I showed how we do this on Instagram as well.
The most time-consuming part of laying laminate flooring is all the cutting.
The cutting for the rows isn’t bad, but cutting around all the trim and doors is TIME-CONSUMING! Don’t let that frustrate you. My office didn’t have as many doors to cut around, so your space will determine how much cutting you have to do. The thresholds were also time-consuming since we were drilling down into concrete to install them.
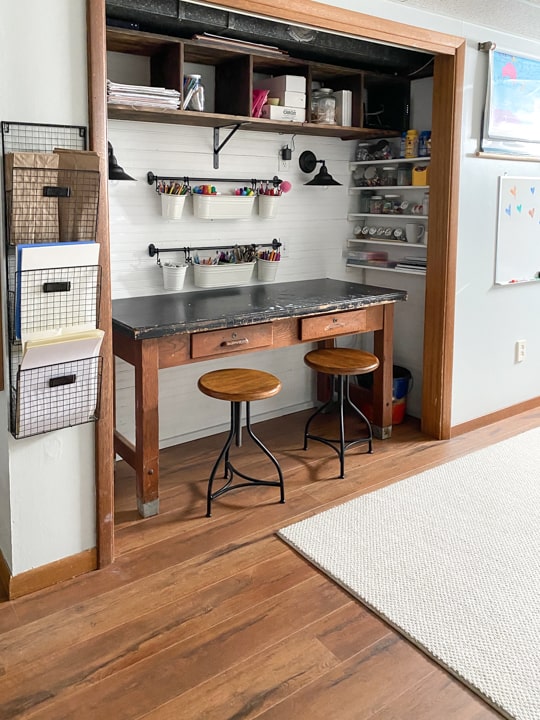
This Select Surfaces Spill Defense flooring is AMAZING! It is so much better than what we had in there. The color is so good and it is a seamless transition from the stairs and my office next door.
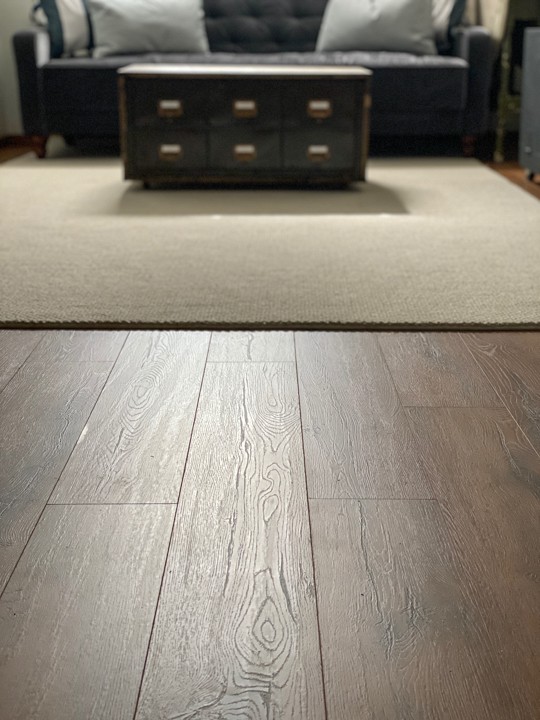
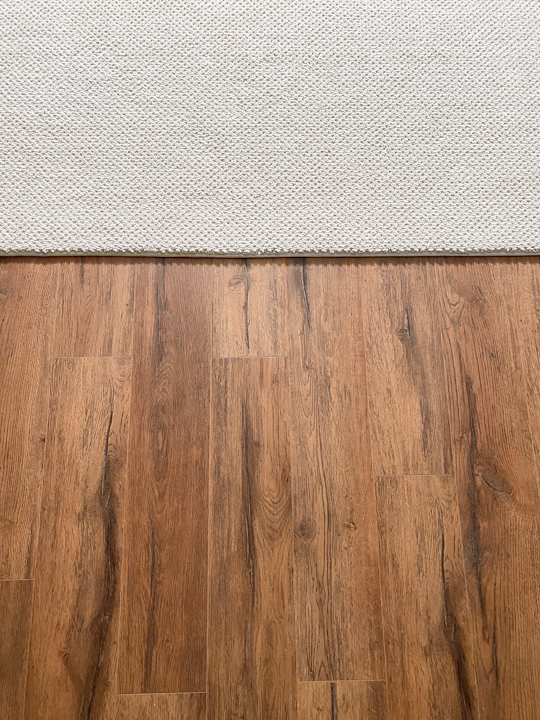
Look at the wood grain and texture of this flooring!
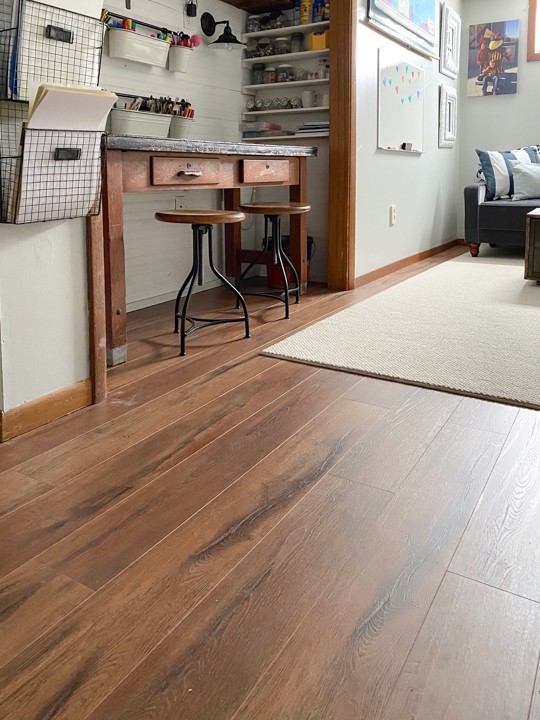
We love this flooring for so many reasons. It looks great. There is a pad built right in. It is easy to cut and lay down and most of all, the price is phenomenal for the flooring you are getting. If you have been thinking about flooring for your home, check out Select Surfaces Spill Defense It comes in many different colors so you are sure to find exactly what you like and what fits best with your home and style. I went with the “Toffee” color because it fit best with the trim and other things in our home.
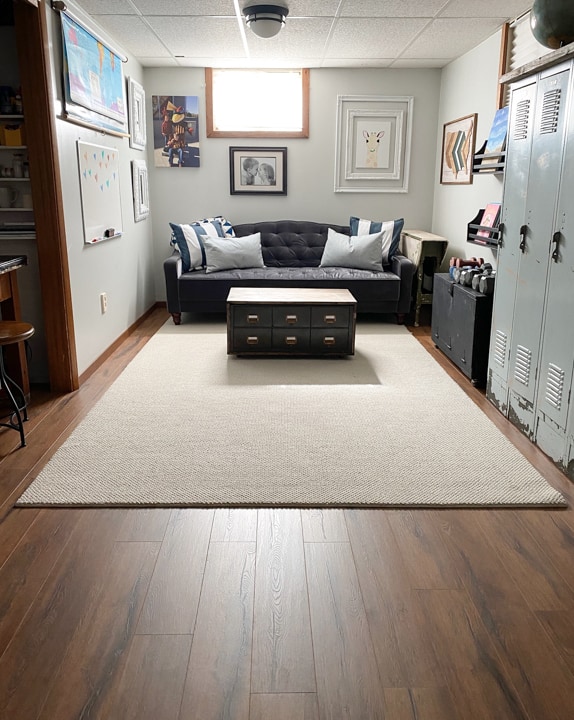
We can’t sing the praises of this flooring enough.
My hope is that my IG stories, the YouTube video I linked above, and the two posts I have written about this flooring are helpful to you in choosing and laying this flooring. Depending on the size of the space you have, I would say this is a weekend project. We had my office done in one day, but this room took most of the weekend because we had more and harder cuts to do and we had more thresholds to install. A day or weekend doesn’t matter to us because the outcome is worth the work. You couldn’t be more pleased with what the space looks like now. We have been thinking about changing up some of the furniture and adding some different things into this space now. You never know with us. Things are always changing around here. 🙂
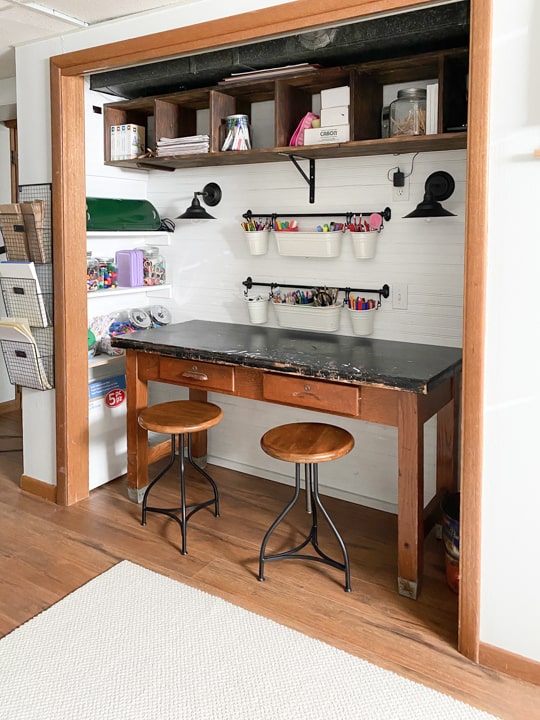
I would love to know if you put this flooring in your home! DM me some pictures on Instagram.
PIN THIS POST!
If you liked this post, you will love these makeovers:
Budget-Friendly Bathroom Makeover


The pics don’t do justice, love it in person!!
Thank you!