This tutorial is easy to follow and what you need for a painted and stained dresser makeover that will make any dresser AMAZING again!
I found another amazing dresser recently that I couldn’t wait to get home and make over. The shape and the look of this dresser, made me think of a built-in for some reason. The dresser is kind of boxy and yet small. It is square and yet tall. I picture it built into a wall in an old house. I don’t know why, but I have never rescued a dresser that looked like this and I was so happy I found it. The pictures won’t do it justice, you would have to see it in person to really appreciate how I am trying to describe it. It is just a special piece that needed a lot of love, someone who had a vision and someone willing to bring it back to its glory.
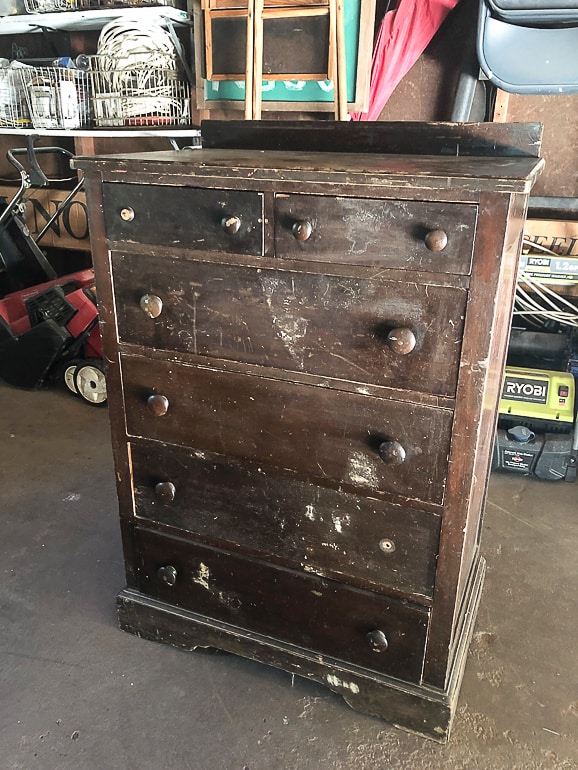
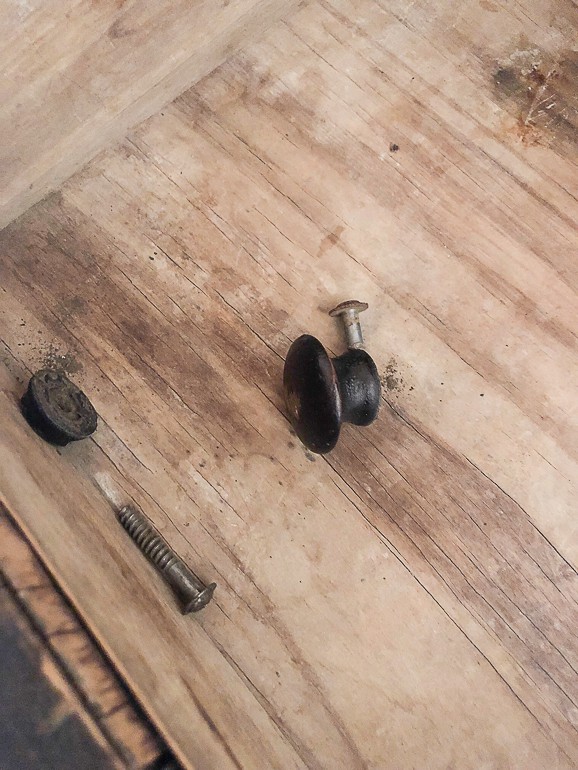
The finish on the dresser was horrible (if I am picking up a piece to make over, this is usually the case). It has been through the ringer. The finish was so dark, but I thought that I would be able to get the top and the drawers down to their original wood and do one of my favorite techniques: the painted and stained dresser makeover. Any time I can get down to the original wood without days and days of stripping and getting no where, I do it. The dresser was missing one knobs and another one was broken, so I knew I would have to replace the knobs as well. That would have to wait. I needed to start the makeover first.
Steps For A Painted and Stained Dresser Makeover:
I really wanted to see if I could get some of the finish off the dresser so I could stain parts of it and paint other areas. My vision was to have the top and drawers a wood tone and the rest of it painted. To test out this idea, it only takes me a few minutes of work to discover if it’s going to work. But first, I needed to remove all of the hardware.
{Affiliate links are used in this post. You can read my disclosure HERE.}
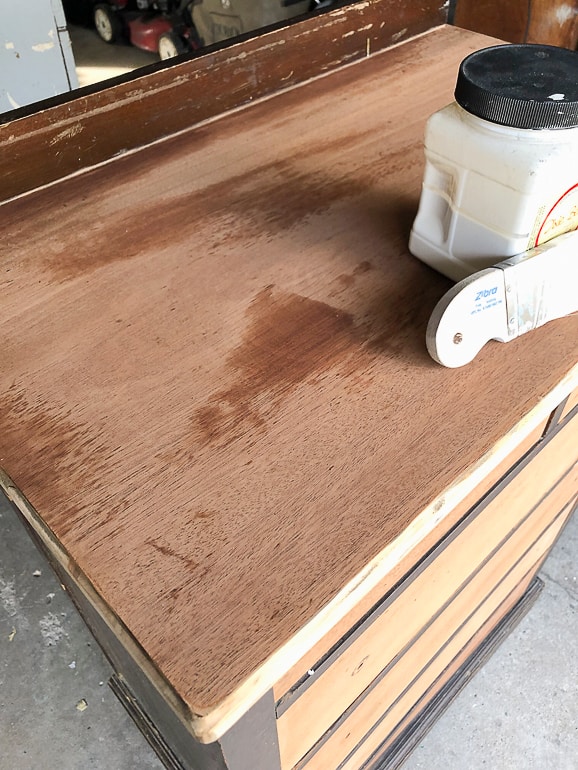
Then, it was time to see if I could get down to the natural wood. I remove all the drawers and grabbed my orbital sander.
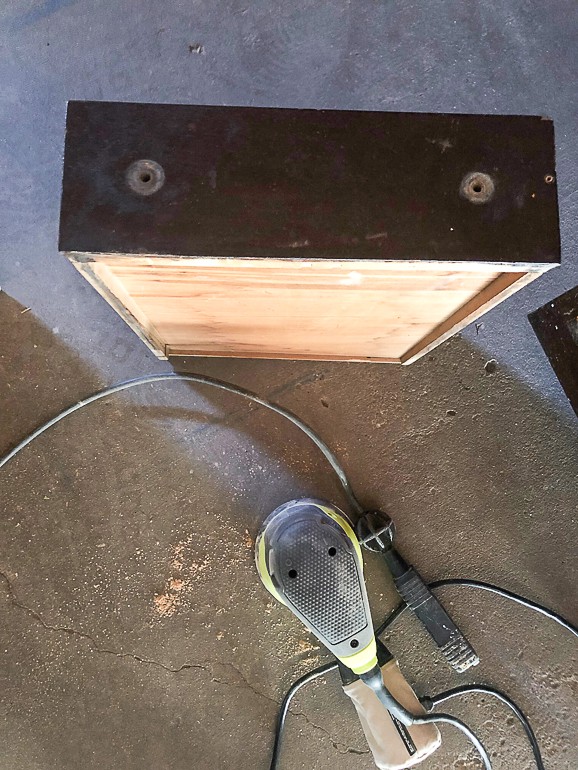
This doesn’t always happen but the finish on the top and the drawers came off beautifully! They were a dream to work with. All I had to do was use my orbital sander and some muscle to clear these parts of the dark stain and all the knicks and bruises these areas had acquired over the years.
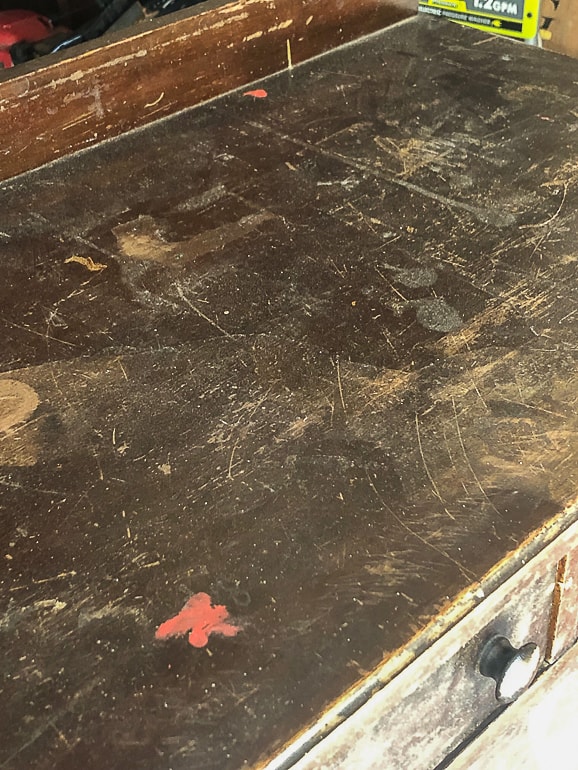
Once I had the top and the drawers sanded, I cleaned the heck out of the rest of the dresser and wiped the areas I sanded with a damp cloth. You don’t want to leave any of the sand dust or particles on the dresser when you go to paint and/or stain. To clean pieces like this, I just use an all-purpose cleaner and that is usually the Thieves cleaner I keep under the kitchen sink. You can read how I put this cleaner together in my essential oils starter kit post.
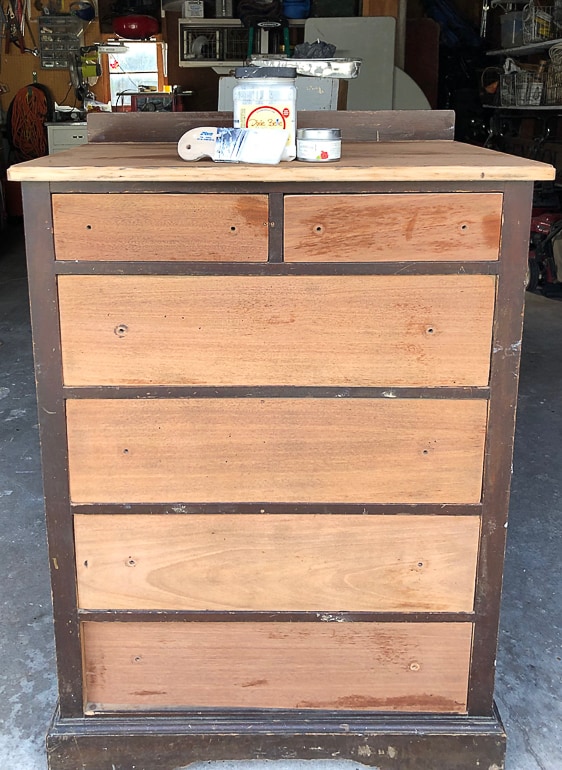
Once the dresser was clean and it was dry, it was time to paint the outer shell in “Drop Cloth” from Dixie Belle Paint.
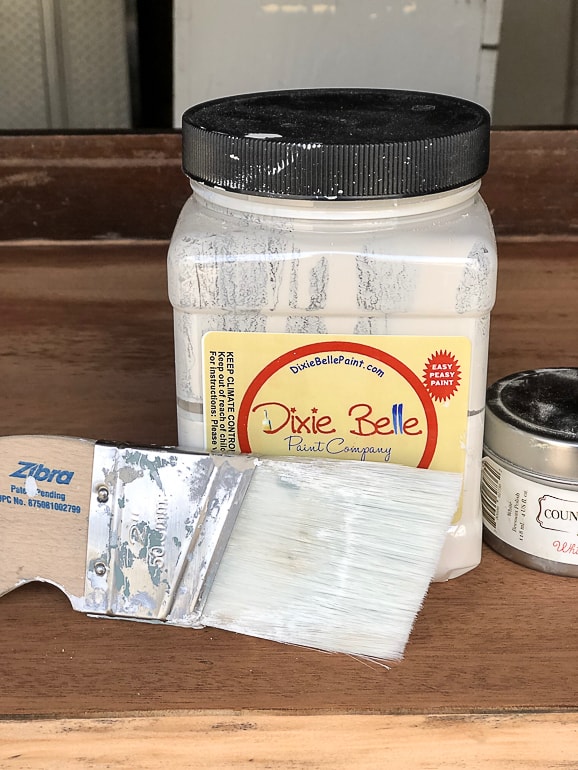
You know by now that if I am painting, I am grabbing my favorite Zibra paint brush and getting the job done quickly and efficiently.
My favorite paint brush from Zibra is the Palm Pro. This thing is like having an extension on my hand and just makes the painting process magical. BELIEVE ME when I tell you that I have wasting a lot of time and a lot of money in my DIY days working with paint brushes that aren’t made for painting. Really! I have had the worst experiences with bristles falling off, brushes that never come clean, brushes that don’t fit in crevices and corners when I am doing more detailed painting…. and so much more. I was tired of coming up empty-handed when it came to buying and using paint brushes.
Truly. I was frustrated. Then, I tried my first Zibra paint brush and never turned back. I cannot tell you how happy I was when I discovered this brand of brushes. It was like someone had listened to all of my gripes and went away to create the paint brush real DIYers need. Not kidding. These are the brushes I grab for any painting project. They are Matt’s favorite brush to use as well. We are obsessed. Do me a favor….. no wait, do yourself a favor and invest in one of these brushes. You will be so mad that you haven’t done it sooner, but so happy because you will enjoy painting again.
*Quick Tip: Remove all the drawers from any furniture piece you are painting. That ensures that you will get all the paint where it needs to go. You won’t paint any drawers shut. In projects where you are staining and painting, it ensures that paint won’t get where you are staining and vice versa.
I painted the outer shell of this dresser in two coats. Then, I didn’t want to put a dark “stain” on the drawers so I decided to use the Restor-A-Finish in Dark Walnut to bring out the natural wood tones and deepen them just a bit. I could not believe how well the wood took the Restor-A-Finish.
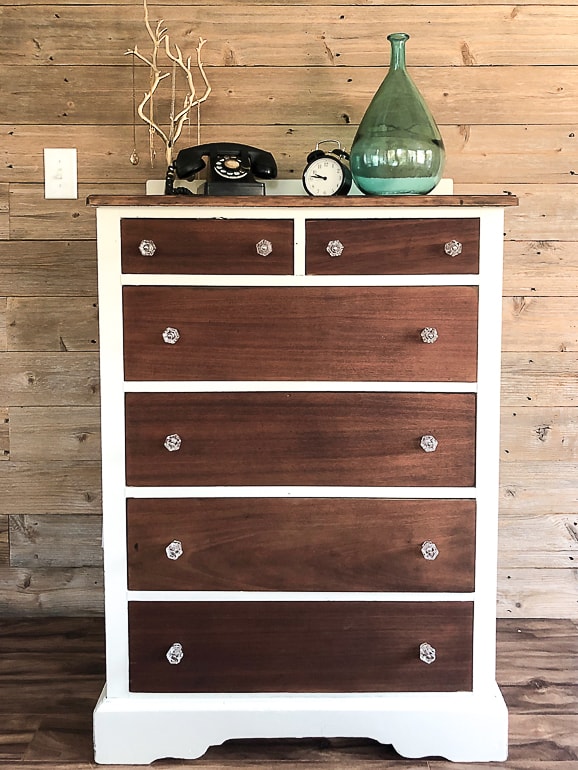
BEAUTIFUL!
I needed to put new hardware on the drawers because one was missing and one was broke. When I stepped back, I immediately thought our stash of glass knobs would look best on this dresser.
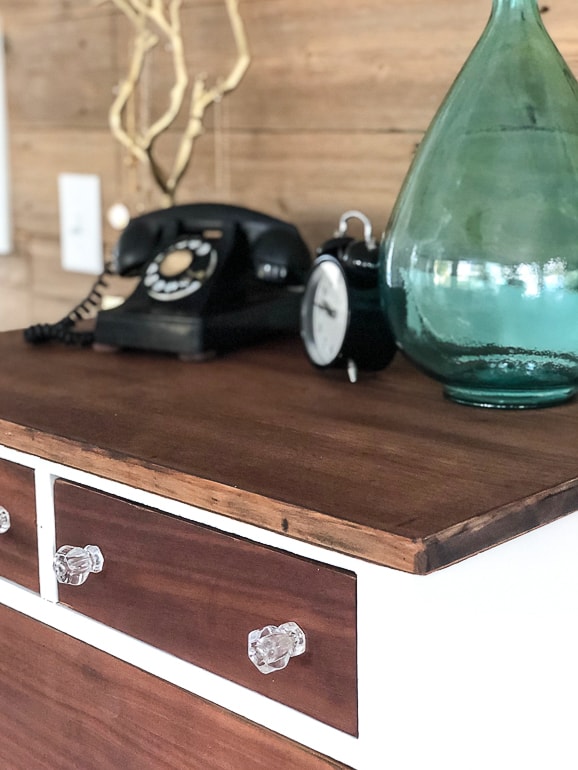
They look amazing! Hardware is always like the jewelry to a good outfit. They are the finishing touch that brings everything together. There is just something about putting it on that makes the dresser come to life.
Supplies Recap For This Painted & Stained Dresser Makeover:
Zibra Paint Brushes
Dixie Belle Paint
Restor-A-Finish – Dark Walnut
Old Rag
Sander
Glass Knobs
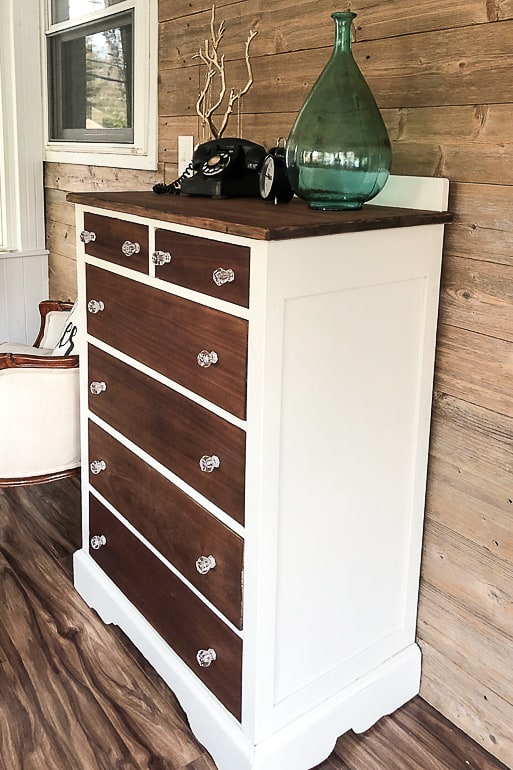
Another dresser saved and revamped to bring out its natural beauty. I am proud of saving these pieces and having someone enjoy them in their homes. This one will have to be sold, but it was so much fun to do. Would you have picked up this dresser? Did you see the potential in the before photo?
PIN THIS POST!

If you liked this makeover, you will also enjoy these transformations:
DIY Nightstand Makeover For Teen Girl’s Bedroom
Mid-Century Modern Dresser Makeover
Tall Cabinet Becomes Sleek Office Storage
Painted Entertainment Stand In Hale Navy


It’s not just finding the right piece, you have an amazing eye for the right finish, be it paint or stain or both!! Those knobs are perfect!!
♥️ Your Dresser Came Out VERY COOL!! YOU just Gotta Try it! LOOKS GREAT Thanks for Sharing G-d ♥️Bless
Thank you!