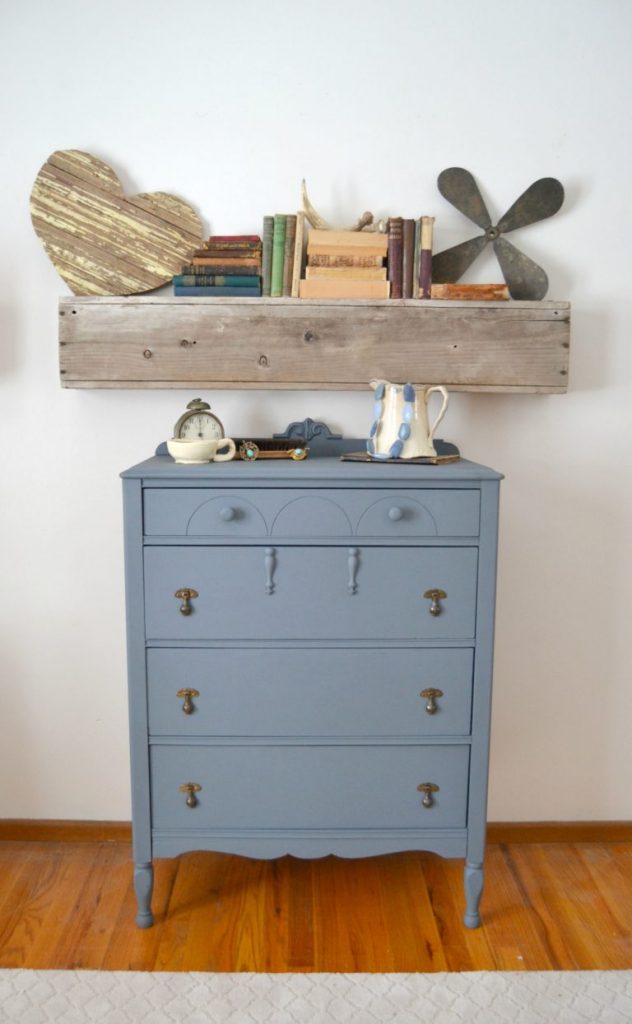
If you have been following this little blog of mine for any time now, you know that finding furniture to make over is one of my favorite things to do. This gray dresser was no different. The hunt to find pieces is just as much fun as transforming them for me. I have done this since Matt and I lived in our first home. It is the best way to get one-of-a-kind pieces in your home without paying a ton of money to get it. Another benefit is that it encourages and enables my habitual decorating problem hobby. I am constantly recycling pieces to make room for new ones. 🙂 If we lived in a bigger home, this would be a problem because I would be hoarding a lot more “stuff”. #livingsmallforthewin
When I first picked up this dresser, I wasn’t feeling like it was going to go anywhere particular in our home. I knew it had loads of potential, but I didn’t get the “have-to-have-it” feeling at first.
Then, I painted it and started taking pictures of it in our living room.
That was all it took.
It became a “keeper”.
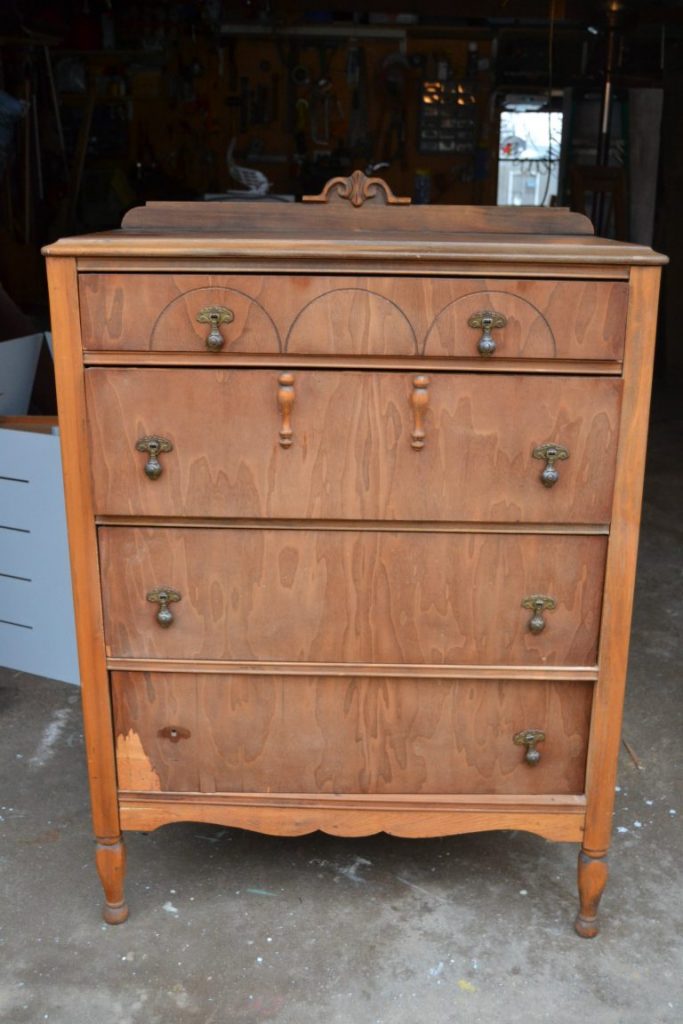
This dresser was part of a haul I brought home and shared on Instagram.
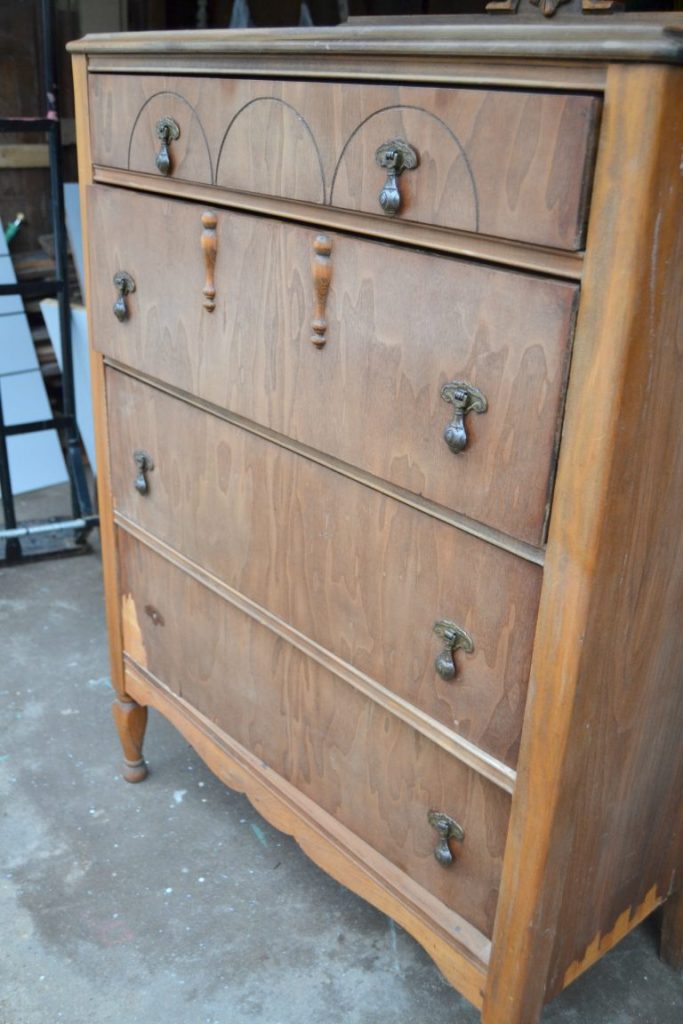
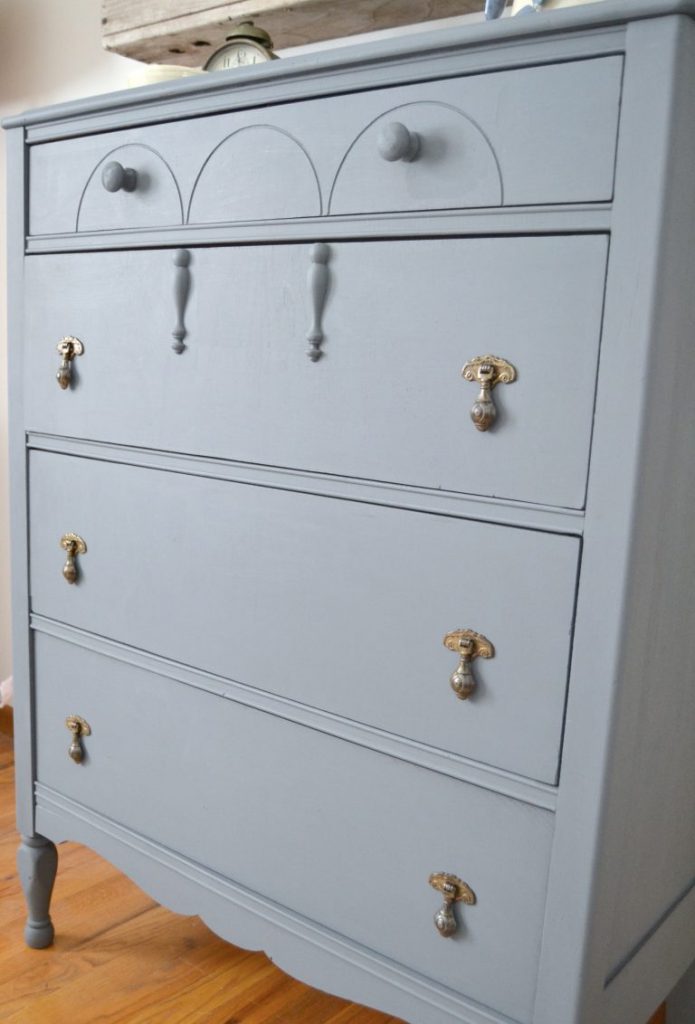
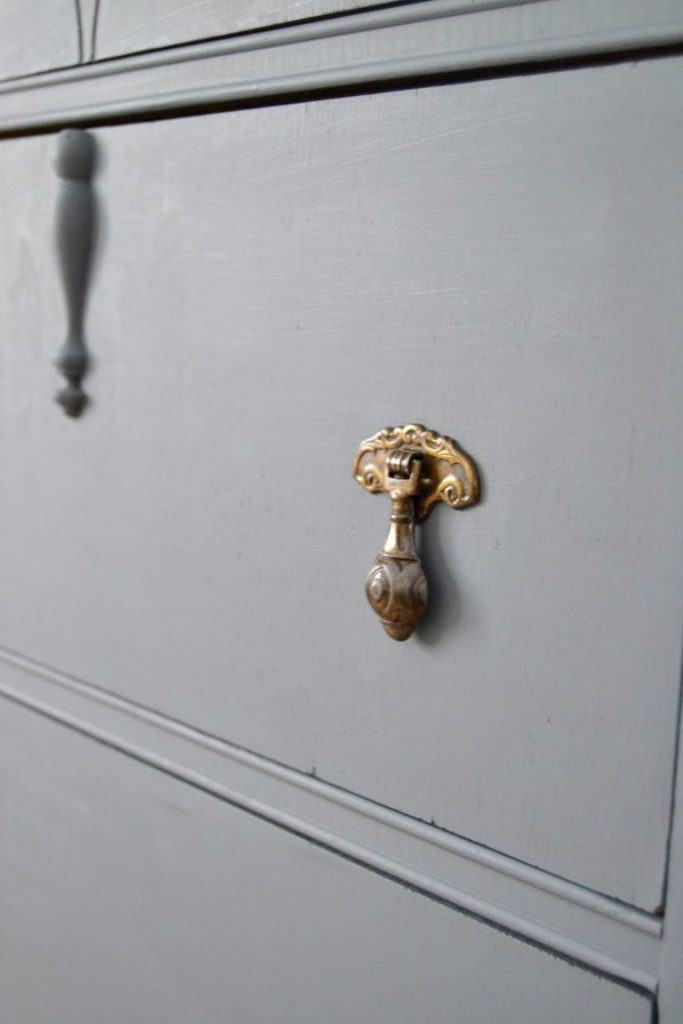
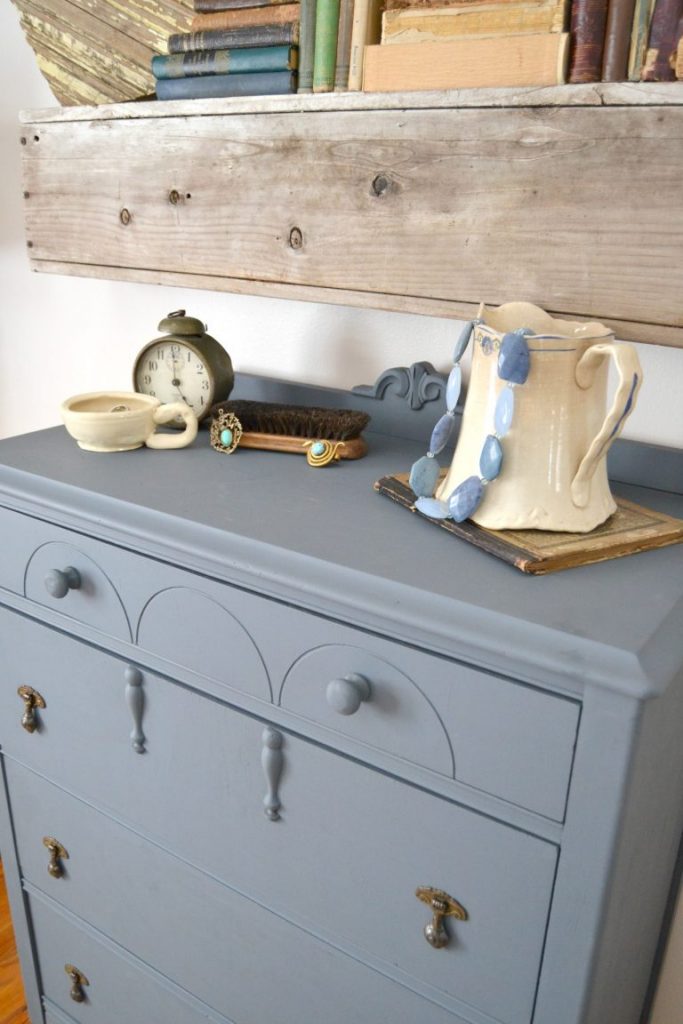
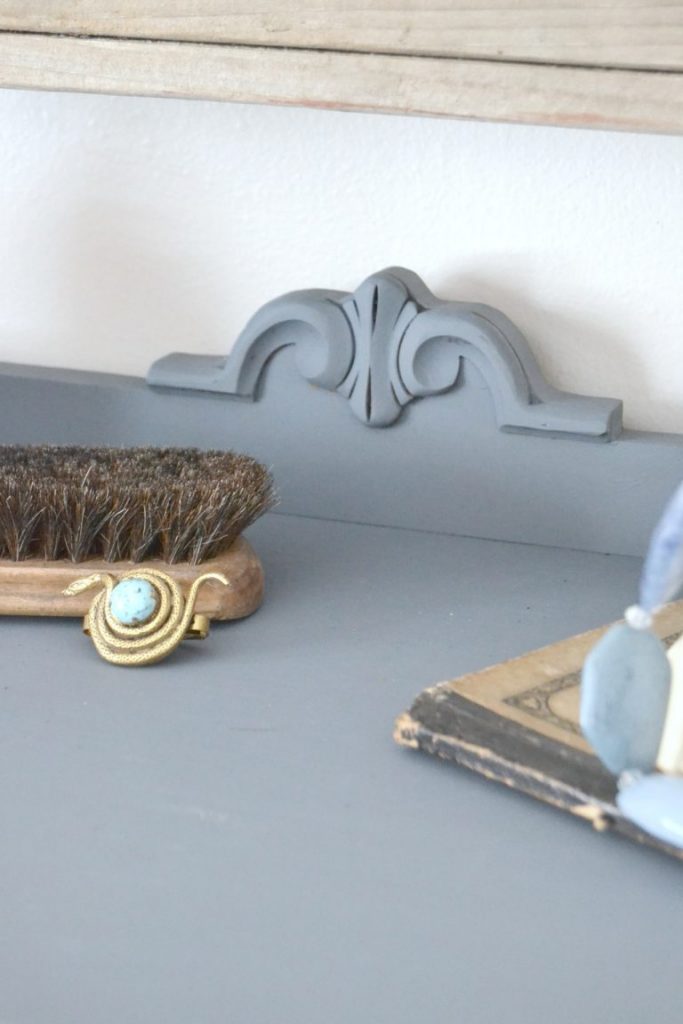
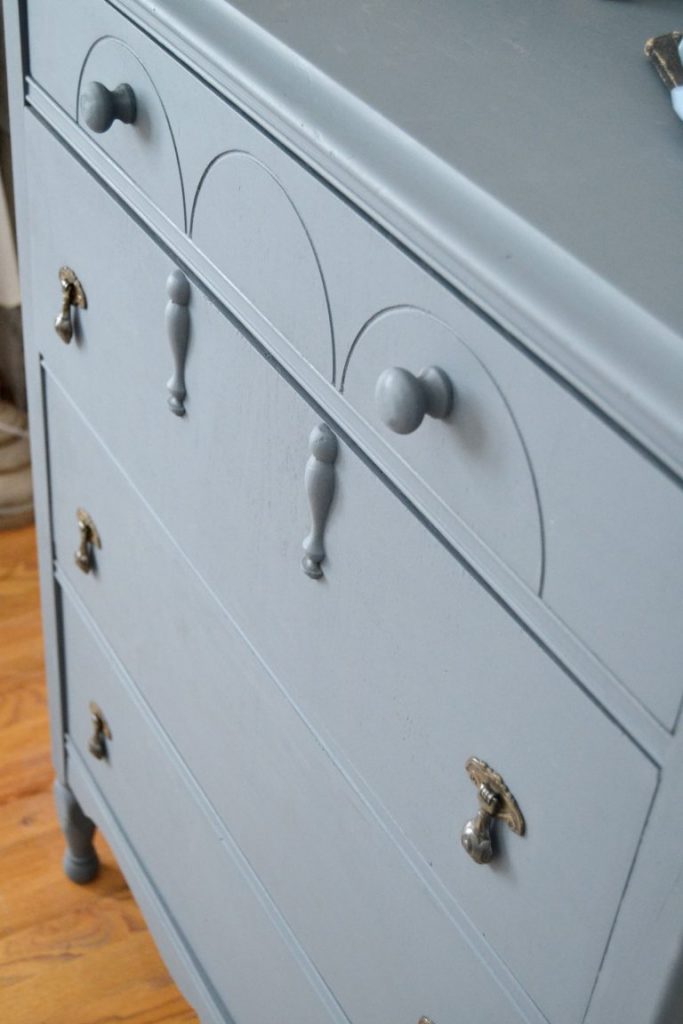
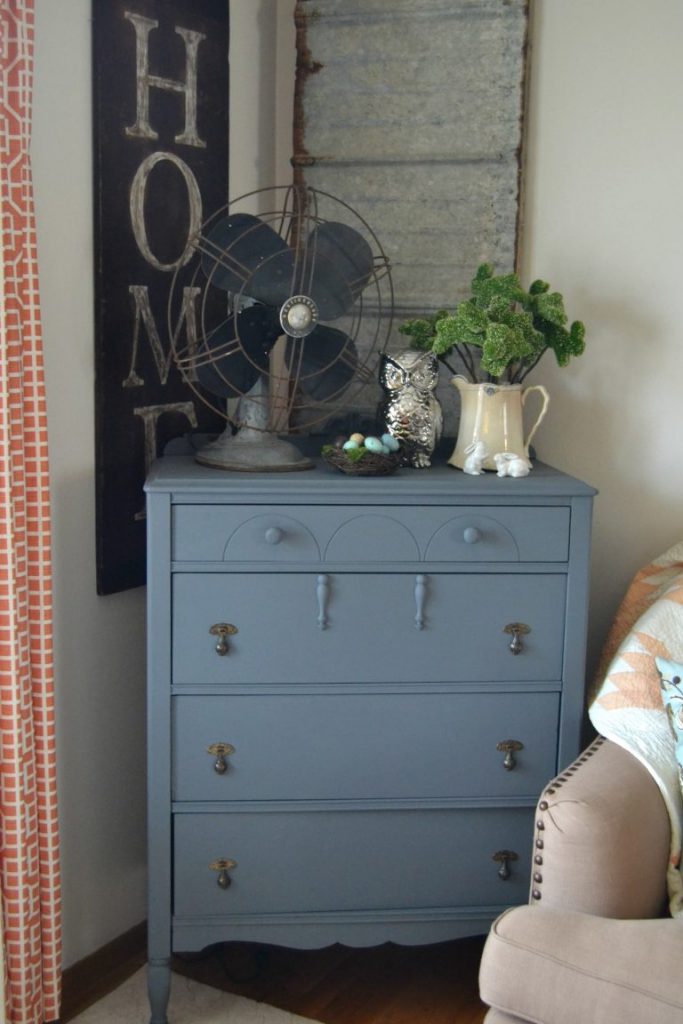
You can see all the wonderful things this dresser has going for it; the hardware, the details, the size and the shape.
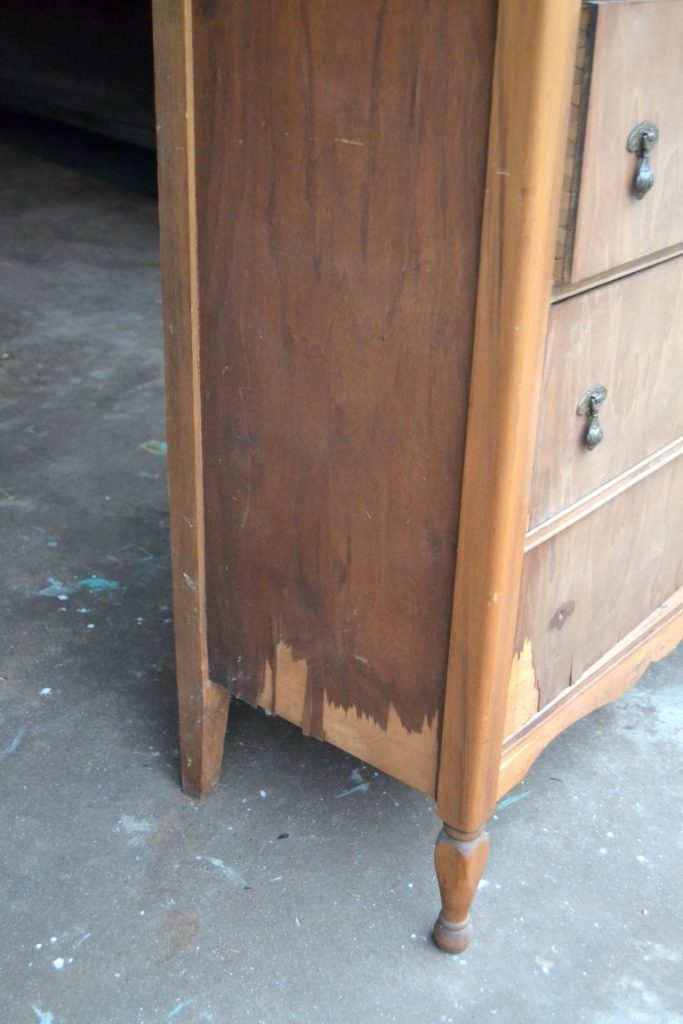
But, it also came with some issues.
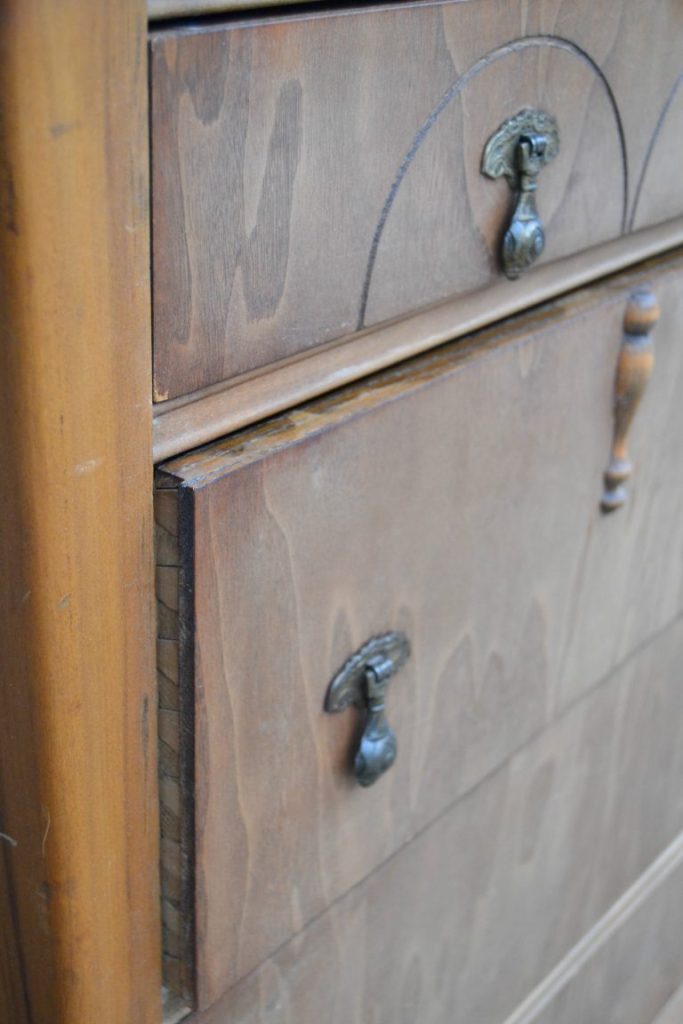
The sides and bottom drawer had some pretty extensive peeling issues.
It was missing one of the beautiful knobs.
Not huge issues at all. They were easily fixable.
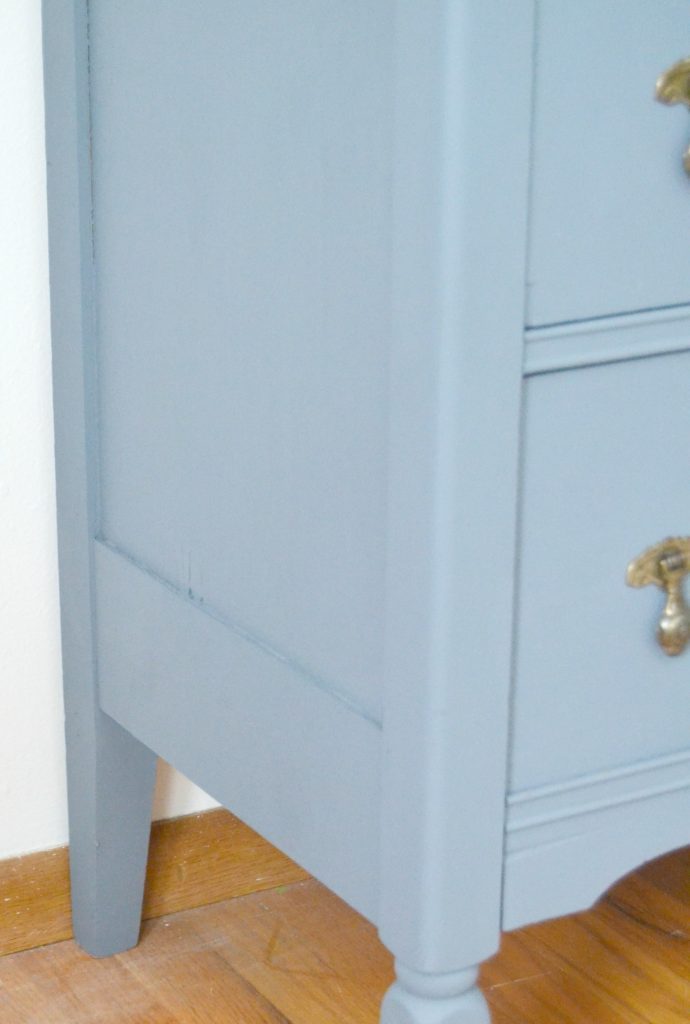
To fix the sides, Matt cut thin plywood to fit over them. I removed the thin layer of veneer from the bottom drawer to remedy the peeling there. (I need to write a post about how easy this is to do!)
(This post contains affiliate links. You can see my full disclosure HERE.)
I painted the entire dresser in “Soap Stone” by Fusion Mineral Paint.
I really loved the hardware and since the dresser was missing one, I replaced the top drawer with wood knobs (that I painted the same color as the dresser) and left the original hardware on the rest of the drawers.
The arch detail on the top drawer is so great and the wood knobs look like they always belonged there, don’t they?!
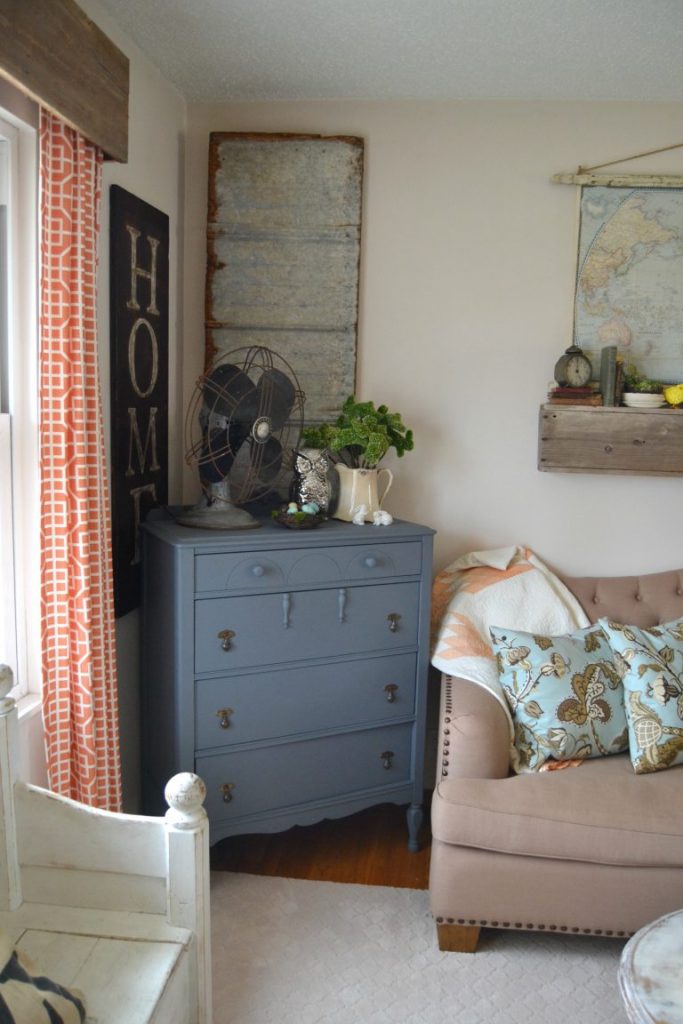
To take pictures, I moved our sofa out of the way and put the gray dresser against that wall. The color on the dresser looked so great with everything in our living room so I started moving things around to make it work in there.
I have been wanting to change the look in our living room and this gray dresser is a great start.
It fit perfectly in the corner of our living room where a round side table used to be.
“Soap Stone” is a beautiful color. When I see the gray dresser in the living room, it looks more gray, but in these pictures, there are a lot of blue undertones. Whatever way you see it, it is gorgeous.
I am so happy this dresser worked in our living room. I have been adding and rearranging things since we put it there. For now, this dresser has a permanent home ………….. until another “have-to-have” piece comes along. 🙂
PIN THIS POST!
If you liked this Painted Gray Dresser Makeover, you will also loves these makeovers:
Large Square Coffee Table Makeover



What a beautiful color Lindsay and very nice makeover on this sweet dresser that needed some TLC to be brought back to life! Pinning to share ☺
Thanks!!!
Love the Soap Stone color! You are right that it does have some blue undertones in the photos. I also love that you kept most of the original pulls. They add some beautiful character.
Thanks Rachel! I really wanted to save the knobs. They are perfection!
Gorgeous makeover and it looks perfect in your living room which is also gorgeous by the way! Thanks for linking up to Friday’s Furniture Fix ;o)
Thanks Lucy!
Thanks Rachel! I really wanted to save the knobs. They are perfection!
http://konsulkesehatanalami.blogspot.co.id/2016/03/ciri-ciri-orang-kena-penyakit-demam-berdarah.html
Lindsay today I am working on a dresser that has veneer issues.I removed the veneer totally off the drawers that were bad.Some of the drawers were good ,so I left them alone.sanding all the drawers seemed like the right thing to do.My concern is ,can you tell a difference from the drawers with the veneer removed after painting? Any advice is greatl!Thanks for your great site.It’s always exciting to read.Shelley
I have done the same thing and once I have painted them, they don’t look different. Good luck with your makeover!