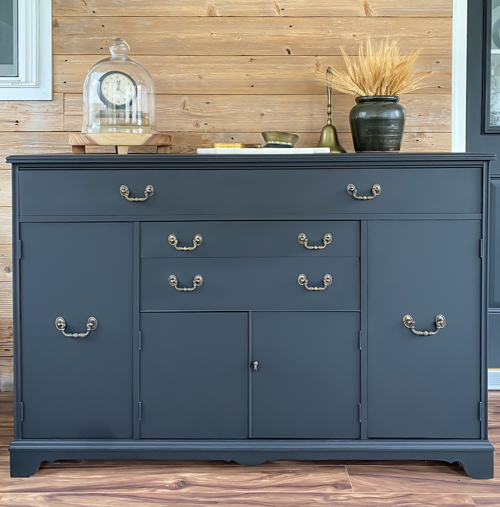
Are you ready to give a tired, outdated sideboard a fresh new look? A painted sideboard makeover is one of the most effective ways to completely transform a piece while enhancing your space. In this post, I’ll walk you through my process for a painted sideboard makeover, sharing tips, techniques, and the supplies you need to achieve a professional finish. Whether your style is modern, rustic, or vintage-inspired, a painted sideboard can be customized to fit your unique aesthetic.
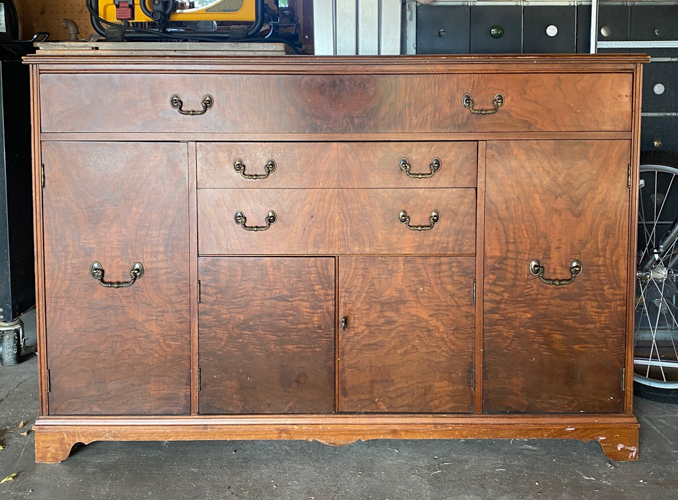
I stumbled upon this fabulous sideboard at my local Goodwill, and let me tell you, it was a total score! These gems are like unicorns in my area—hard to find! So when I spotted one begging for a makeover at a fantastic price, I had to snatch it up.
{Affiliate links are used in this post. Click on any underlined links to find the products and sources I am referring to. You can read my disclosure HERE.}
Supplies Used for My Painted Sideboard Makeover
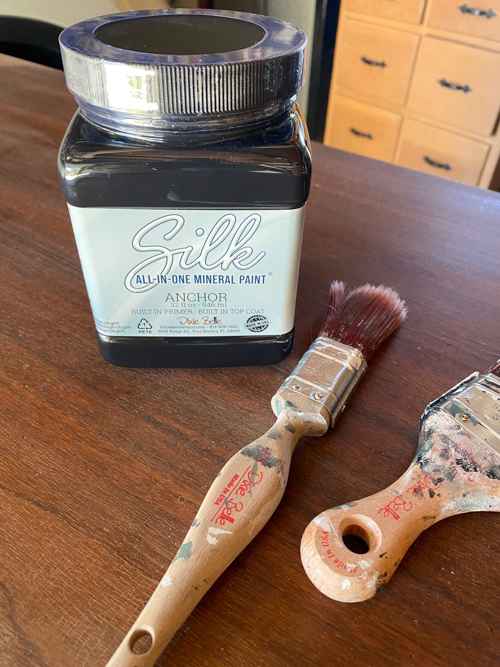
- Paint: I used the all-in-one paint that has the primer, paint, and topcoat in one can. It is less work, fewer steps, and less stress. I always grab this paint when I can.
- Sander: I love my Surfprep sander. Discount code “mycreativedays10” will save on your order.
- Cleaning Supplies: I share different cleaning supplies for projects like this HERE.
- Brushes/Rollers: I use these brushes and these rollers for projects like this.
Step 1: Prepping Your Sideboard
Preparation is key for any furniture makeover. Here’s how to get started with your painted sideboard makeover:
- Clean the Surface: Start by thoroughly cleaning the sideboard to remove dust, grease, and any grime. Let it dry completely.
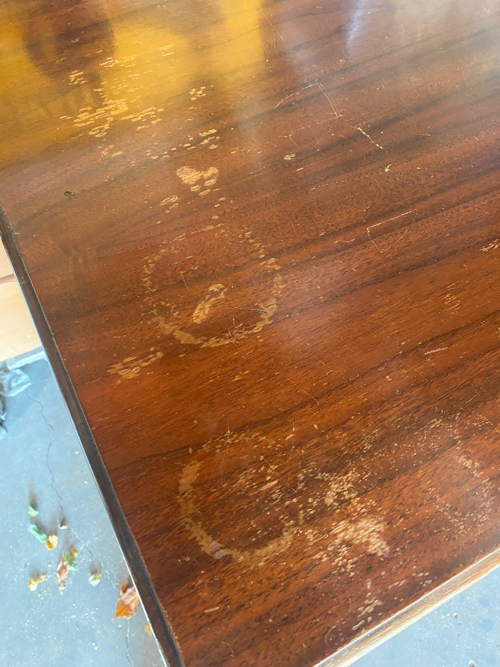
- Assess for Damage: Check for any scratches, dents, or loose hardware. Repair these areas as needed with wood filler or a similar product.
- Remove Hardware: Remove any hardware before sanding.
- Sand the Surface: Lightly scuff-sand the entire piece. This step is crucial for ensuring the paint adheres well.
- Prime if Necessary: If you’re not using an all-in-one paint, I suggest priming before painting. This will help achieve an even finish and true color.
Step 2: Paint
Now comes the fun part! Here’s how to approach your painted sideboard makeover:
- Apply the First Coat: Using a high-quality brush or roller, apply the first coat of paint evenly. Work in small sections and make sure to cover all surfaces, including the edges and corners.
- Let It Dry: Allow the first coat to dry completely as per the manufacturer’s instructions. This may take a few hours, depending on the type of paint used.
- Sand Between Coats: For a smoother finish, lightly sand the surface between coats with fine-grit sandpaper. Wipe off any dust before applying the next coat.
- Apply Additional Coats: Depending on your desired finish and the paint type, you may need to apply two to three coats. Make sure to let each coat dry completely.
Step 4: Finishing Touches
Once your painted sideboard makeover is complete, consider adding some finishing touches:
- Sealer: If you aren’t using the all-in-one paint, apply a clear topcoat or sealer to protect the finish.
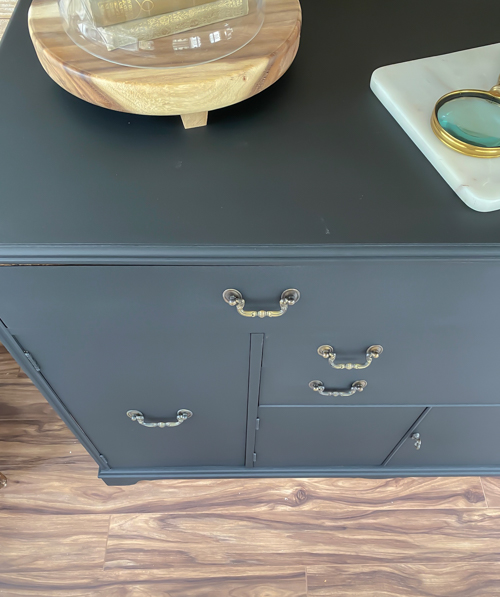
- Hardware Update: Use the existing hardware as I did on this makeover if they are all intact or replace them.
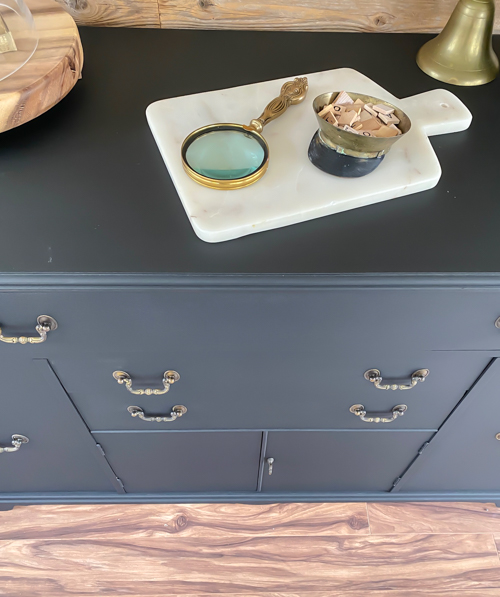
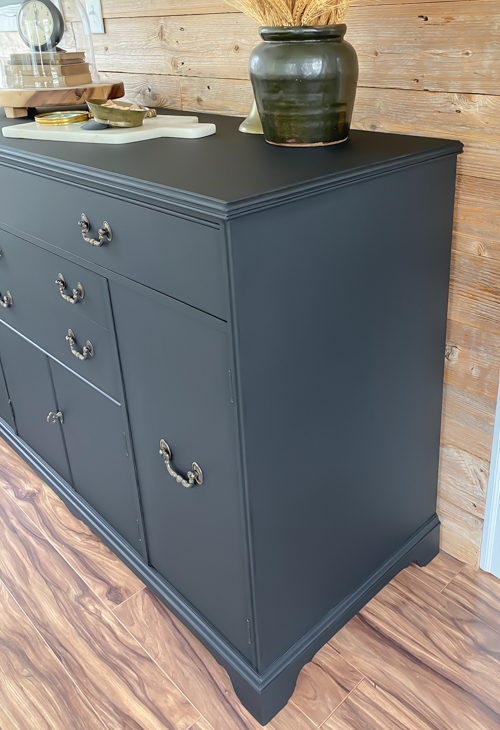
And there you have it—the transformation of one of my new favorite furniture pieces! I can’t tell you how much I love these pieces; they’re like a blank canvas just waiting for a little creativity! With their versatile design, sideboards can fit into any room and serve so many purposes—whether it’s a chic entryway table, a stylish dining room buffet, or even a fun bar cart in your living room. I’ll always keep an eye out for sideboards in thrift stores or yard sales because they never fail to spark my imagination!
Each one has its personality and story, just like me, and I can’t resist the opportunity to give them a second chance at life. I hope my painted sideboard makeover inspires you to keep your eyes peeled for your own hidden gems! So grab your paintbrush, let your creativity flow, and let’s keep turning those outdated pieces into something fabulous together.
You can see more of my furniture makeovers done in real time on my YouTube channel HERE. Make sure to SUBSCRIBE when you are there. I am launching new videos every week.
PIN THIS POST!
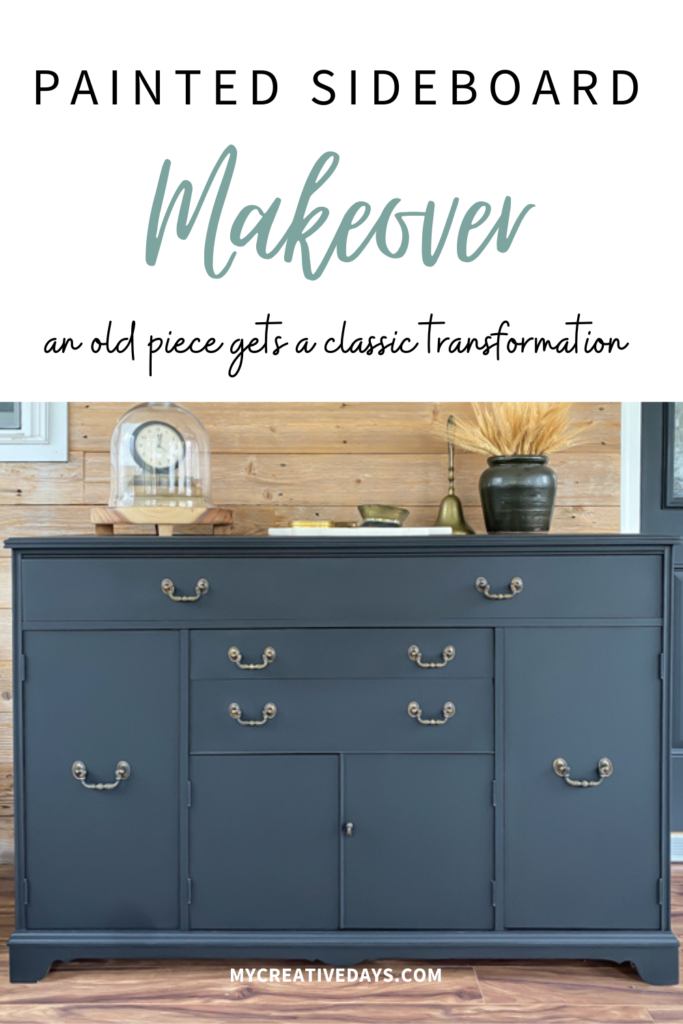
If you liked this makeover, you will also love these other sideboard transformations:
Painted Buffet Makeover To Make An Old Piece Current Again
Classic Buffet Makeover In Navy

