This Pottery Barn Advent Calendar Dupe is such an easy project that leaves you with a customizable countdown for a lot less than the original.
I love a good dupe. I am always finding inspiration for projects when I browse stores in person and online.
Not only is a good dupe fun, but I love creating Advent calendars every year around the holidays.
This Pottery Barn Advent Calendar Dupe was easy to make and can be customized in so many ways. We have made so many Advent calendars over the years so if you are looking for even more calendar ideas, I will link them at the end of this post.
Now, let’s get to this project.
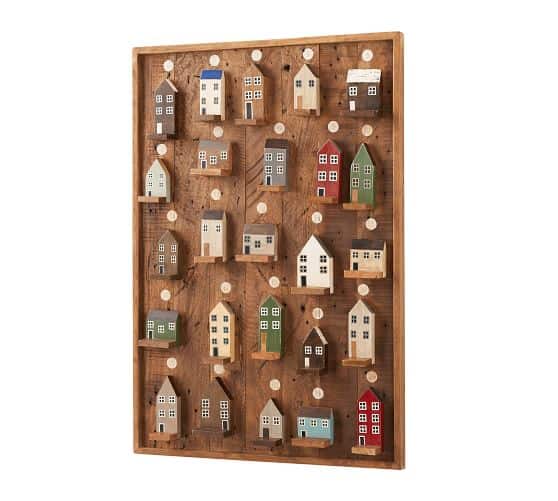
This is the Advent calendar I saw online. I knew immediately we could make something very similar with things we had on hand (making it FREE).
{Affiliate links are used in this post so you can easily find these products. You can read my disclosure HERE.}
Supplies Used To Create This Pottery Barn Advent Calendar Dupe
Boards (use any scrap boards you have)
Paint (see notes below)
Paintbrush
Nail Gun
Table Saw or Circular Saw (if you need to cut down bigger boards)
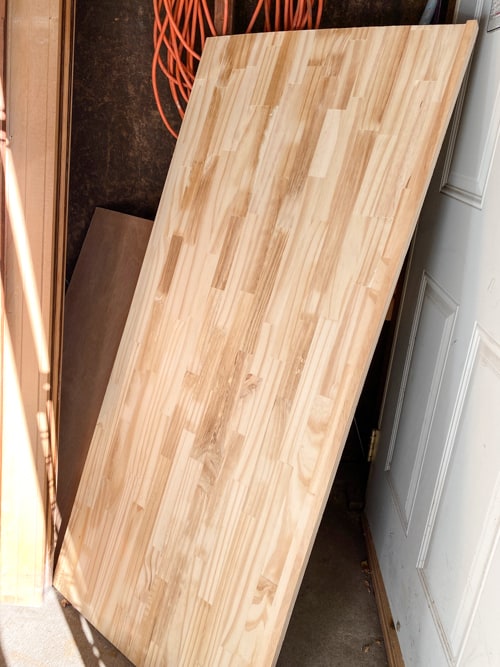
For size reference:
The backboard of the Advent calendar we made is 33″ x 23″.
Our houses measure anywhere from 4″ tall to 2.5″ tall.
Notes:
- This project can be customized in so many ways.
- Use scrap wood you have on hand. See what you have first before you decide on the sizes of the houses and the backboard you can create.
- This Advent calendar can be as big or as small as you like.
- I wanted the board trimmed out and we had the trim pieces to do it but you can omit that part for sure.
- You don’t have to add the base to each house.
- Another idea – You could add cup hooks next to the houses and hang a canvas bag with a treat inside next to the house as you count down the days. (Similar to the Advent calendar we did HERE).
- You could add numbers (1-25) to each house.
- Paint the houses any way you like.
- The paint colors I used on the houses:
Steps To Make This Advent Calendar
- The first thing you need to do is to decide on the size you want the Advent calendar to be. Then, you will know how big or small you need to cut the houses.
- Cut your backboard to size.
- Stain the backboard.
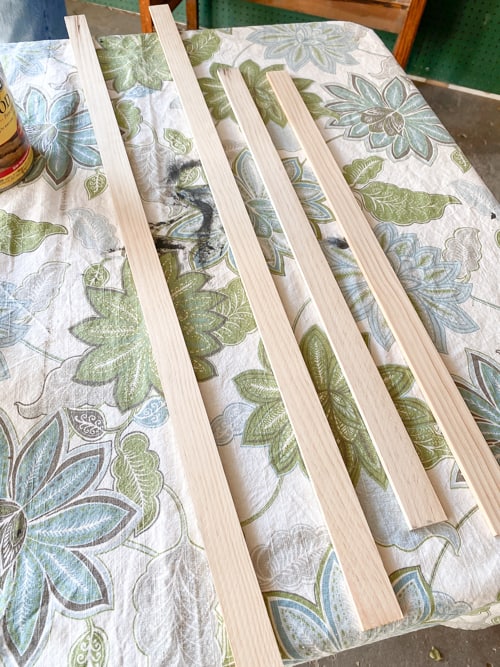
- Then, if you are framing out the board, cut your frame pieces and stain them.
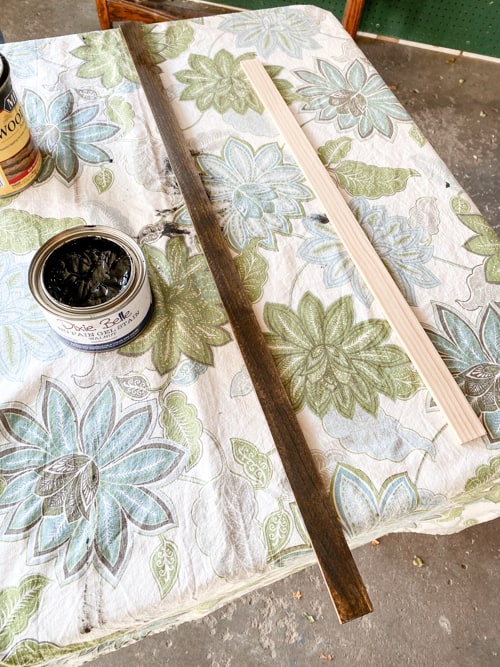
- Attach the frame around the backboard once it is dry.
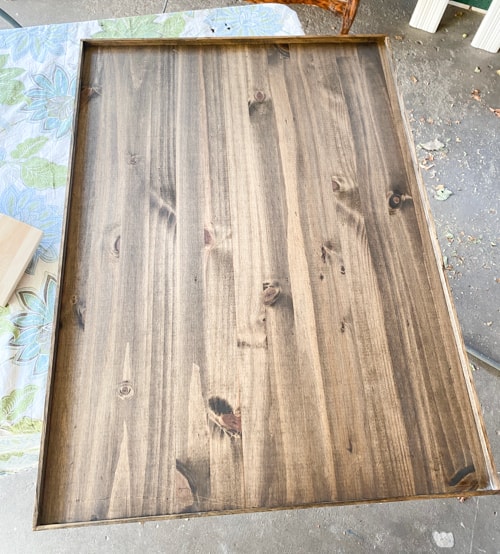
- Decide on your house shapes and cut them out using a miter saw.
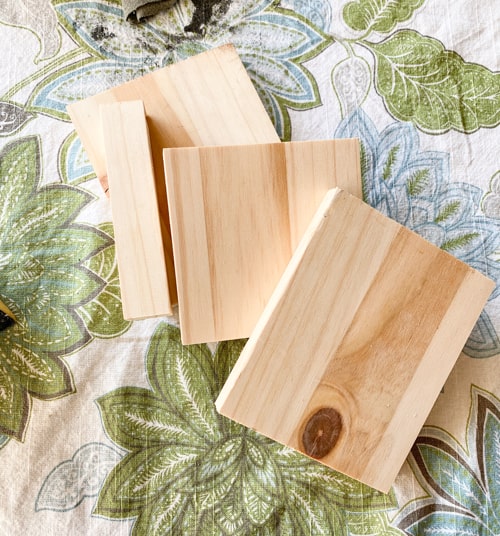
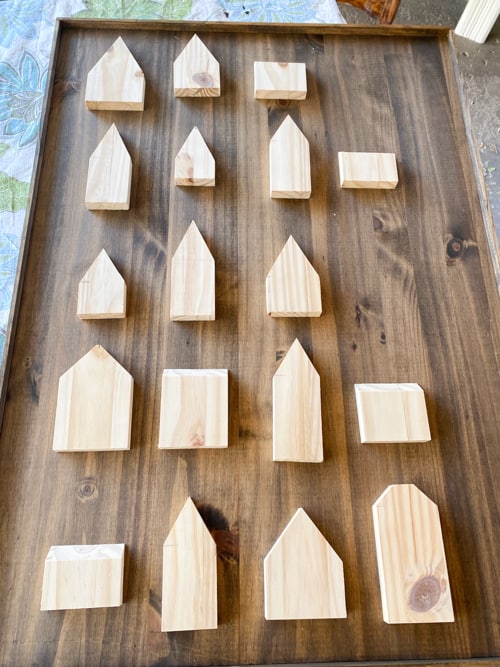
- Paint the houses to your liking.
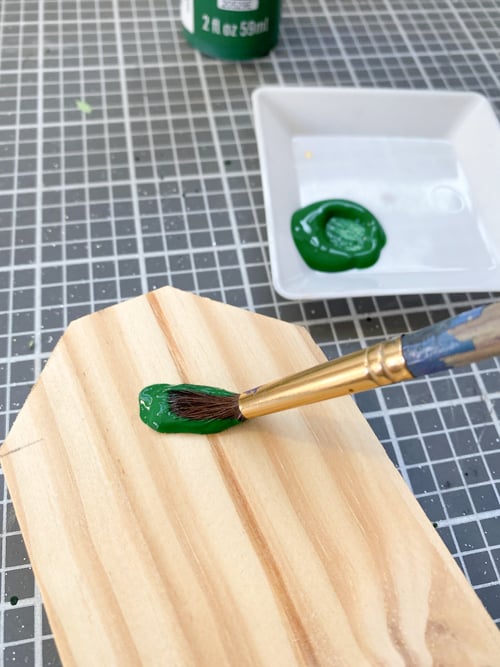
- If you are attaching a base to your houses, measure and cut them out now. We used a thin piece of plywood for the bases of our houses.
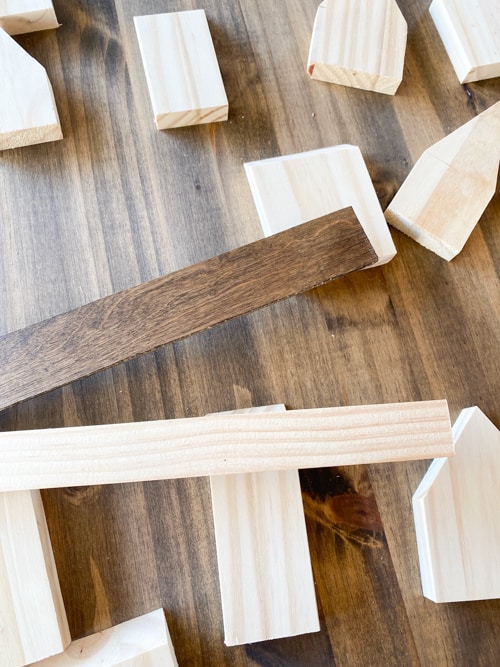
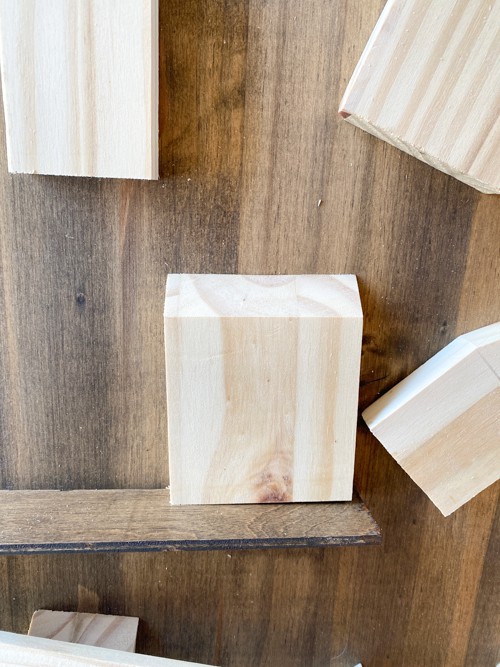
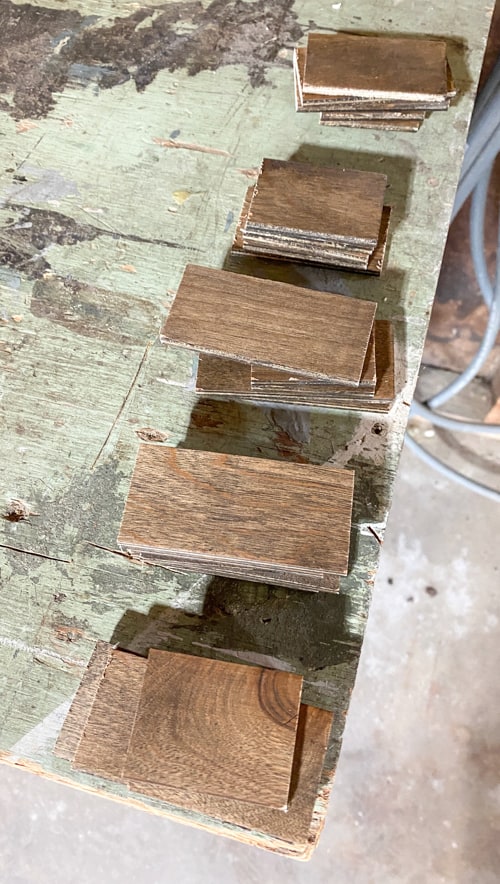
- Once the bases are cut, stain them the same color as the backboard OR paint them.
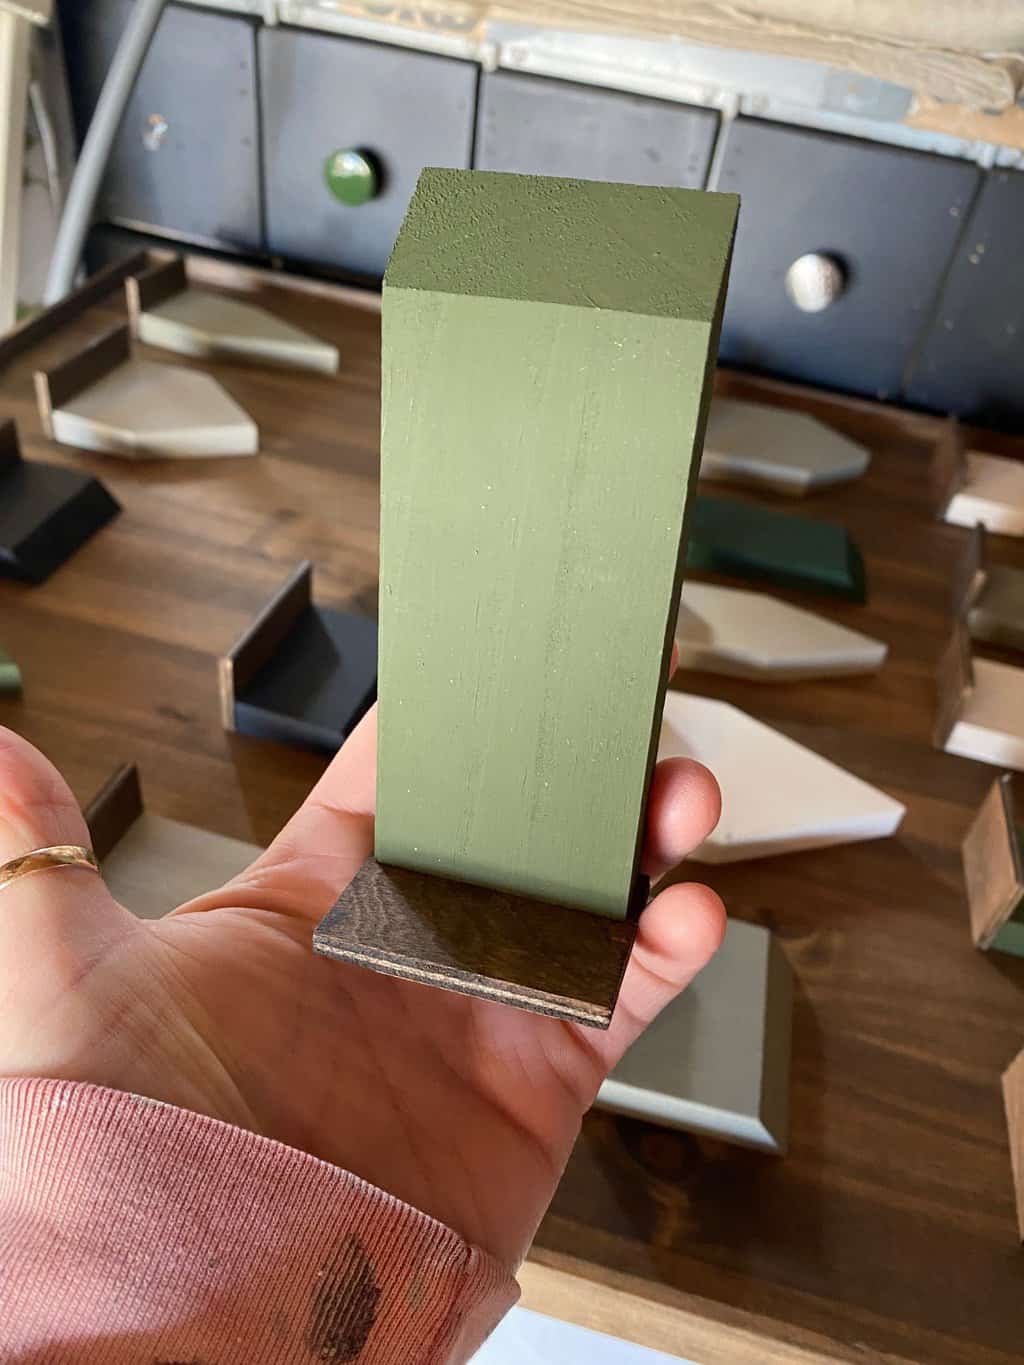
- Once the bases are dry, attach them to the bottom of the houses with a nail gun or you could wood glue them as well.
- Now, it is time to put the Advent calendar together. Lay your houses out how you like them and secure them to the backboard. We used wood glue to attach them.
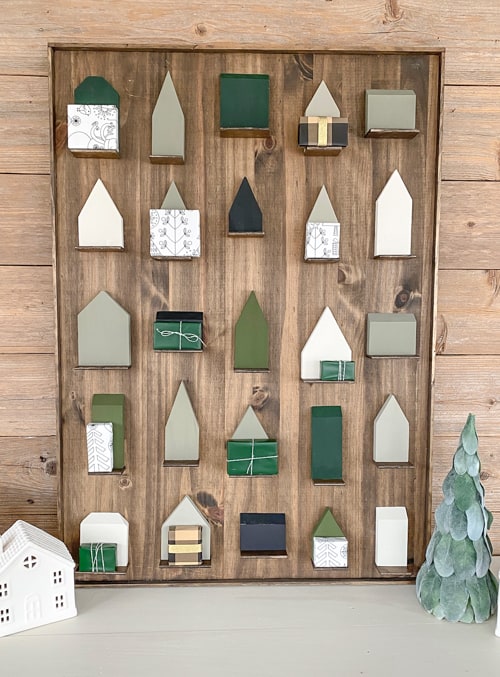
That’s it! It is done.
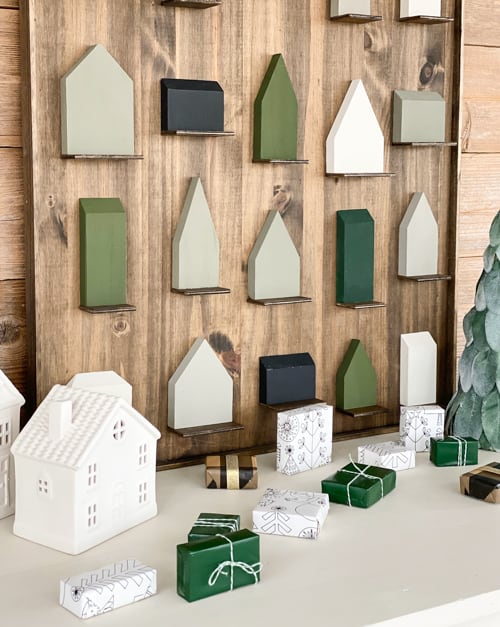
You can add little gift boxes/trinkets/treats/gift cards/activities to do/ways to give back each day/etc. to the bases of each house to count down the holiday season.
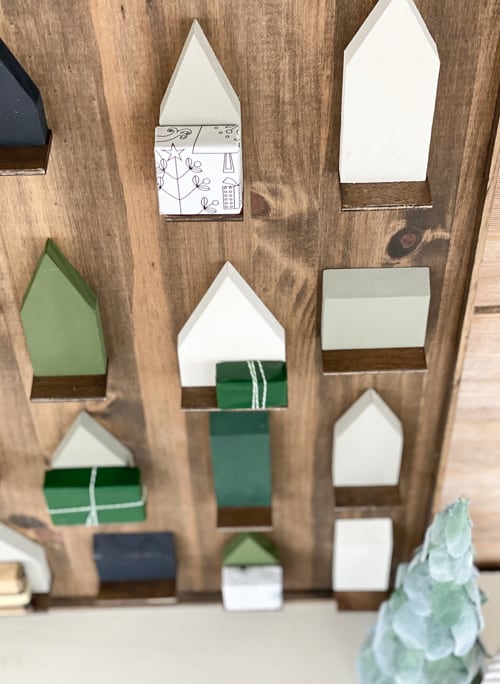
When I started painting the houses, I really fell in love with the simple, modern color aesthetic and decided to not add any details to the houses. You could add doors and windows, snow, and so much to them.
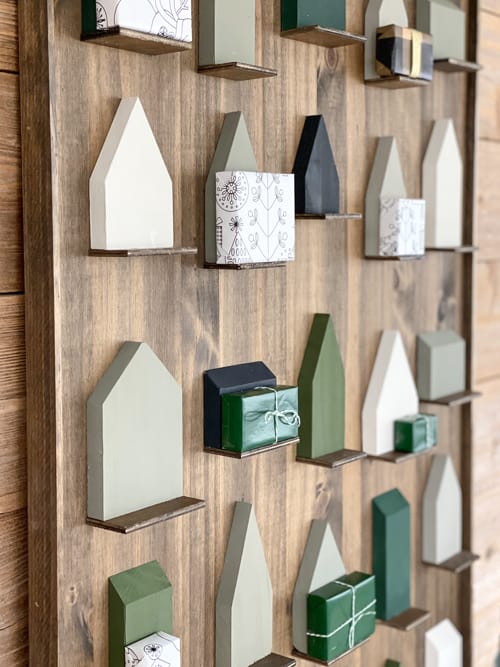
There are so many ways to make this calendar.
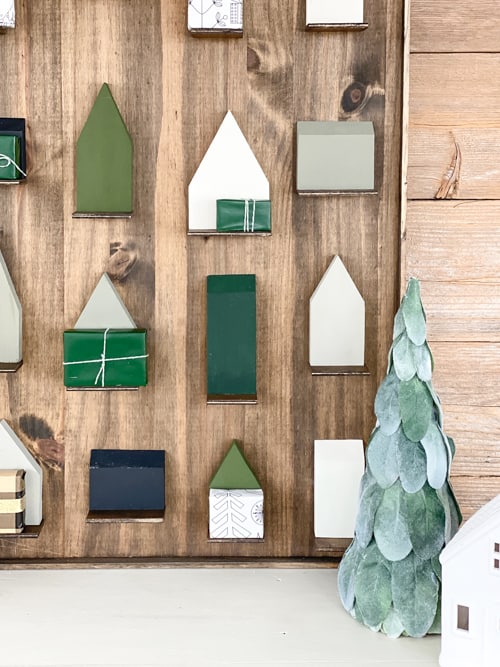
I love the way this turned out. It is something that can be used year after year.
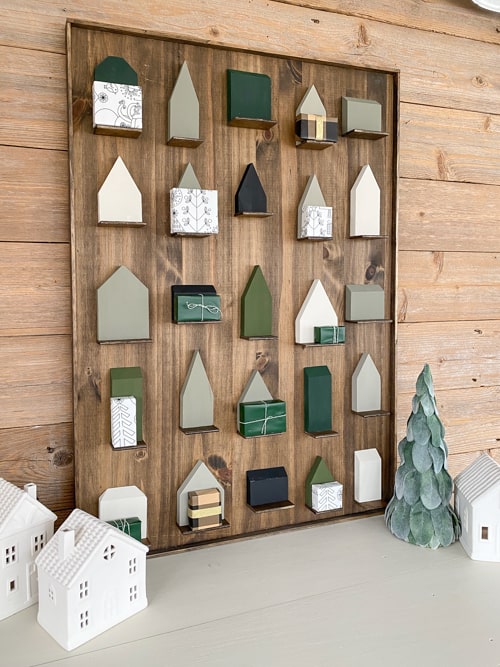
I like the way it looks just as decor too.
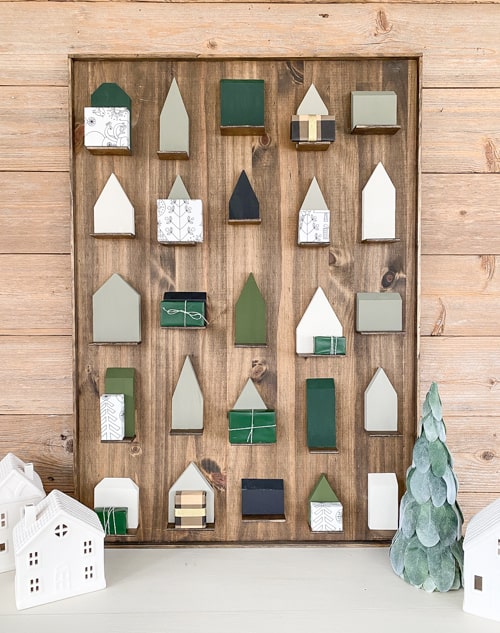
You can see a full video tutorial of how this Advent calendar came together on my YouTube channel HERE.
Is this a project you would do?
If you do, I would love to see it! Please post a photo on Instagram and tag me @mycreativedays so I can see it!
PIN THIS POST!
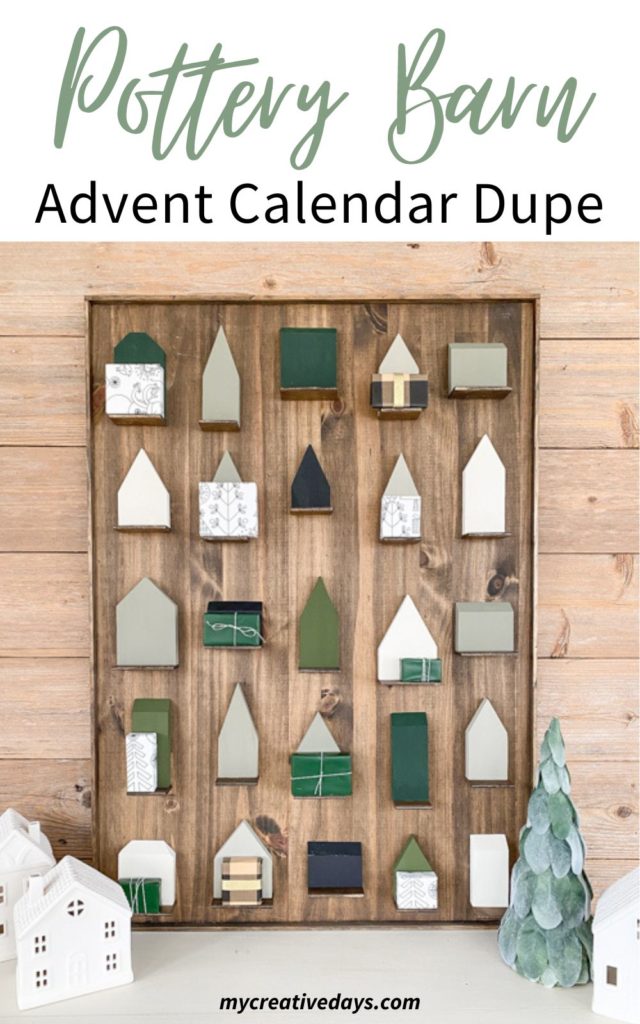
If you liked this Pottery Barn Advent Calendar Dupe, you will also like these Advent calendar ideas:
Easy DIY Advent Calendar Made From A 25¢ Board
DIY Fabric Advent Calendar Made From Curbside Frame


Amazing!