Are you a fan of Pottery Barn’s timeless and elegant furniture but not so much a fan of the price tag? You’re not alone! In this tutorial, I’ll show you how to create a stunning Pottery Barn dupe dresser that will elevate your space without breaking the bank. This project is perfect for DIY enthusiasts, thrifters, and furniture flippers!
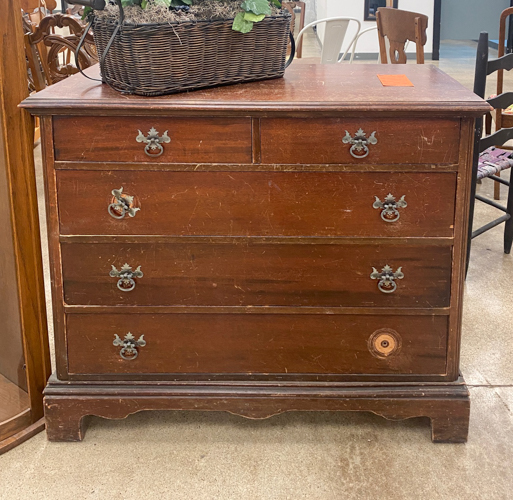
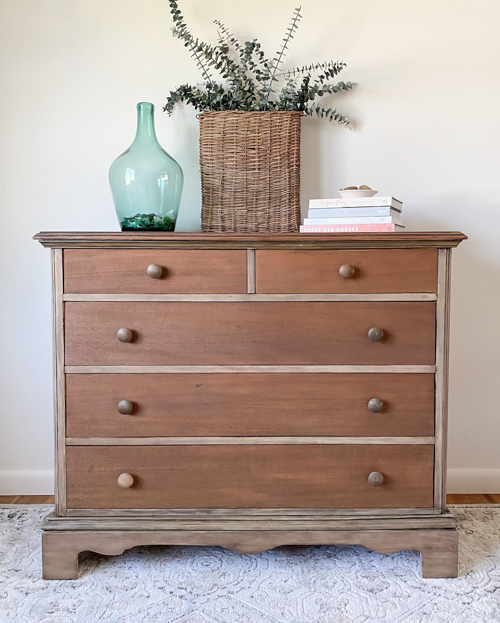
I found this dresser at my local Salvation Army store. I thought it would sand up beautifully, but it wasn’t until I got the sanding done and saw just how well it was that I was inspired for the rest of this project.
{Affiliate links are used in this Pottery Barn dupe dresser post. Click on any underlined links to find the products and sources I am referring to. You can read my disclosure HERE.}
Pottery Barn Dupe Dresser
Materials Needed
- Sander (I used my Surfprep and my orbital sander)
- Sandpaper (I used 80, 120, and 180 grit)
- Paint (you need this color)
- Stain (I used Golden Ash)
- Stain Applicator
- Paintbrushes
- Salve
- Wood Knobs (make sure you pick out the right size for your piece)
- Water
- Old Rags
- Something to mix the paint and water
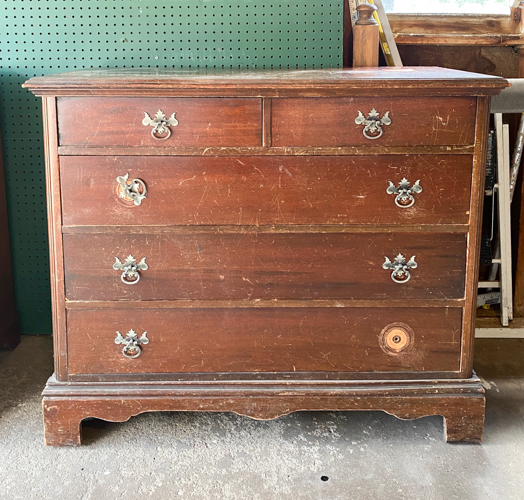
Step 1: Find the Perfect Dresser
I always start every makeover by sourcing a solid wood dresser and this Pottery Barn dupe dresser was no different. I wrote an entire post on how to tell if a piece is solid wood HERE. Thrift stores, garage sales, and online marketplaces are great places to find affordable pieces. Look for a dresser with good bones, as the quality of the base piece will impact the final result. This will be the foundation of your Pottery Barn dupe dresser.

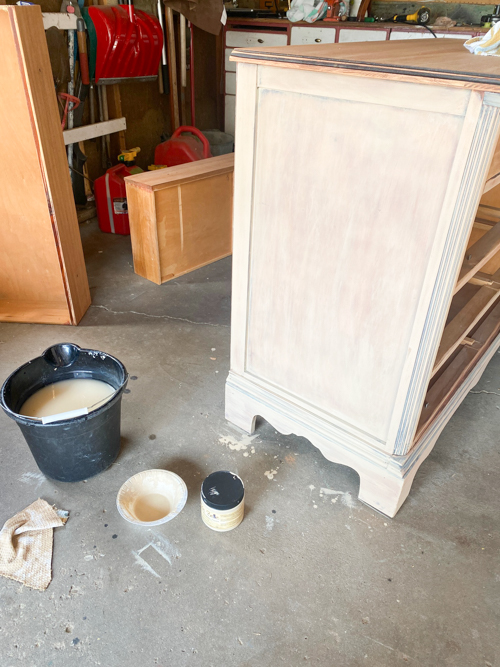
Step 2: Prep Your Workspace
Always set up your workspace in a well-ventilated area. Lay down drop cloths to protect the floor and gather all your materials. Make sure you have enough space to move around the dresser comfortably.
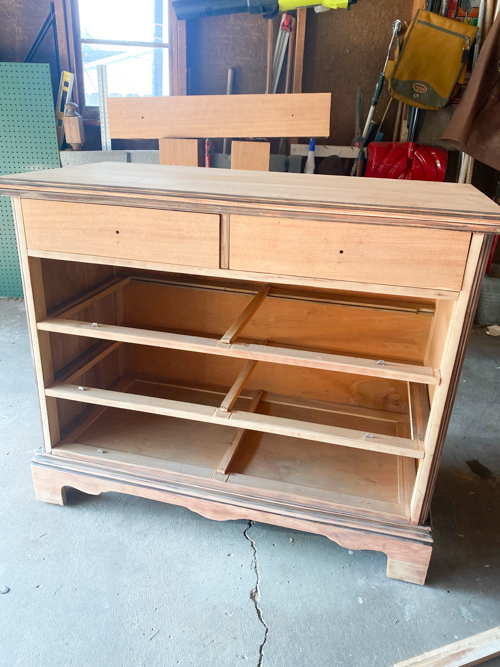
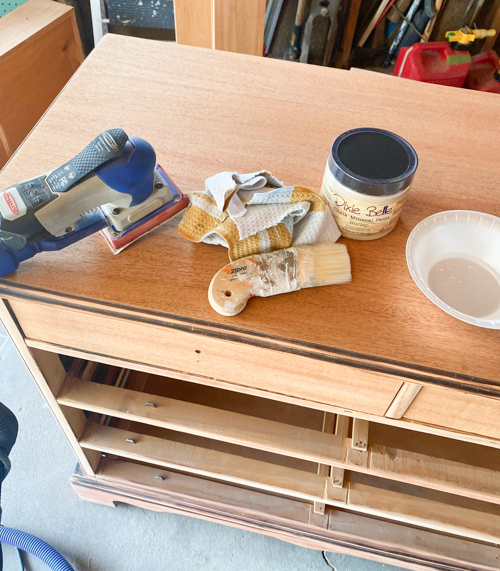
Step 3: Sanding
With every furniture flip, begin by removing any existing hardware from the dresser. Using medium-grit sandpaper, sand the entire surface of the dresser to remove the old finish. I started with 80 grit with this piece. This step ensures the primer, paint, and stain adhere properly.
Once I have everything sanded as I want, I smooth it out with finer grit sandpaper before applying anything to it. After sanding, wipe down the dresser with a damp cloth to remove any dust and give the entire piece a good cleaning. As I said, this Pottery Barn dupe dresser sanded down so well that it inspired the entire project. It is not all the time that you get a piece that will sand down this well.
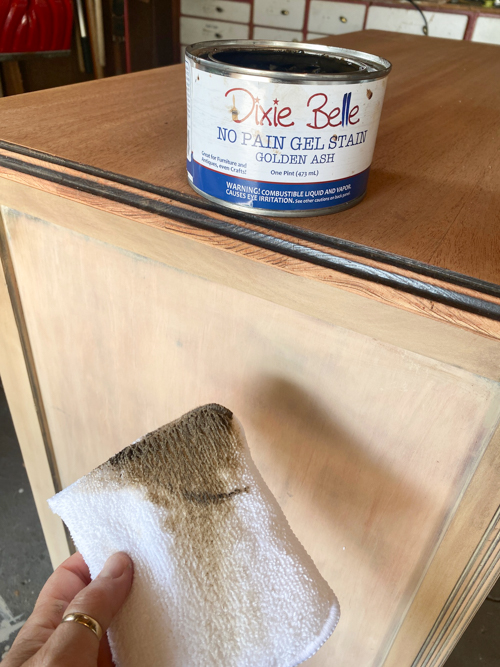
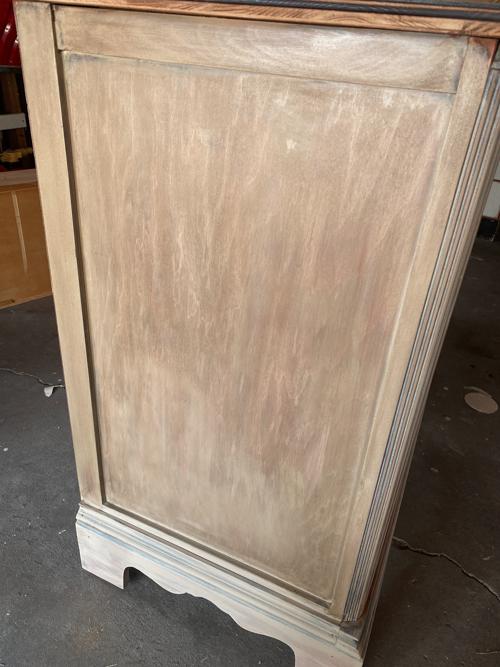
Step 4: Stain & Paint Wash
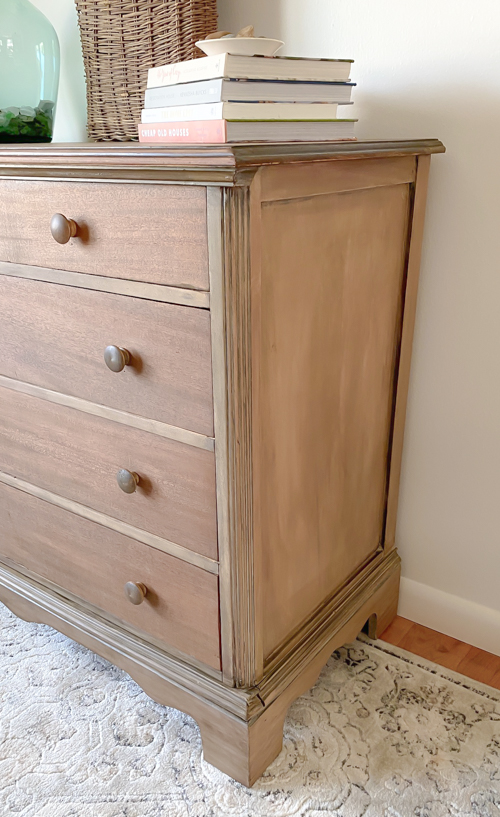
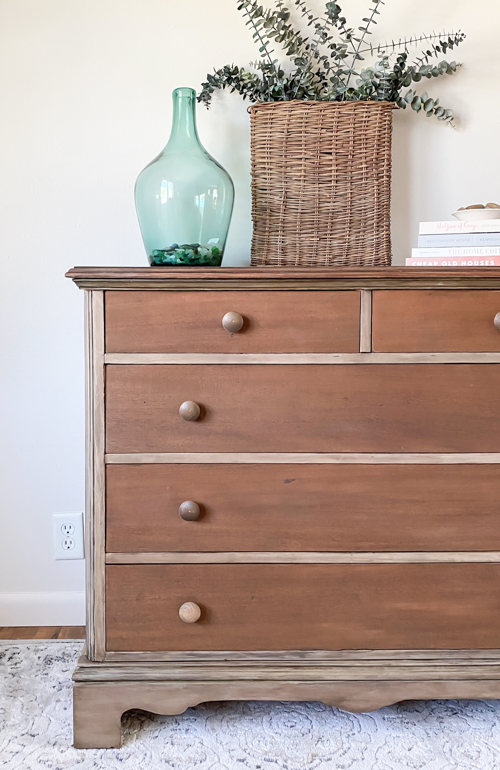
I applied the stain to the drawer fronts and the top of this Pottery Barn dupe dresser. Then, I wanted to do a paint wash/stain to make the other areas look like wood. I wrote an entire post about how to paint wash HERE. Once I had the paint wash done, I added stain over it to give it a more “wood” look. I used an old rag to wipe the paint wash and the stain away as I worked in small sections.
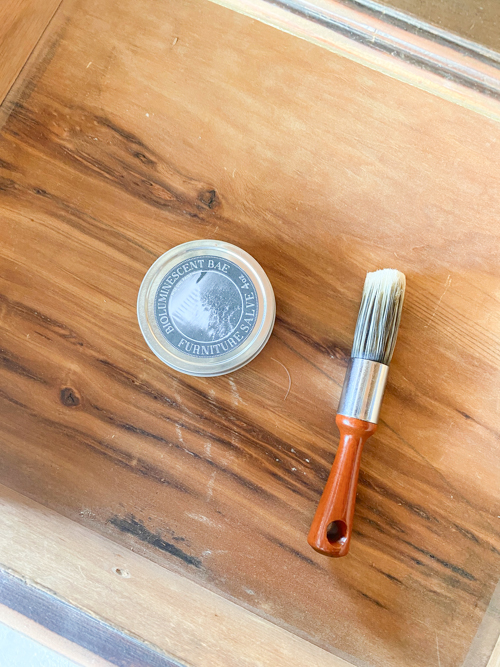
Step 5: Drawers
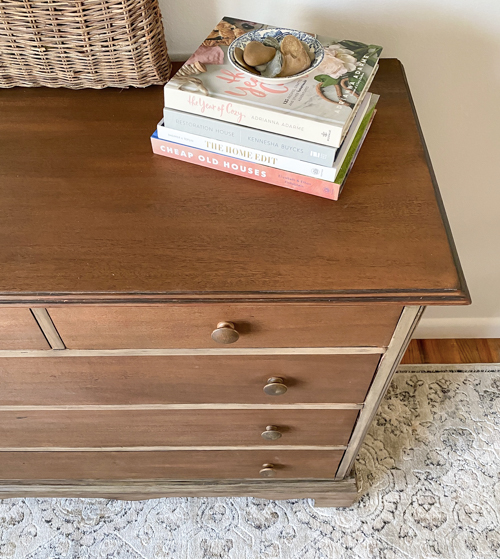
As I waited for the paint and stain to dry, I started working on the inside of the drawers. When I got the dresser, all the drawers were lined. I love it when I find that because I know the drawers have been protected for a long time. Once I removed the lining, I used salve to revive the inside of each drawer.
Step 6: Adding New Hardware
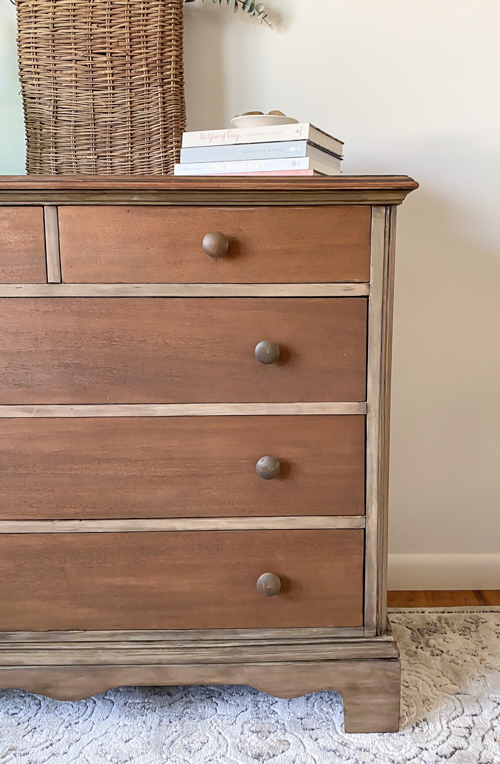
When everything was dry, I added new wood knobs to this Pottery Barn dupe dresser. I wrote an entire post on how to choose the right hardware for every project HERE.
Step 7: Final Touches
Once I got it all together, I checked it for any touch-ups needed and it was ready for the glamor shots!
It always amazes me what a little paint and stain can do.
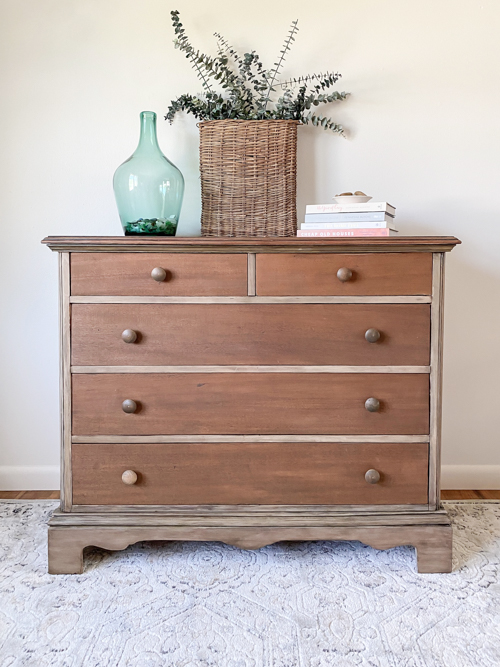
When I got this Pottery Barn dupe dresser done, I was so happy with it. I thought it looked like something you would find in a Pottery Barn store.
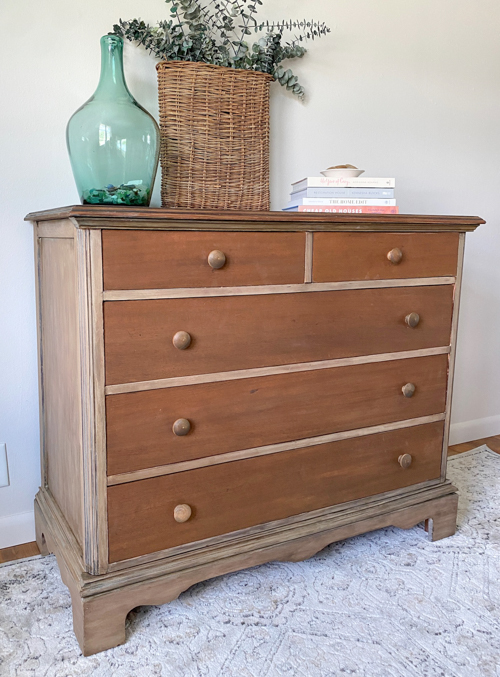
When I brought it in to photograph the Pottery Barn dupe dresser, our daughter said, “That looks like Pottery Barn!” She couldn’t have given me a better compliment.
Creating a Pottery Barn dupe dresser is a rewarding project that not only saves you money but also allows you to customize a piece to perfectly fit your style. Whether you’re a seasoned DIYer or just starting, this step-by-step tutorial will guide you through the process.
Do You Want To Make Money Flipping Furniture?
After twenty years of doing this, I am still picking up pieces when I can find them because I love the creative outlet, but I am now coaching other furniture flippers on how to make more money in their business. If you are someone who is looking to start and/or grow a furniture flipping business, I would love to help you. There are ways to make money in your business beyond painting a piece of furniture. Once I learned that, my business flourished. Don’t waste your time trying to figure it out on your own.
To help other flippers, I created The Furniture Flipping Academy! The academy includes everything you need to start, grow, and/or scale a furniture flipping business. It includes courses, resources, templates, social media planner and guide, a private community, and so much more. It will ensure that you are doing the steps that will lead to success and not wasting your time on things that won’t.
You can find all the information about the Furniture Flipping Academy HERE.
Let’s get your business started and/or moving in the right direction. The Furniture Flipping Academy is for any flipper, from beginner to experienced. If your business is stagnant, there is a reason for that. Let me help you grow it into a flipping career that is profitable and fits the lifestyle you want to live.
PIN THIS POST!

If you liked this makeover, you will love these too:
How to Transform a Dresser with Black Paint: Step-by-Step DIY Tutorial
Meh… I have seen much better.
Thank you so much for checking it out and being so positive!