DIY ProjectsFurniture

How to Repair Veneer with Durham’s® Rock Hard® Putty

3 Mins read
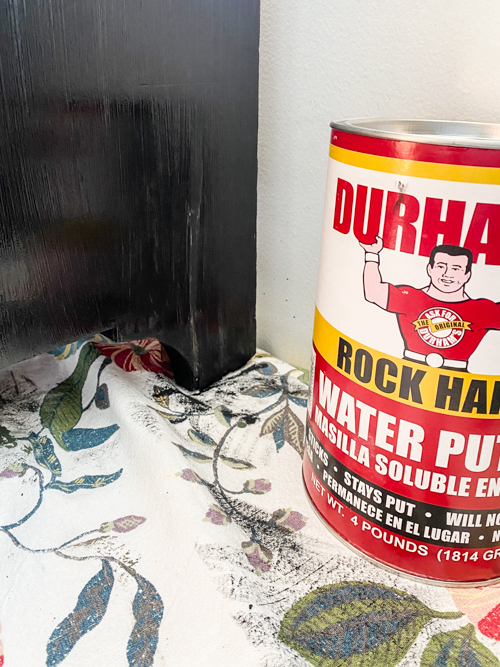
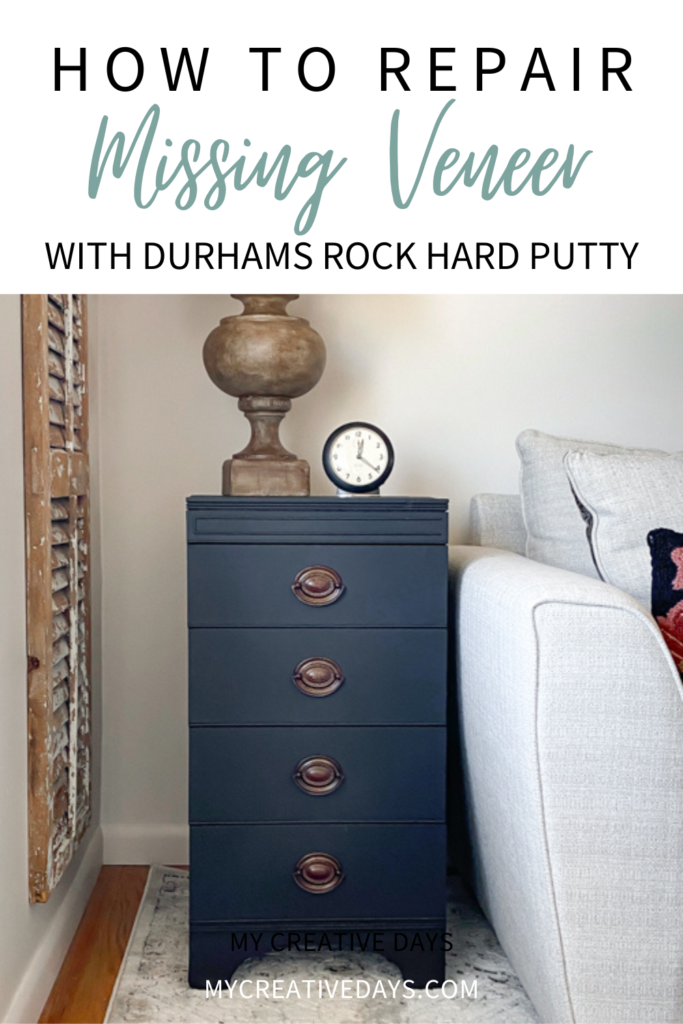
I want to thank Durham’s® for sponsoring this How to Repair Veneer with Durham’s® Rock Hard® Putty post.
 
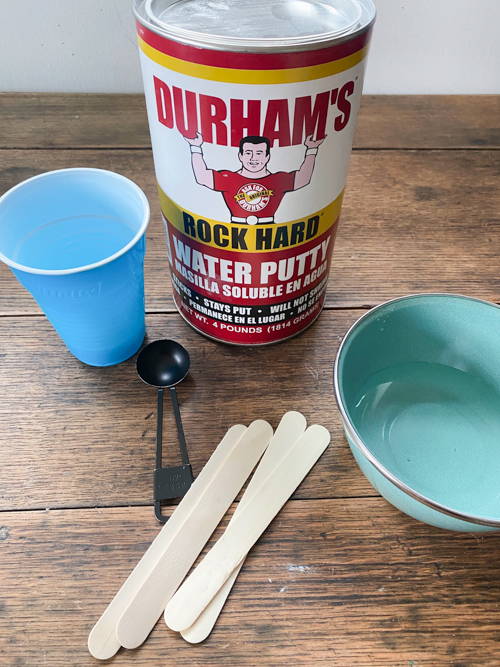
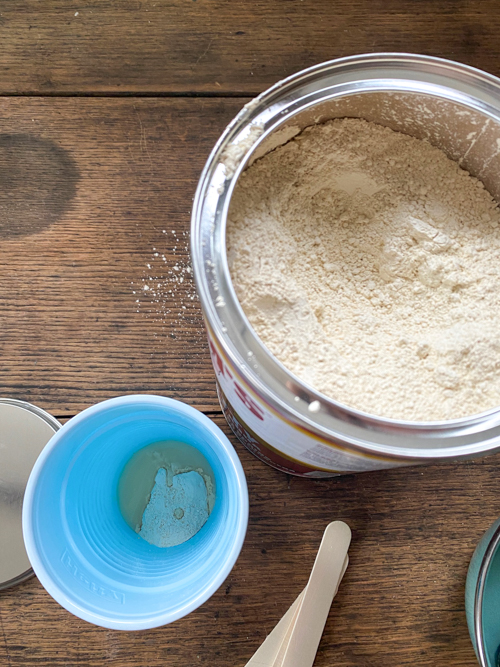
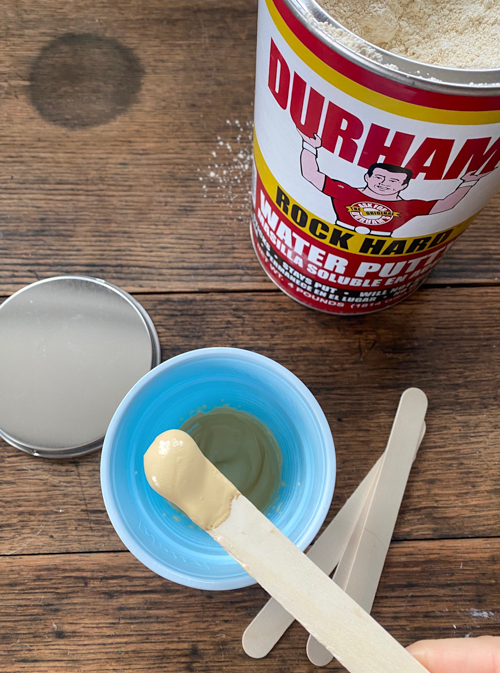
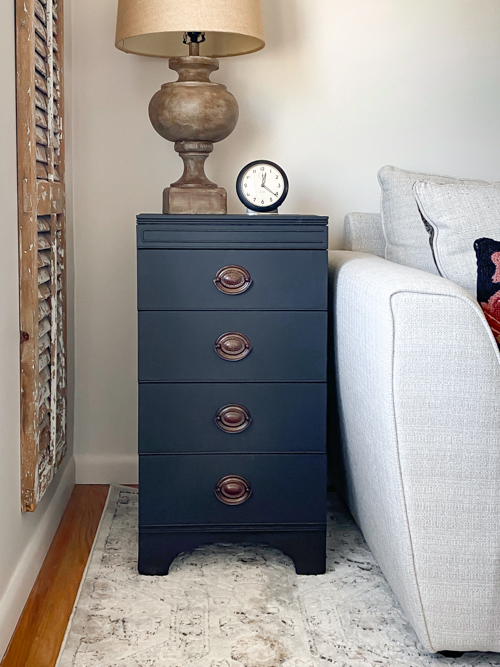
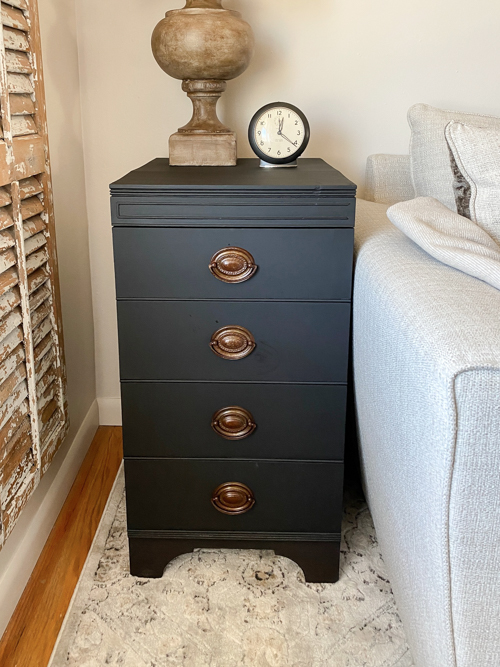
If you ever encounter a beautiful piece of furniture with damaged veneer, don’t pass it by—it still has so much potential! You can easily repair veneer with Durham’s® Rock Hard® and bring new life to your thrifted or vintage finds. This budget-friendly method is perfect for DIYers looking to restore furniture without replacing the entire surface.
 
Learn how to Repair Veneer with Durham’s Rock Hard easily! Fix chips, cracks, and missing veneer on furniture with this step-by-step guide for a flawless finish.
 
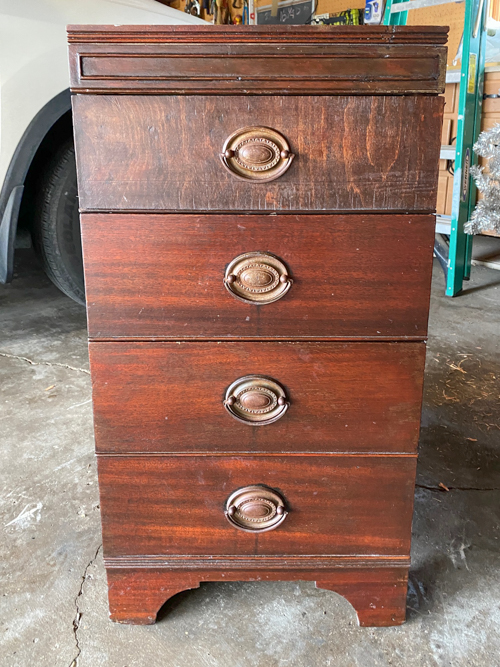
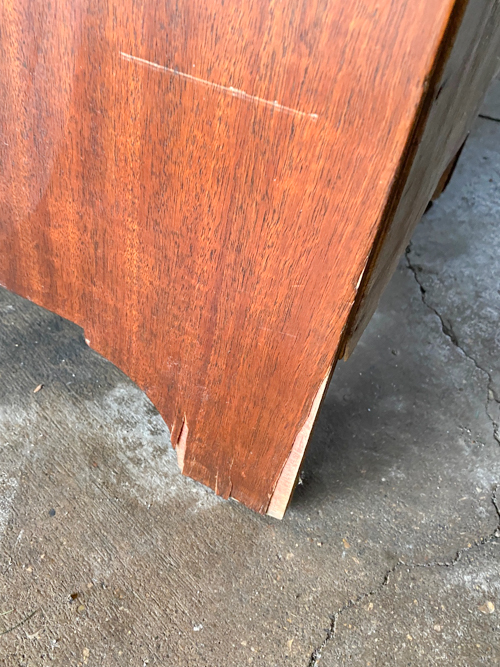
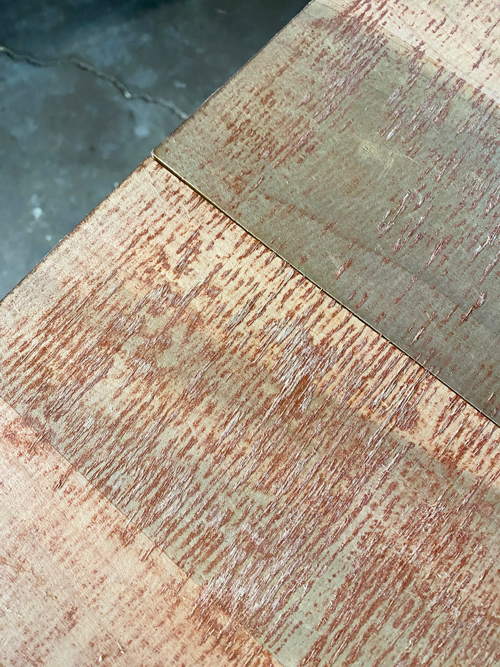
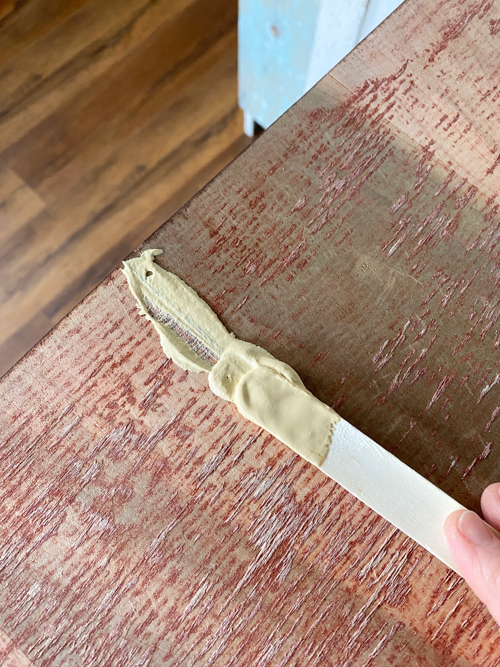
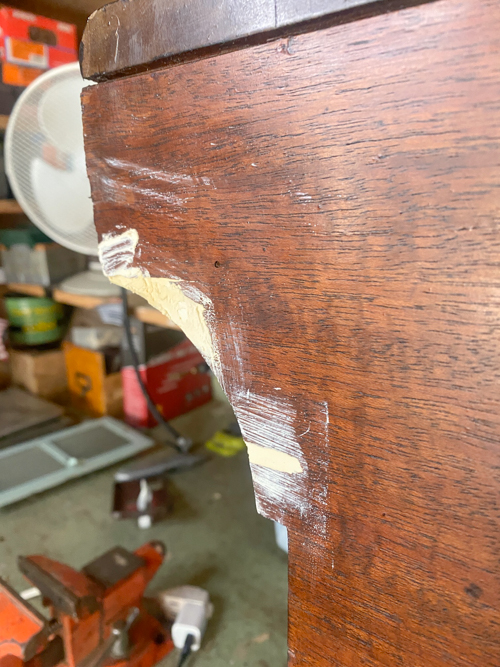
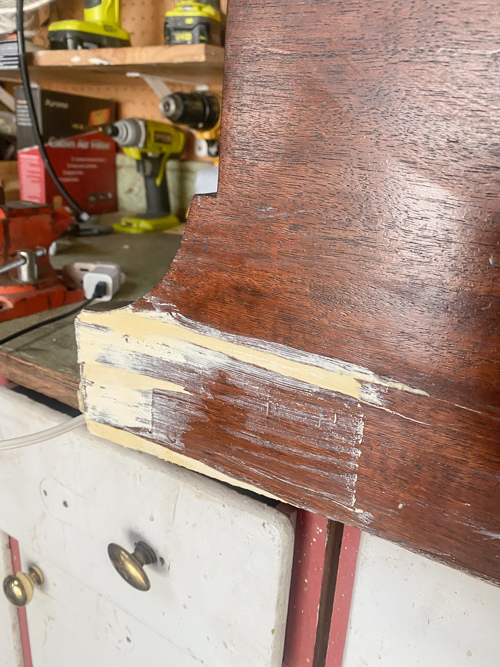
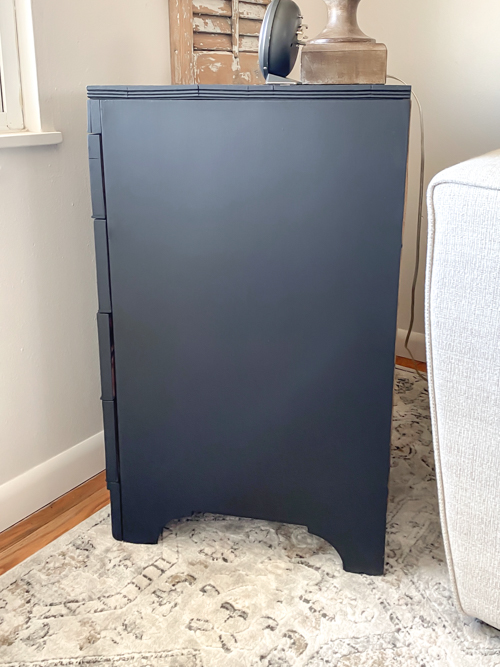
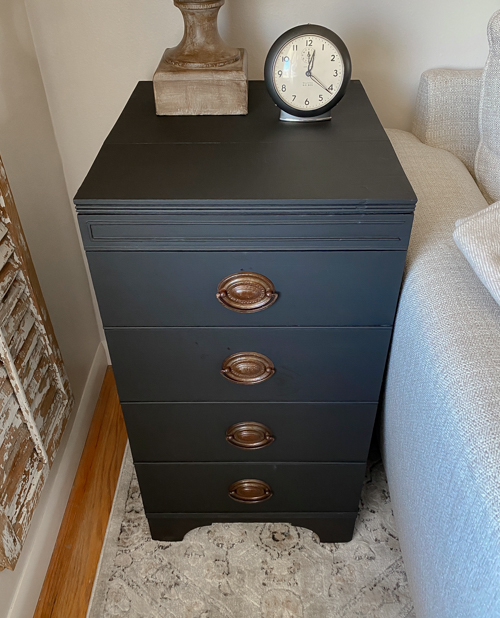
My mom was getting rid of this piece. All the veneer was taken off the top and the sides had some damaged veneer. These pieces never scare me away because I know they can be made over easily. 
 
Learn how to Repair Veneer with Durham’s Rock Hard easily! Fix chips, cracks, and missing veneer on furniture with this step-by-step guide for a flawless finish.
 

Why Repair Veneer with Durham’s® Rock Hard® ?

Durham’s® Rock Hard® is a putty known for its durability and smooth finish. Unlike other fillers, it comes in powder form, you mix it as you need it, you have ample work time once it is mixed, and it dries rock hard. It adheres well to furniture projects, making it a great solution for repairing chips, cracks, and missing sections.

Learn how to Repair Veneer with Durham’s Rock Hard easily! Fix chips, cracks, and missing veneer on furniture with this step-by-step guide for a flawless finish.

{Affiliate links are used in this post. Click on any of the underlined links to find the products I am talking about. You can read my disclosure HERE.}

Learn how to Repair Veneer with Durham’s Rock Hard easily! Fix chips, cracks, and missing veneer on furniture with this step-by-step guide for a flawless finish.

Supplies You’ll Need to Repair Veneer with Durham’s® Rock Hard® :

Learn how to Repair Veneer with Durham’s Rock Hard easily! Fix chips, cracks, and missing veneer on furniture with this step-by-step guide for a flawless finish.

Step 1: Prepare the Surface

Before you repair the veneer with Durham’s® Rock Hard®, make sure the surface is clean. Remove any loose veneer pieces and sand the edges of the damaged area for a smoother application. Wipe away dust and debris to ensure proper adhesion.

Learn how to Repair Veneer with Durham’s Rock Hard easily! Fix chips, cracks, and missing veneer on furniture with this step-by-step guide for a flawless finish.

Step 2: Mix Durham’s® Rock Hard® Putty

In a small container, mix Durham’s® Rock Hard® with water according to the package instructions. Stir until you get a smooth, peanut butter-like consistency. 

Learn how to Repair Veneer with Durham’s Rock Hard easily! Fix chips, cracks, and missing veneer on furniture with this step-by-step guide for a flawless finish.

Step 3: Apply the Putty

I apply the putty with the wooden stick I mix it with and then, using a putty knife. I spread the mixture over the damaged veneer. Be sure to press it into any gaps or missing sections to create a seamless repair. Smooth out the surface as much as possible and wipe away any excess in areas you don’t need to reduce sanding later.

Learn how to Repair Veneer with Durham’s Rock Hard easily! Fix chips, cracks, and missing veneer on furniture with this step-by-step guide for a flawless finish.

Learn how to Repair Veneer with Durham’s Rock Hard easily! Fix chips, cracks, and missing veneer on furniture with this step-by-step guide for a flawless finish.

Step 4: Let It Dry Completely

For best results, allow it to cure fully for at least 24 hours before moving to the next step.

Learn how to Repair Veneer with Durham’s Rock Hard easily! Fix chips, cracks, and missing veneer on furniture with this step-by-step guide for a flawless finish.

Learn how to Repair Veneer with Durham’s Rock Hard easily! Fix chips, cracks, and missing veneer on furniture with this step-by-step guide for a flawless finish.

Step 5: Sand for a Smooth Finish

Once the putty is completely dry, sand the repaired veneer with 120-grit sandpaper to remove excess material. Follow up with 220-grit sandpaper for an ultra-smooth finish. Wipe away the dust before proceeding.

Learn how to Repair Veneer with Durham’s Rock Hard easily! Fix chips, cracks, and missing veneer on furniture with this step-by-step guide for a flawless finish.

Step 6: Paint or Stain to Match

If your piece is painted, apply a coat of primer and then paint over the repaired veneer. I used an all-in-one paint. With just the first coat, the Rock Hard® and the paint are making this piece new again.

Learn how to Repair Veneer with Durham’s Rock Hard easily! Fix chips, cracks, and missing veneer on furniture with this step-by-step guide for a flawless finish.

Learning how to repair veneer with Durham’s® Rock Hard® is an easy and effective way to salvage damaged furniture.

Learn how to Repair Veneer with Durham’s Rock Hard easily! Fix chips, cracks, and missing veneer on furniture with this step-by-step guide for a flawless finish.

Learn how to Repair Veneer with Durham’s Rock Hard easily! Fix chips, cracks, and missing veneer on furniture with this step-by-step guide for a flawless finish.

This technique allows you to restore beautiful pieces affordably, making them look brand new again.

Learn how to Repair Veneer with Durham’s Rock Hard easily! Fix chips, cracks, and missing veneer on furniture with this step-by-step guide for a flawless finish.

The next time you come across a damaged veneer piece, give this method a try and see the transformation for yourself!

Learn how to Repair Veneer with Durham’s Rock Hard easily! Fix chips, cracks, and missing veneer on furniture with this step-by-step guide for a flawless finish.

Why I Love To Repair Veneer With Durham’s® Rock Hard® Water Putty

Durham’s® Rock Hard® Water Putty is a staple in my DIY projects, and for good reason! Here are my favorite things about it:

  • Inexpensive – A budget-friendly option that goes a long way.
  • Mix as You Need – Since it comes in powder form, you only mix what you need, so it never dries out in the can.
  • Long Work Time – Gives you plenty of time to shape, sculpt, or apply before it sets.
  • Dries Rock Hard – True to its name, it cures to a super strong finish.
  • Versatile – Works on wood, plaster, concrete, and more—perfect for furniture repair, DIY decor, and creative projects.
  • Easy to Use – Just add water and mix to your desired consistency.
  • Takes Paint Well – Once dry, you can sand it smooth and paint it to match your project.
  • Won’t Shrink or Crack – Holds its shape beautifully as it dries.

If you haven’t tried Durham’s® Rock Hard® Water Putty yet, I highly recommend keeping it in your DIY toolkit!

To watch this project in real-time, head over to my YouTube video HERE


PIN THIS POST!

Learn how to Repair Veneer with Durham’s Rock Hard easily! Fix chips, cracks, and missing veneer on furniture with this step-by-step guide for a flawless finish.

If you liked this How to Repair Veneer with Durham’s® Rock Hard® Putty post, you will also like these:

How to Fill a Table Crack with Durham’s Rock Hard Putty

How To Prep Furniture For A Makeover

What To Avoid When Choosing Furniture To Flip


Leave a Reply

Your email address will not be published. Required fields are marked *