If you follow me on Instagram, you saw me post about this DIY Lemonade Stand we made for the kiddos.
Every spring, I coordinate our neighborhood yard sale. It is a lot of fun when the entire neighborhood participates. It is a great way to get out and talk to everyone after being cooped up in our homes all winter.
The past few years, we have included a little bake sale for our kids to run during our sale. THEY LOVE THIS. They are getting to the age that they really understand the value of money and want to find ways to earn their own money. The bake sale is perfect for this. They help me bake the goodies and they get to work with “customers”, count back money (without a calculator) and learn how to run a little business. 😉
For our sale this spring, we repurposed an old cabinet into a bake sale stand. This stand got a lot of attention from their customers. I told the kids that presentation is very important when running any kind of business. The kids think the stand helped them sell out of their goodies by noon. I couldn’t believe how much money they made from this little bake sale!
Okay, now on to how we made the stand.
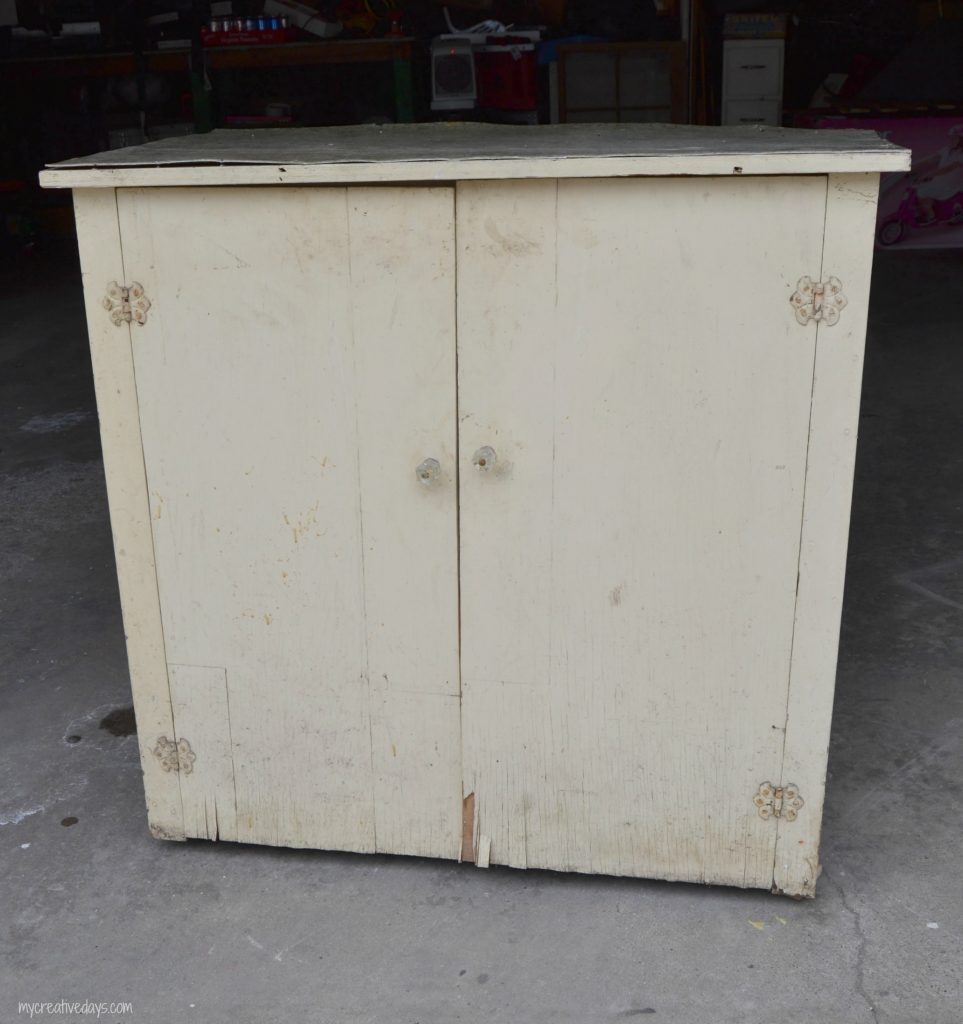
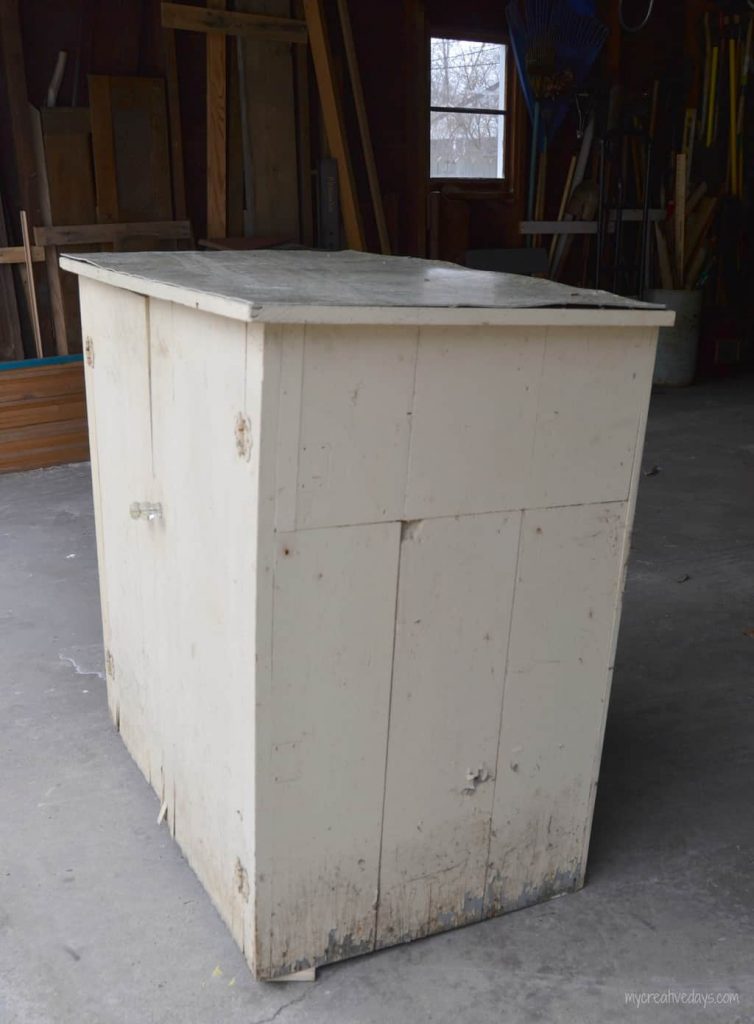
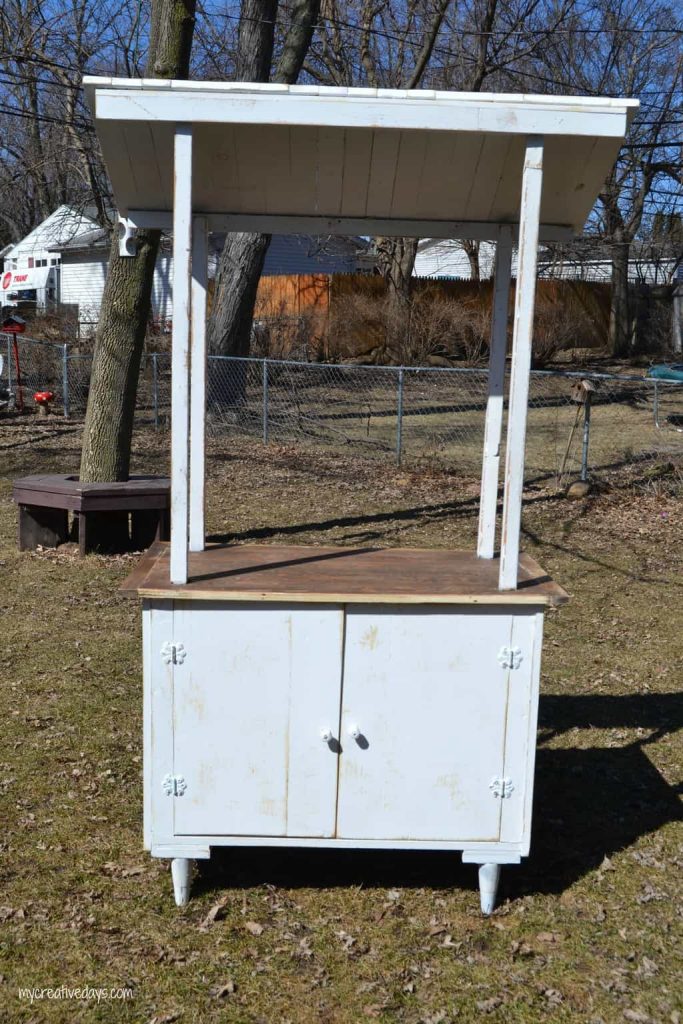
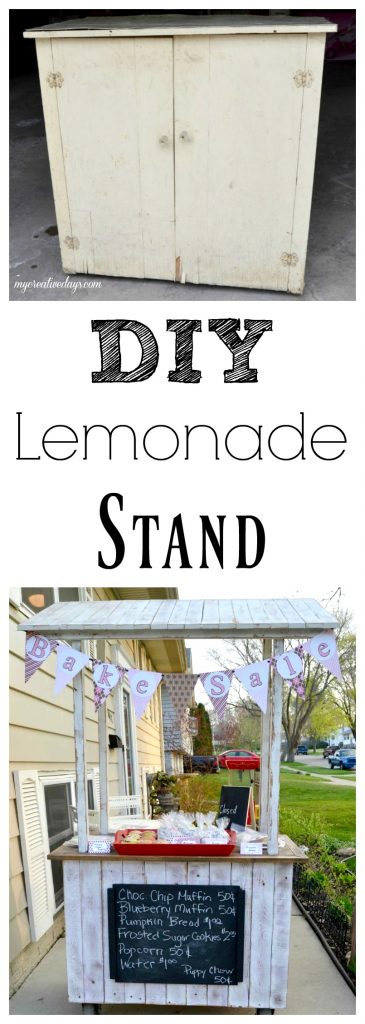
We had the perfect cabinet to start the stand. It was an old cabinet I picked up at an auction. It has tons of storage inside and was a good size for a lemonade or bake sale stand.
Of course, this cabinet has seen better days and needed a little work.
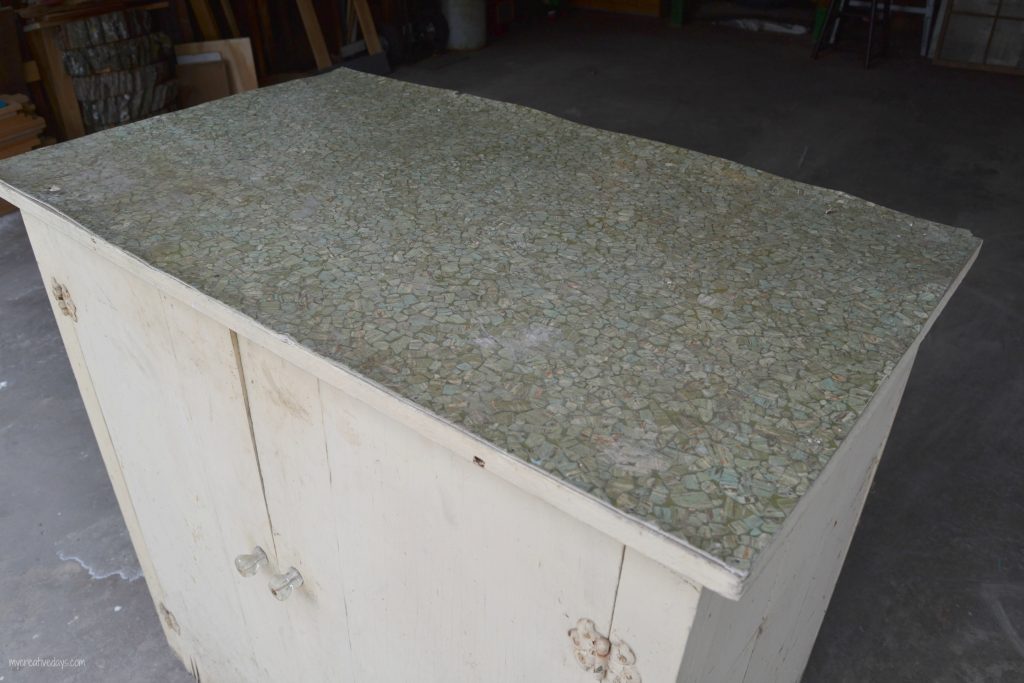
The top of the cabinet was in need of some major help. It had linoleum on it that reminded me of my grandparent’s kitchen when I was little. It was easy to remove since it was coming up on most of the edges.
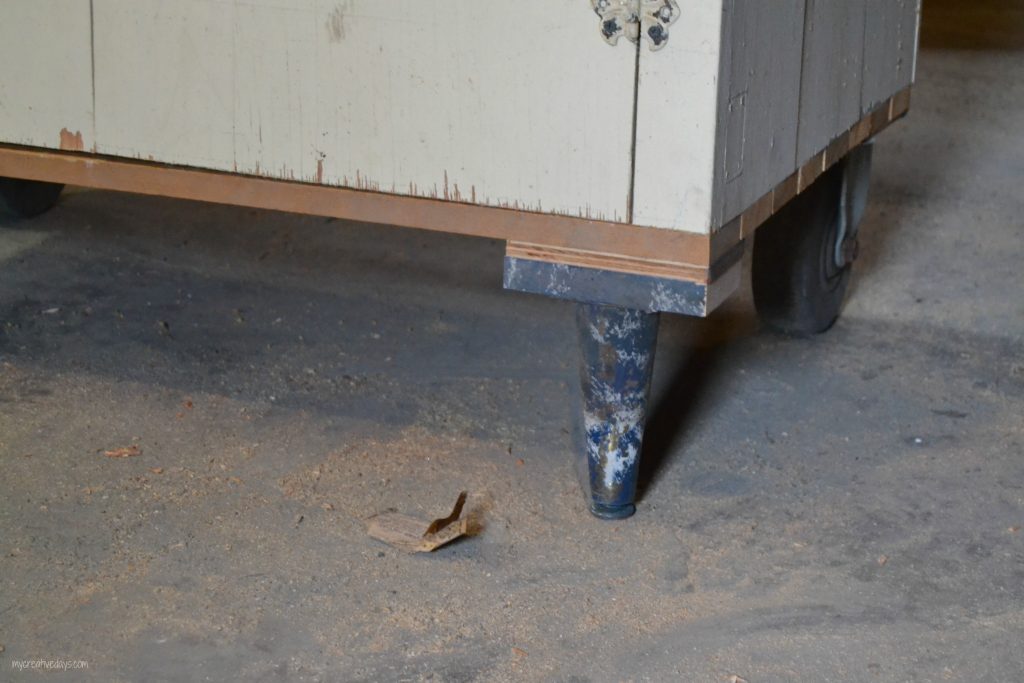
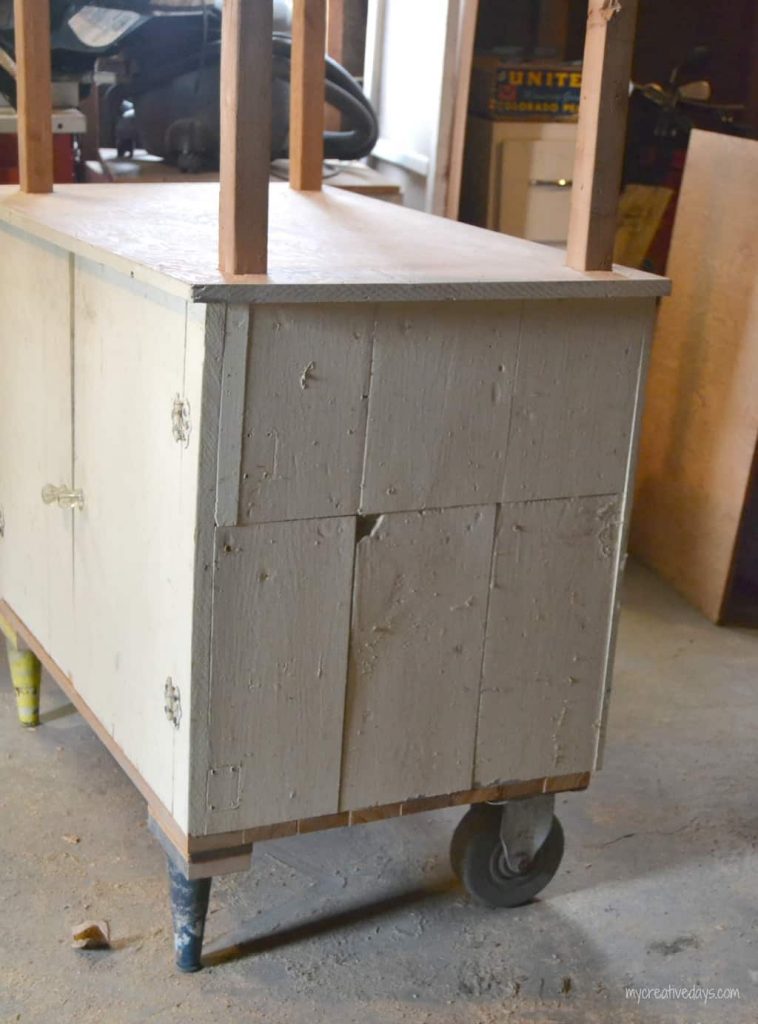
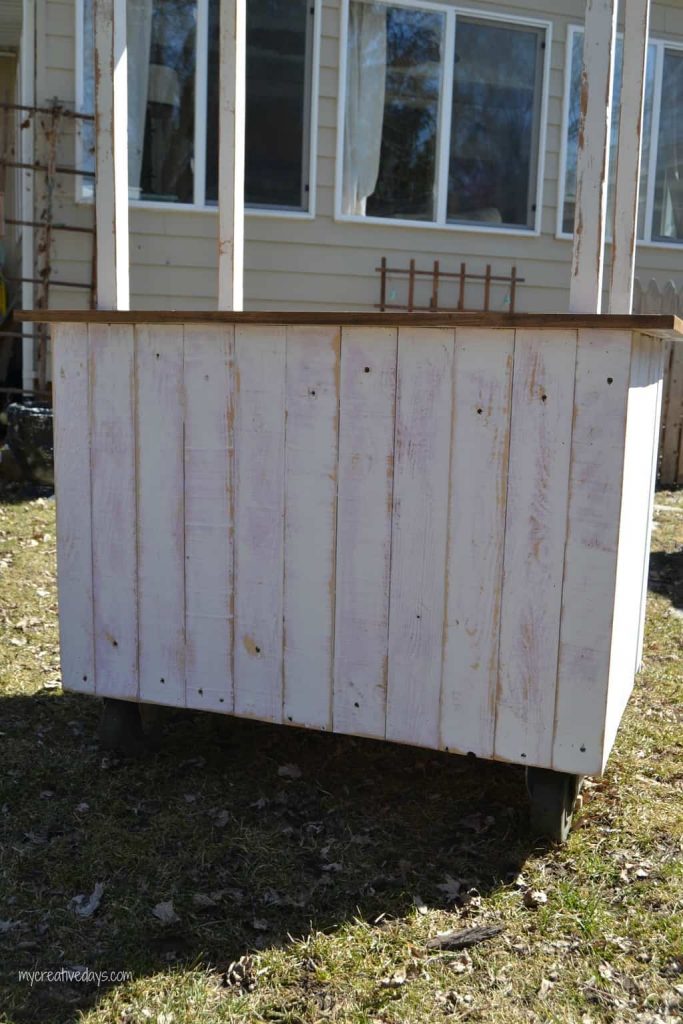
The cabinet also had some water damage on the bottom of it, so my husband cut a few inches off the bottom and added a wood base. He also added legs and casters to make it the perfect height. The casters make it easy to move around and the legs ensure it will stay in place once it is set down.
Here is a better angle of the legs and casters.
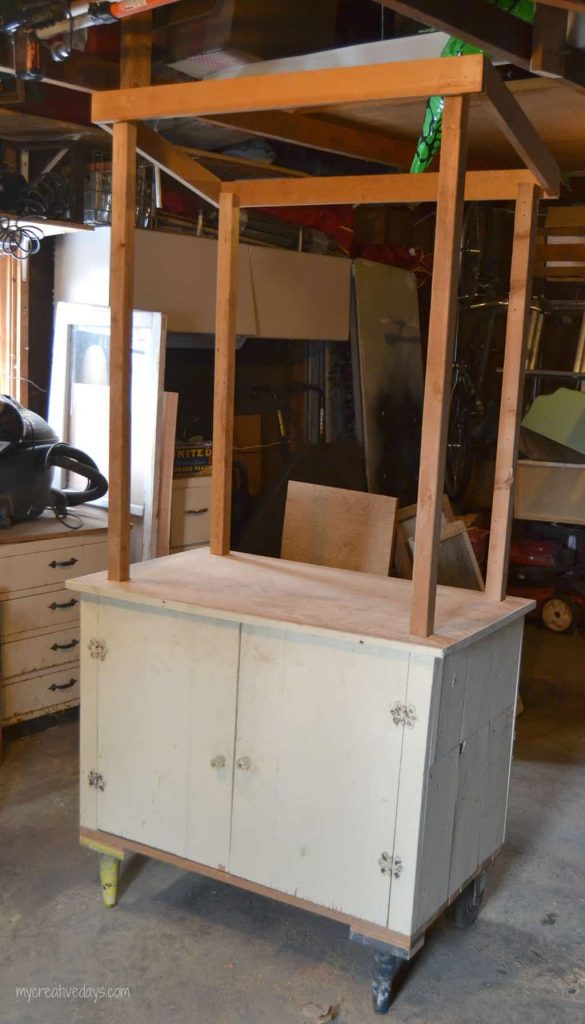
After we removed the linoleum from the top, we added a wood top. I sanded it and then stained it.
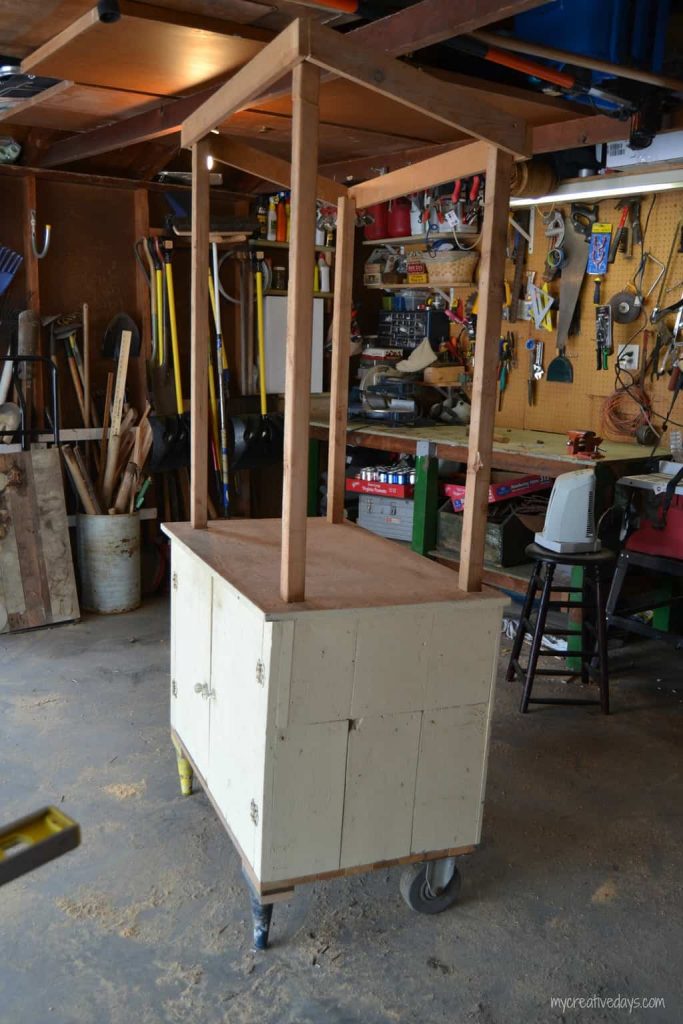
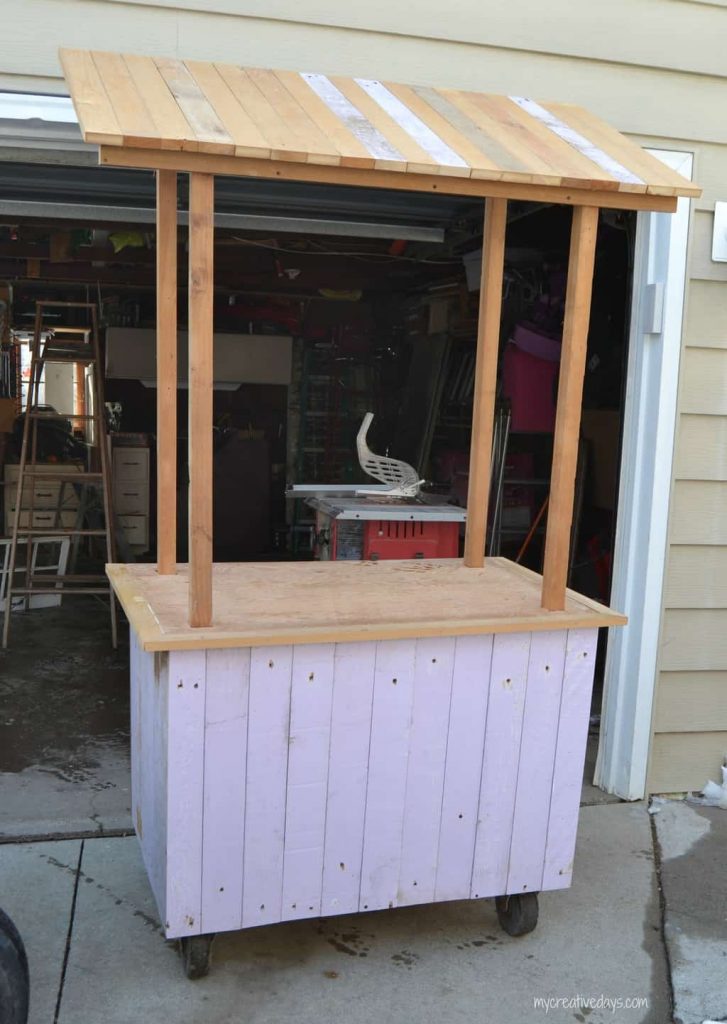
To make it really look like a “stand”, we added 2×2’s at the front and back of the counter (at different heights). This enabled us to make a slanted roof over the entire stand.
This entire cabinet came together using pieces we already had. We added wood all around the outside of the cabinet. We used the same wood pieces for the roof.
I think the wood pieces give it so much character.
The kids did not want a purple stand, so we painted it white.
Then, I sanded it all and went over it with Antiquing Wax.
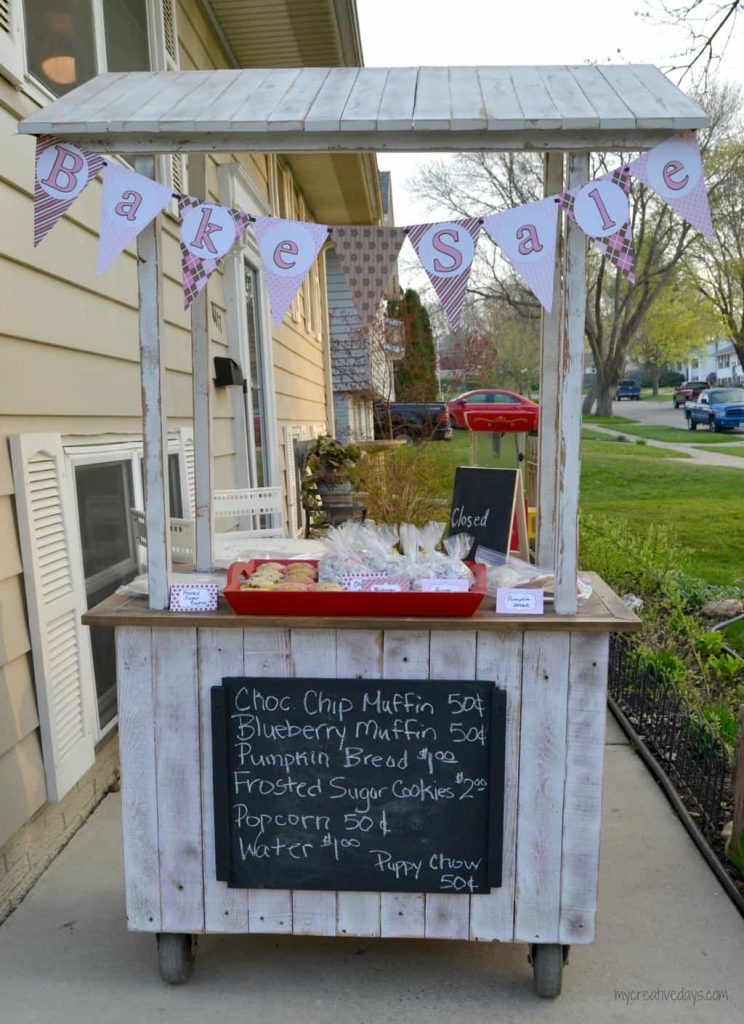
Now this stand is ready to be decorated and set up for the bake sale!
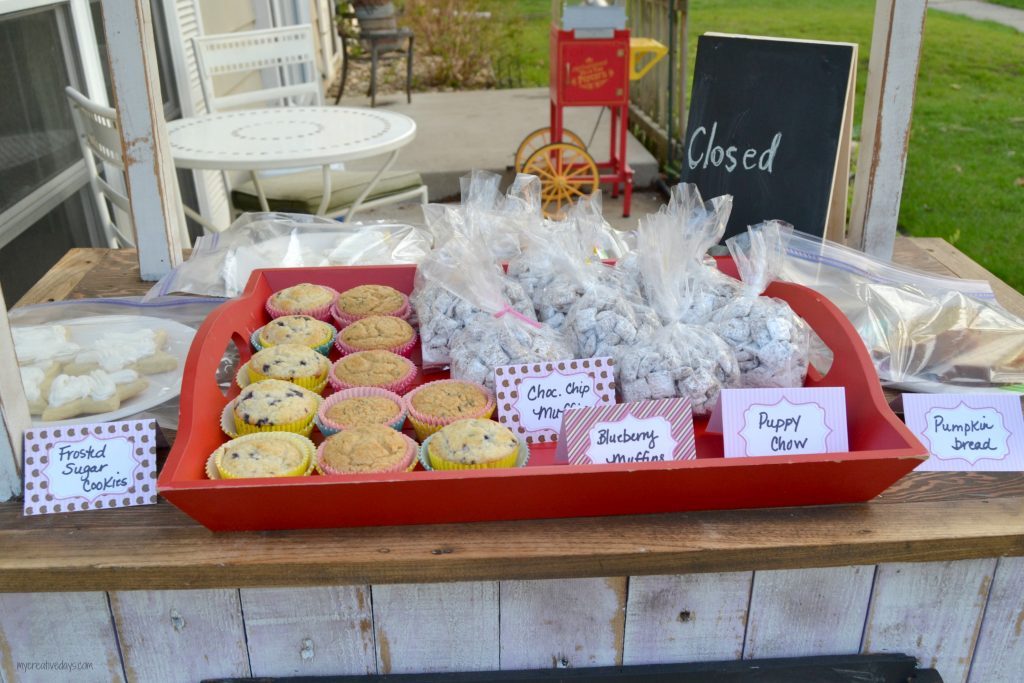
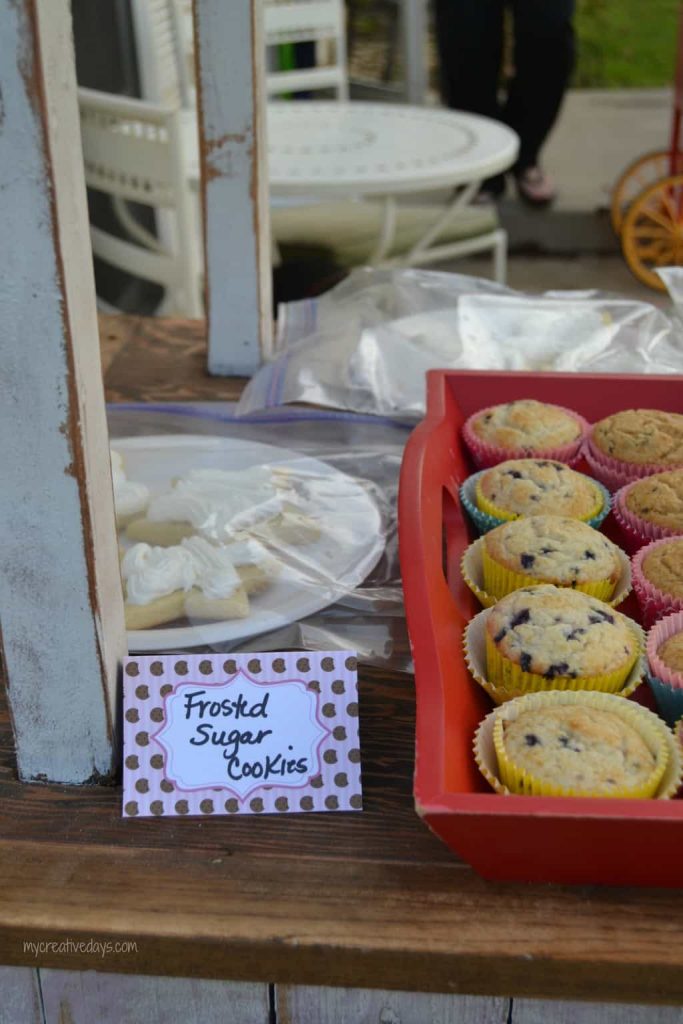
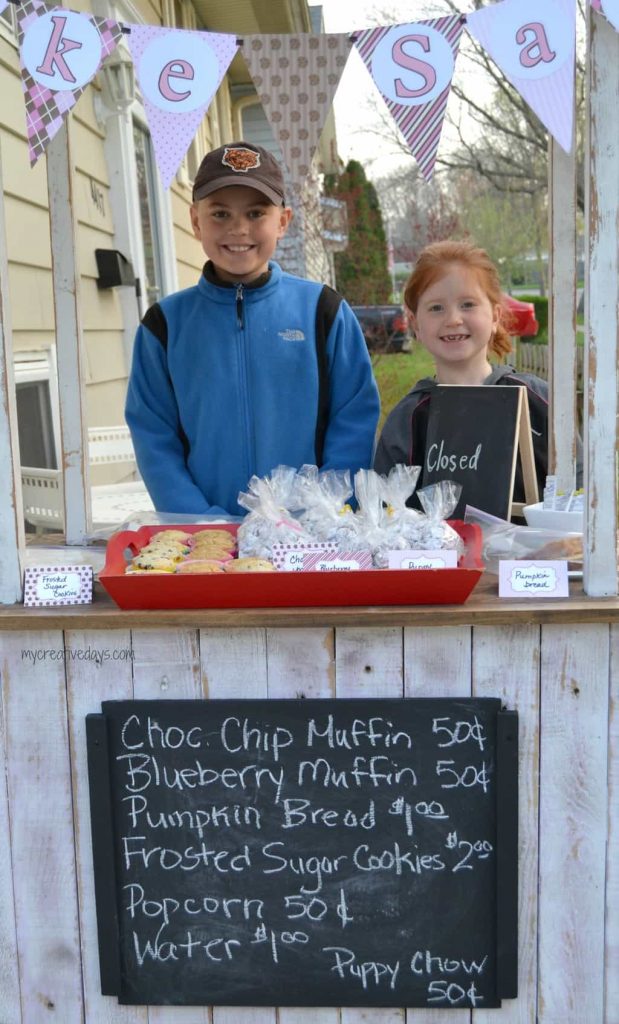
We were so thrilled to have DK Delektables send us some of their bright and cheerful products to “dress” up our bake sale stand. The “bake sale” banner is too cute and the cupcake liners were perfect for our muffins. The Clear Ploy Cello Bags showed off our Puppy Chow and the labels were perfect for telling our customers what all our goodies were.
The banner from DK Delektables really was the “cherry on top” for our bake sale stand.
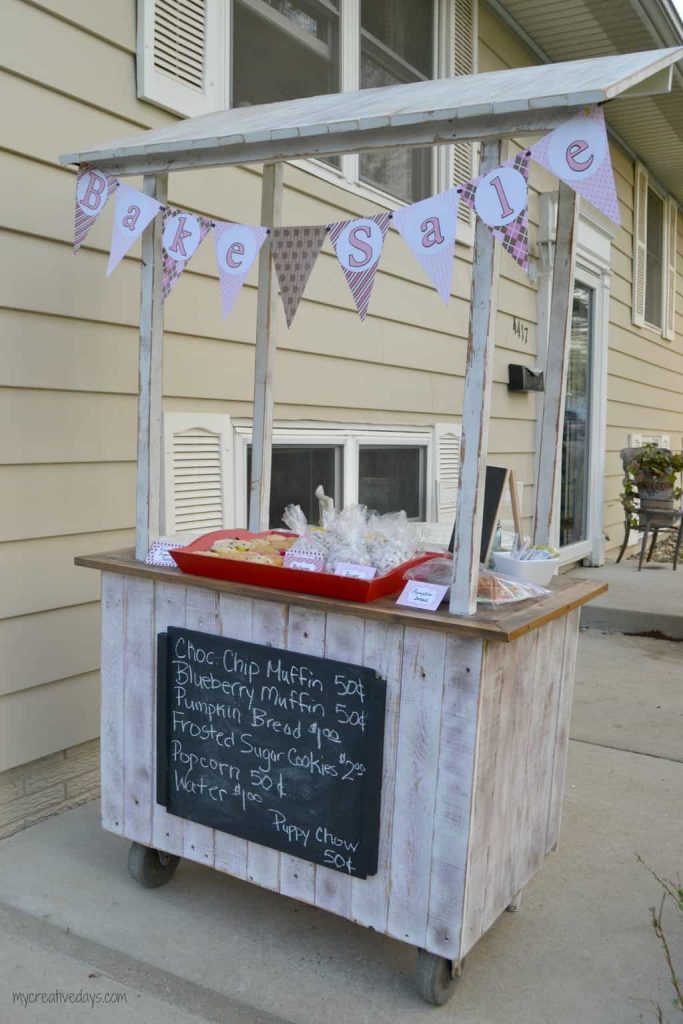
These cuties could have had something to do with the success of their bake sale. 😉
(My daughter was adamant that we had an open/closed chalkboard sign on the table.)
{Affiliate links are used in this post. You can read my disclosure HERE.}
I asked this kids what their goal was with their little business and they said, “To sell out.”
They met their goal.
This stand was a lot of fun to create and it was so much fun watching our kiddos run it all by themselves. Our spring sale is a TON of work and now I am adding a lot more work because my kids have decided we need to make the bake sale bigger and better next year.
I found some fun lemonade supplies to dress up your stand:
PIN THIS POST!
If you liked this DIY lemonade stand post, you will also love these DIY projects:
Reclaimed Pallet Wood Organizer


This is absolutely adorable!! I’ve never been to an auction before, but I’m starting to think I must just take the plunge and go to one. $2.50? Amazing!
I know, right Jenny! I usually don’t go to auctions because they take all day, but I got to this one right at the right time! Some things are just meant to be! 😉
Super cute transformation, Lindsay! Don’t you use this Bake Sale stand at your annual yard sale?
We make a new one at each sale. We don’t have space to store them. They are easy to put together with scraps in our garage and then it is for sale at the end of the sale. 😉
This is exactly what I have been looking for. Question, how do you use the wheels, meaning, do you just tip it to move it or did you put some sort of handle on it? Sorry, just can’t figure that out. Thank you!
Kelly
vanfam99@gmail.com
We just tipped it. Our local grocery store bought it to use as a display in their store so I can’t remember if you added a handle or just held it as we tipped it and moved it.
How did you affix the 2×2 posts into the cabinet? I’m hoping to make something similar for a flower stand. Looks amazing – thanks for the inspiration!
Matt cut out 2×2 holes in the top. The boards go all the way down and then he screwed them into the cabinet.