I LOVE trying new products on my projects. It is one of my favorite things about my job. I have been seeing a lot about Wise Owl paints and products and I really wanted to try them out. This small end table makeover came together with Wise Owl primer, paint, and varnish.
It has been a while since I have found any good projects to work on. I am hoping yard sales start picking up and I am able to get out and find a ton of projects to share with you.
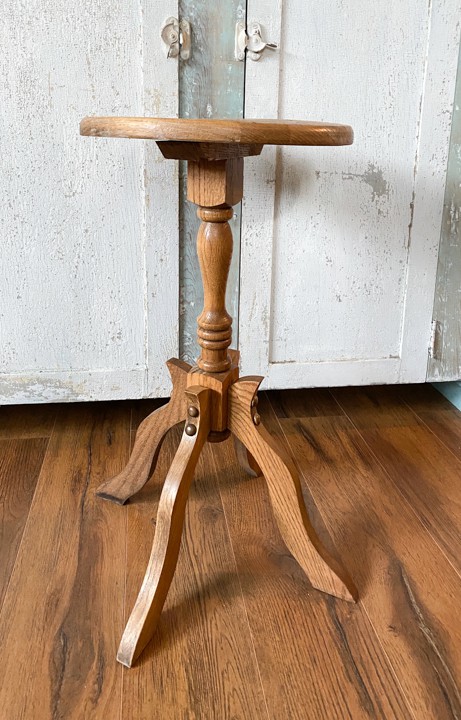
This little table was a good find during a quick thrift store run. I had a few minutes to stop in a store and was so glad to find this little guy in the furniture section.
It was all wood and in need of a makeover.
{Affiliate links are used in this post. Click on any of the underlined links to find the products I am talking about. You can read my disclosure HERE.}
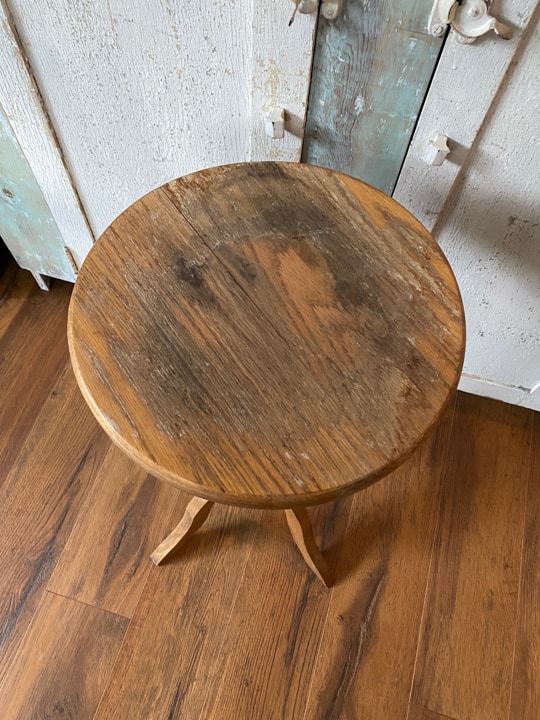
The top obviously had some issues, but I knew I would be painting it so it didn’t scare me away.
All Furniture Makeovers Need To Start With A Good Cleaning
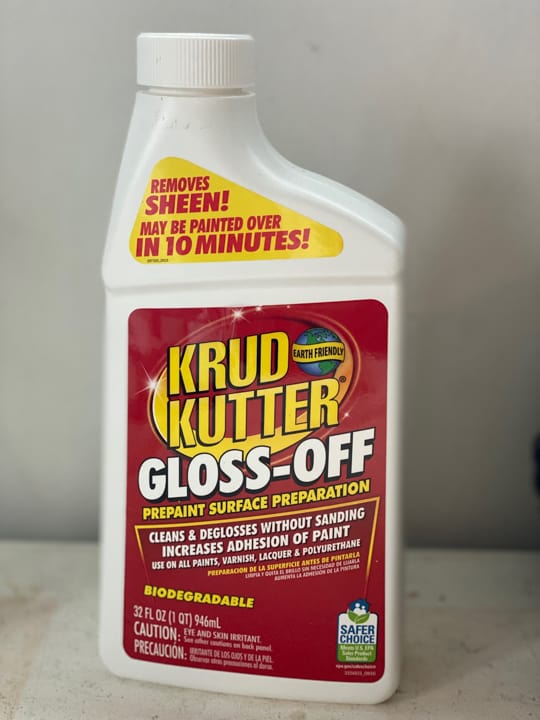
For this small end table makeover, I started with a good cleaning using Krud Kutter – Gloss Off. I apply this with an old rag. You can put it in a spray bottle as well and spray the piece and then clean with a rag, but I was working inside and didn’t want the over spray all over the walls. 🙂
After I gave the table a good cleaning, I sanded the top with 120 grit sandpaper. I wanted to smooth out the finish on the top before I painted it. It was pretty rough from the water damage.
Primer, Paint, And Varnish Made This Table Beautiful Again
After I had it sanded, I cleaned the sanding dust with a damp cloth and waited for it to dry.
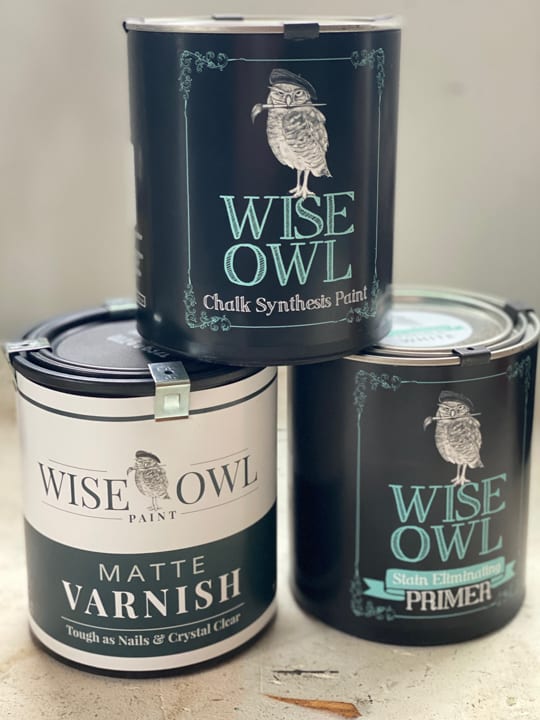
I applied the stain eliminating primer from Wise Owl all over the table. This is a white primer. It covered the piece very well.
Once the primer was dry, I started painting the table with the color “Restoration”. This color is very pretty. The table took two coats to cover it completely.
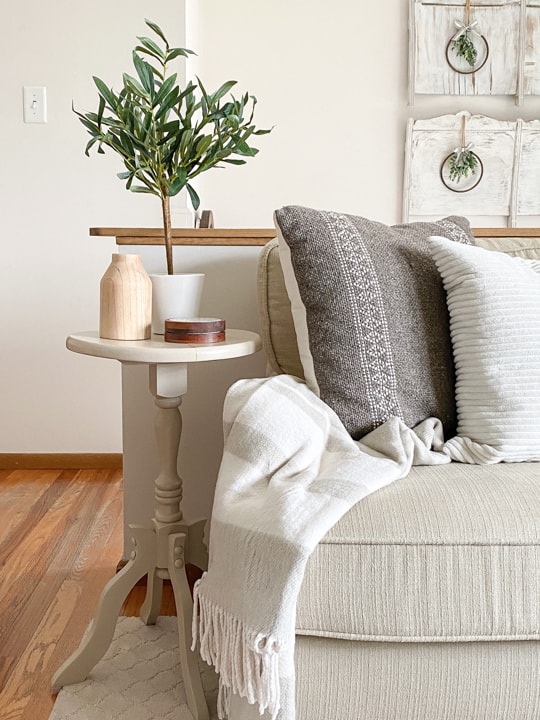
I thought I may want to add some dark wax or glaze over the color, but after I got the two coats on, I loved it as it was.
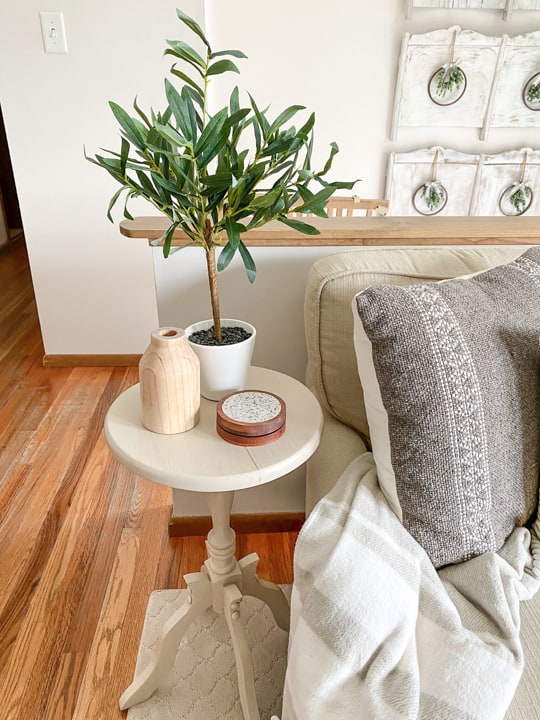
I did add this matte top coat once the paint was dry.
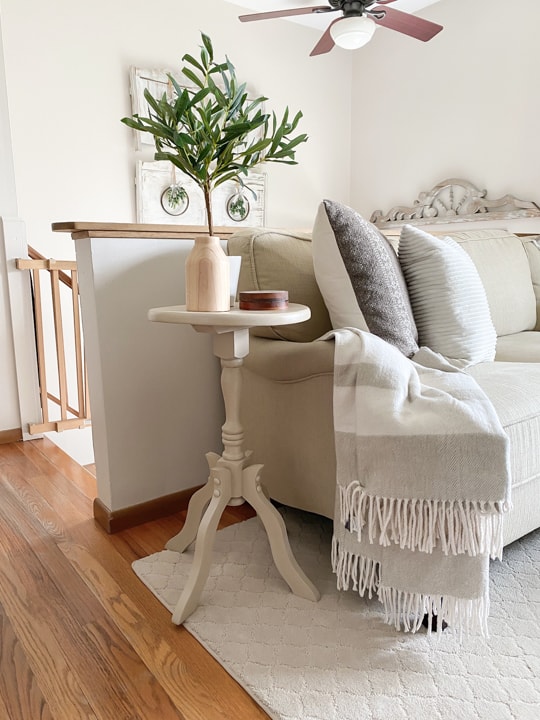
The varnish was very easy to apply with a paintbrush. I really liked it.
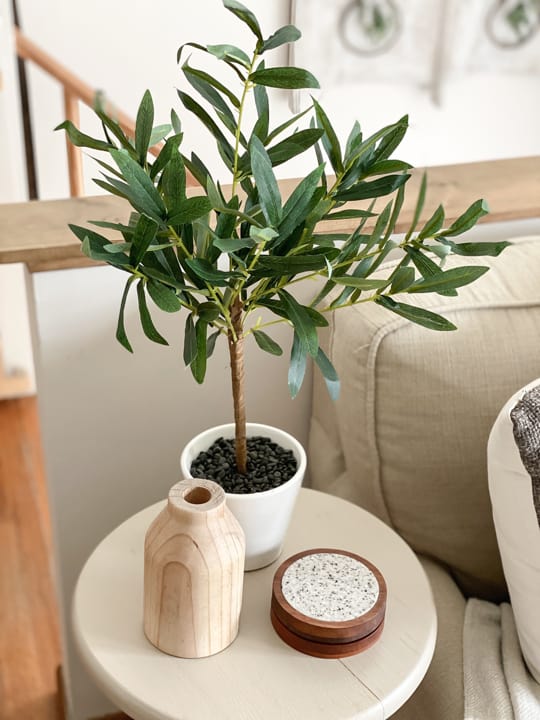
I also love the fact that the varnish is water-based so I was able to clean it out of the brush very easily with soap and water.
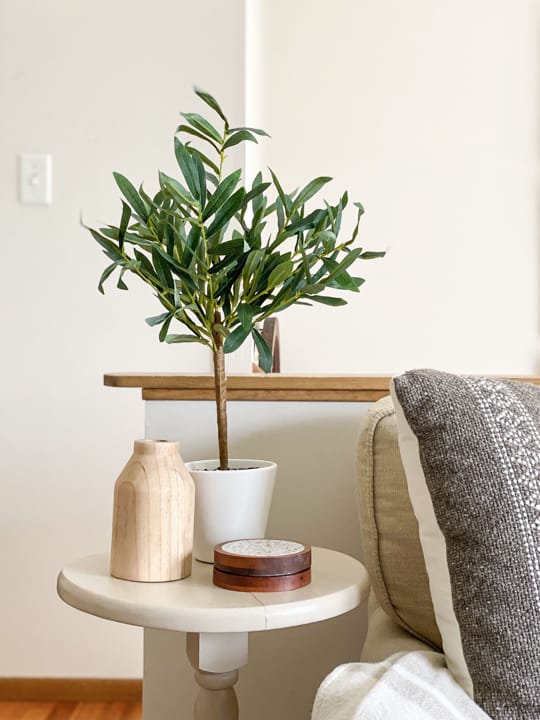
When I have worked with other top coats and/or polyurethanes, they have ruined my brushes. The Wise Owl varnish came out. That alone makes it worth it. You won’t be throwing out brushes after using this stuff.
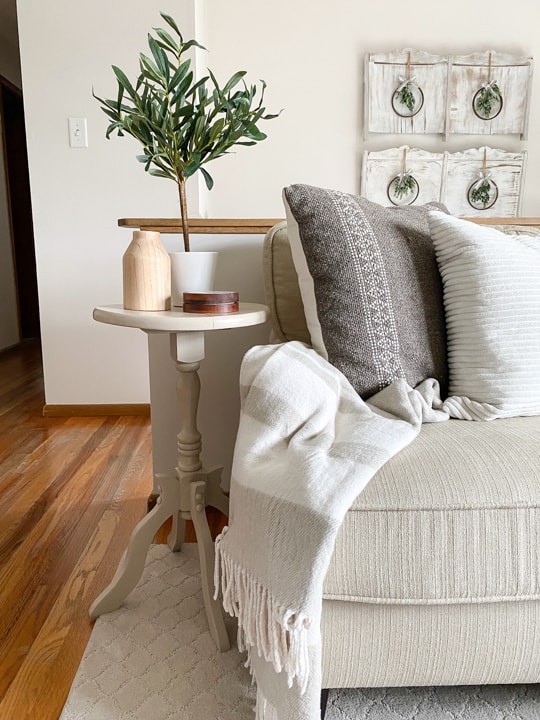
I was able to use all of these products inside our home. It was only 20 degrees the day I worked on this table so working outside was out of the question for a painting project.
This is my first (well, second if you count the tiny stool) project working with Wise Owl products. I have to tell you that I am very happy with what I have used so far and I am excited to continue using the products on future projects.
Have you ever used Wise Owl products? What is your favorite?
PIN THIS POST!
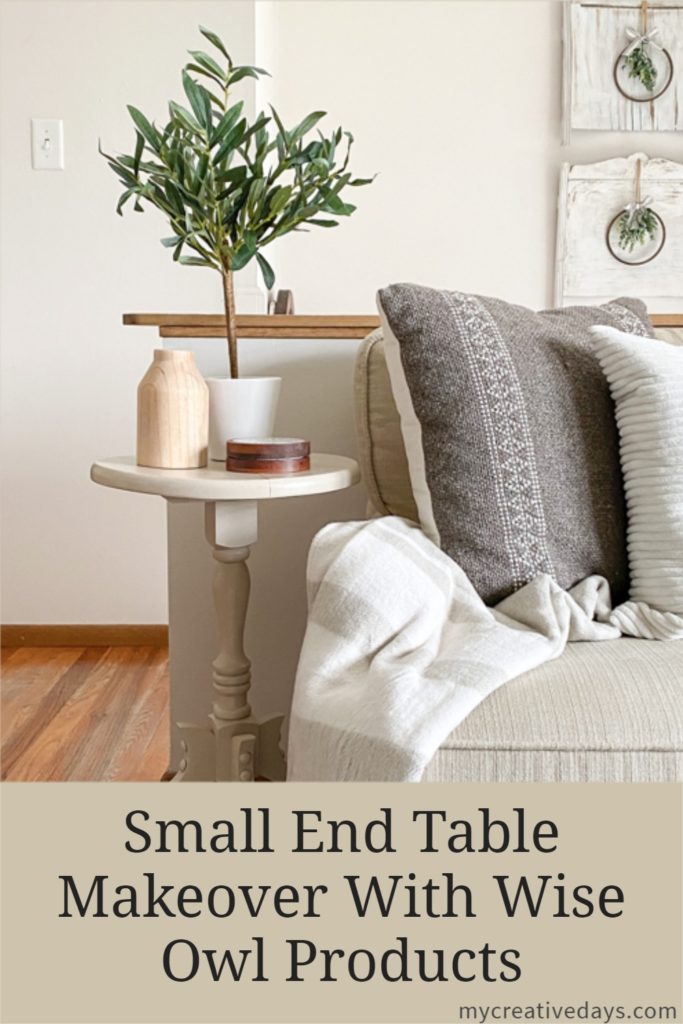
If you like this small end table makeover, you will love these transformations:
DIY Cabinet Makeover With A Heat Gun
DIY Painted And Glazed Side Table


I am so impressed by the transformation of this small end table! The use of Wise Owl products has truly given it a new lease on life. The color choice and the distressing technique are spot on. It’s amazing how a simple makeover can take a piece of furniture from drab to fab.
I’m a big fan of upcycling and repurposing furniture, and this project is a great example of how a little creativity and some quality products can make a huge difference. It’s not just a table; it’s a work of art now!