This farmhouse kitchen table had me so excited for a couple of reasons:
- First, I can’t believe the amount of table makeovers I have been able to acquire this summer.
- Second, what is up with me finding free dining furniture with only three chairs? That is what I found with my other farmhouse table and chairs.
- Third, I was able to round out the set of chairs in both makeovers with similar chairs I had in the garage. How great is that?!
- The last thing that had me “buggin'” about this farmhouse kitchen table will come in the middle of this post, but first, let me tell you more about this project.
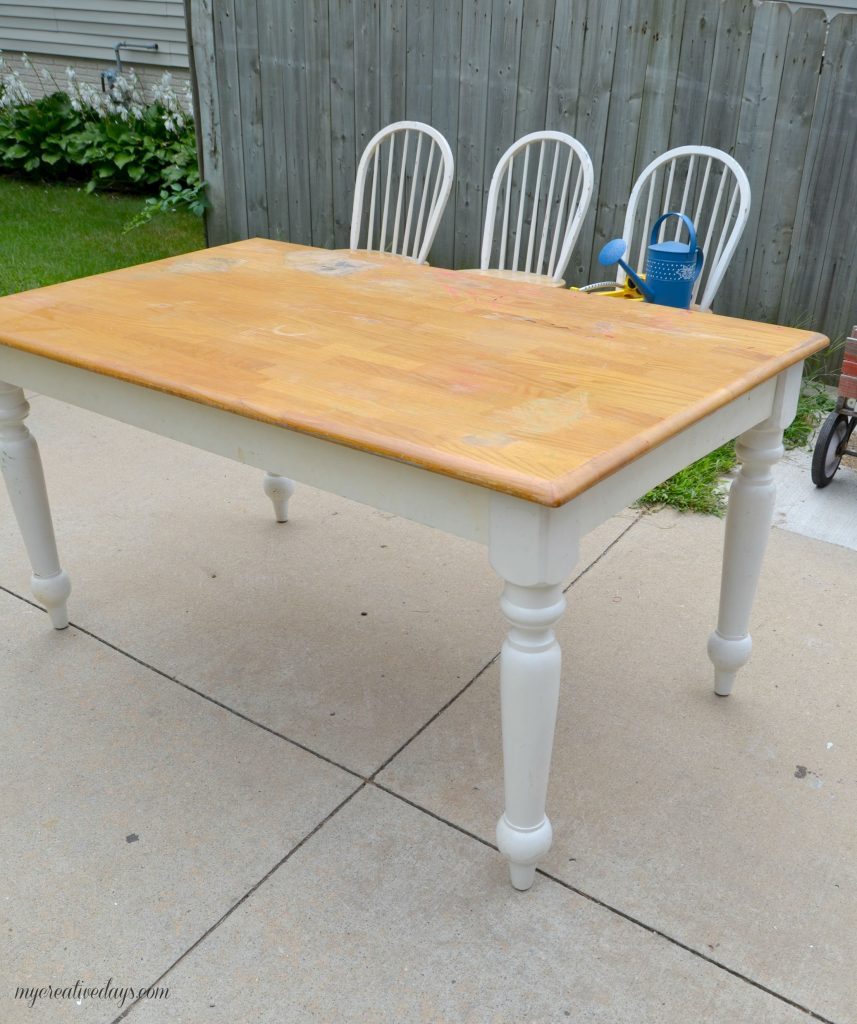
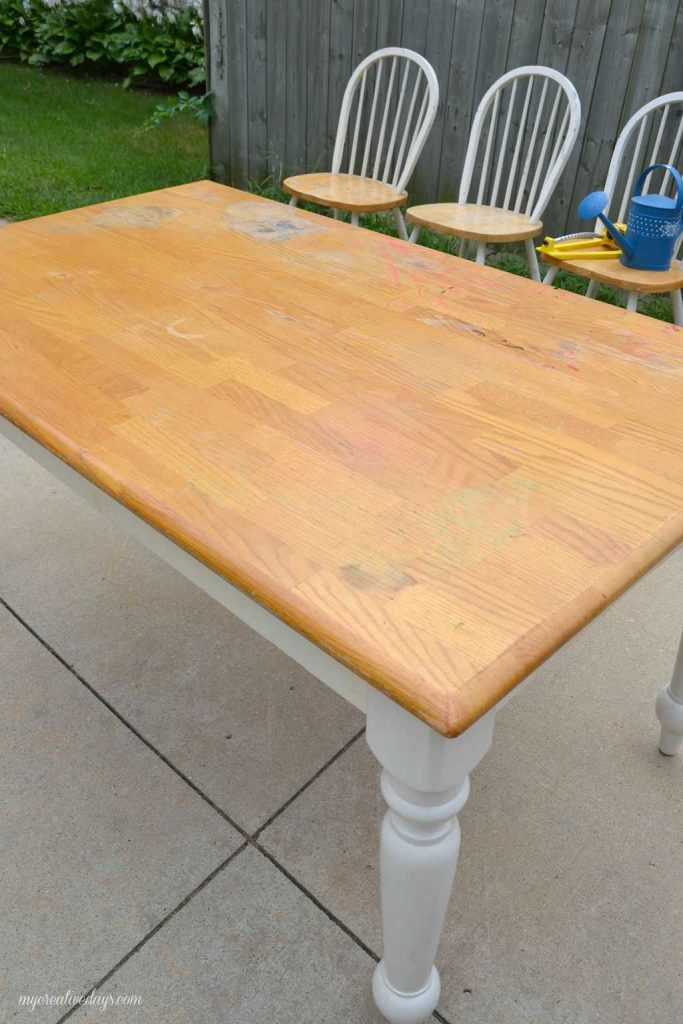
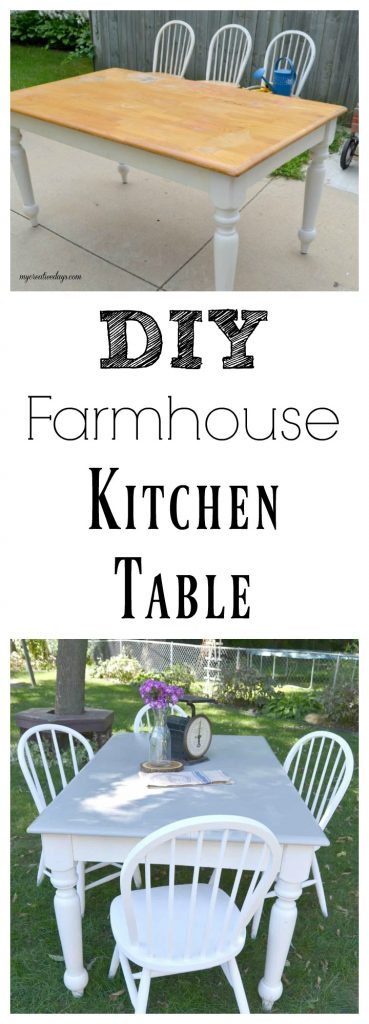
When I saw this set, I thought it would be a very easy set to make over. I knew right away that the white portion of the table needed to be cleaned and the chairs needed a fresh coat of white paint (after a good cleaning) and then I would sand the top of the table and stain it. I love having a plan for pieces before I even put them in my van.
The table had been used as an art table so there were many markings from all the masterpieces created on it (markers, crayons, paint, etc.). The chairs had the same story.
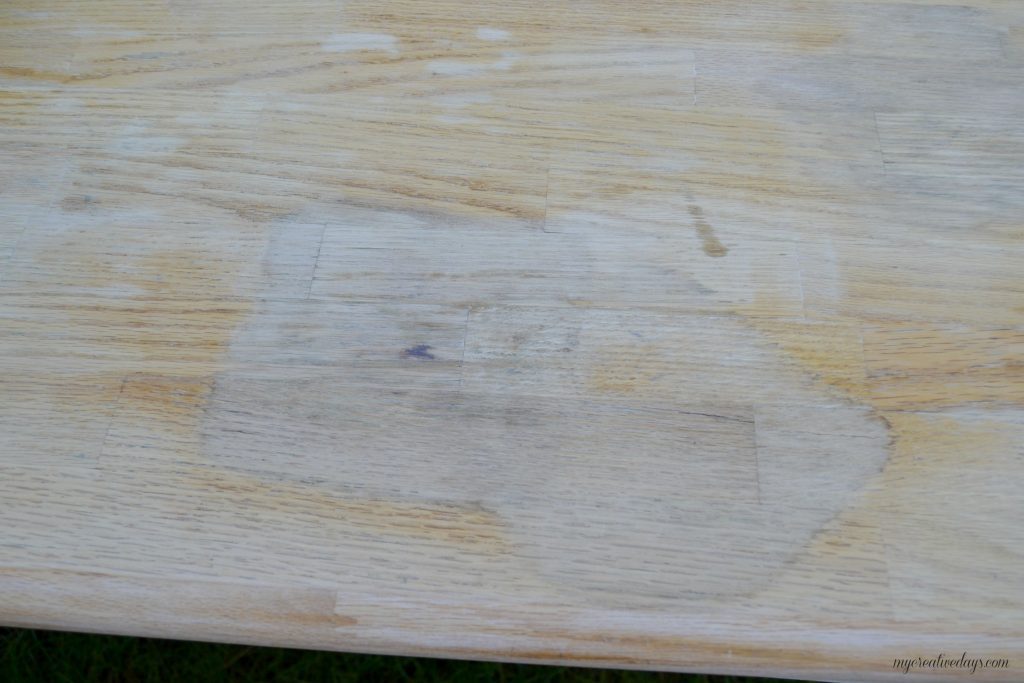
The first thing I did was sand the top of the table. I wanted to make sure I could get it down to the natural wood.
This is what I was left with.
After the frustration settled and I knew I would not be able to stain the top of this table, I had to go with Plan B.
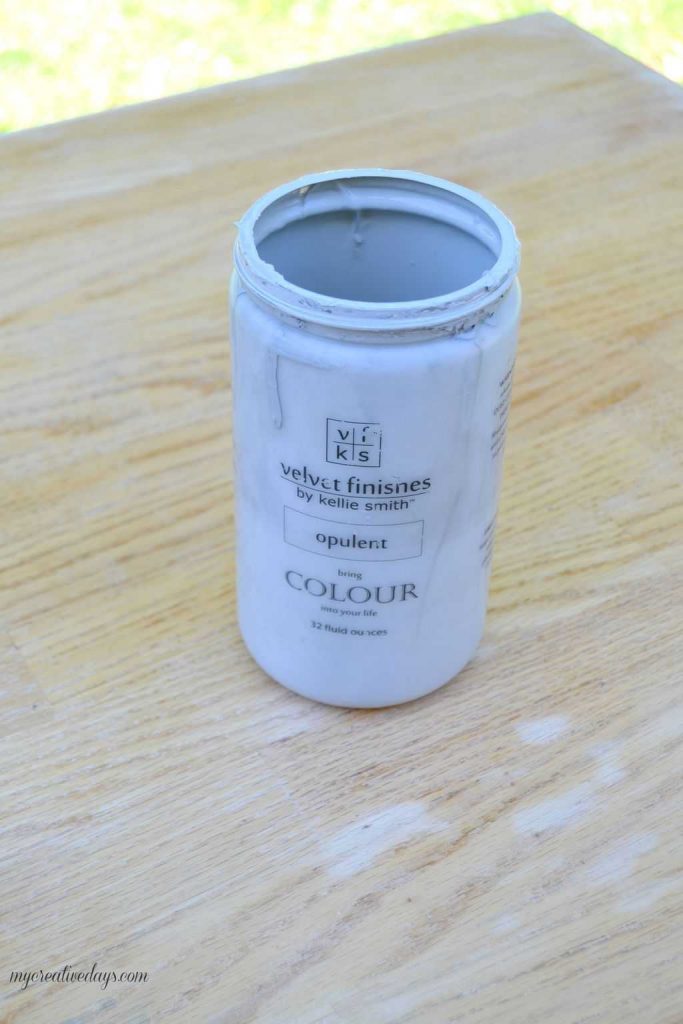
Now, I just needed to decide on a paint color.
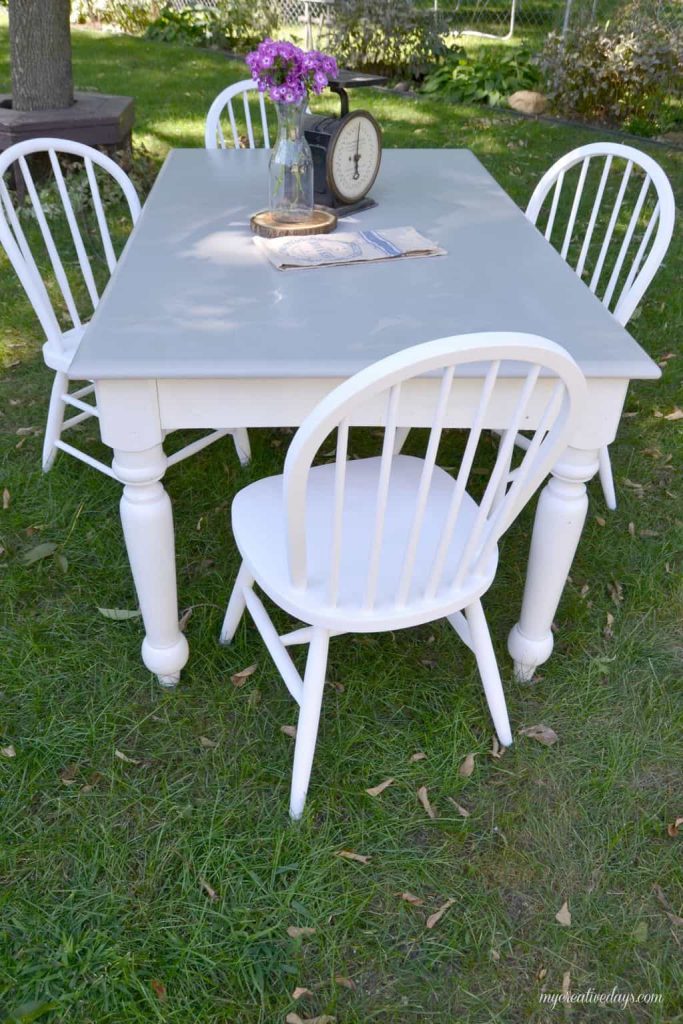
I chose “Opulent” from Velvet Finishes. When I got a couple if coats on and it dried, I added the “Protect” from Velvet Finishes as a top coat.
Once I got all the chairs painted, the table legs cleaned and all the paint had dried, I was ready to start taking some glamour shots of this pretty set.
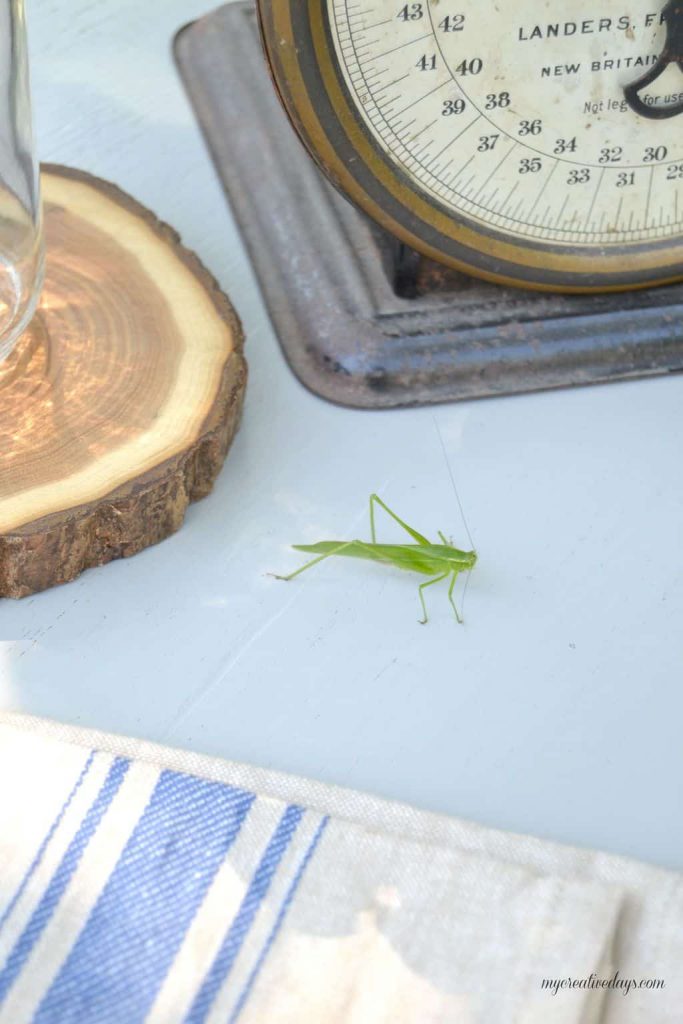
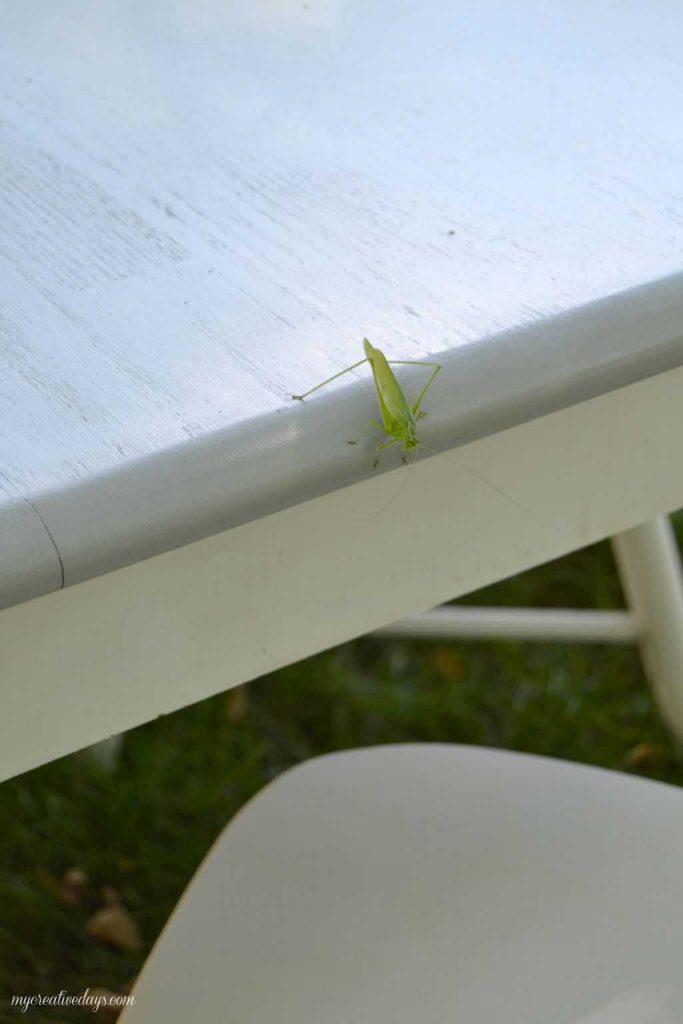
As soon as I gathered a few things, set them on the table and turned around to grab my camera, this appeared.
A BUG!
EEEW!
Bugs make me a little squeamish. They are fine from a distance, but I don’t want them close to me and I sure don’t want to touch them.
This bug would not leave this photo shoot to save its life. Not kidding. I tried to get close to it to “shoo” it away and it would just walk in the other direction.
In every picture, that bug is on the table somewhere. It was the weirdest thing. He would walk around the table and when he would get to an edge (and I thought he would jump off), he would turn around and head in the other direction.
Back to the project at hand.
Even though my first plan for the table didn’t work out, I like the light gray color with the crisp white of everything else. I know that projects aren’t always going to work the way you want them to so it is always good to have a back-up plan.
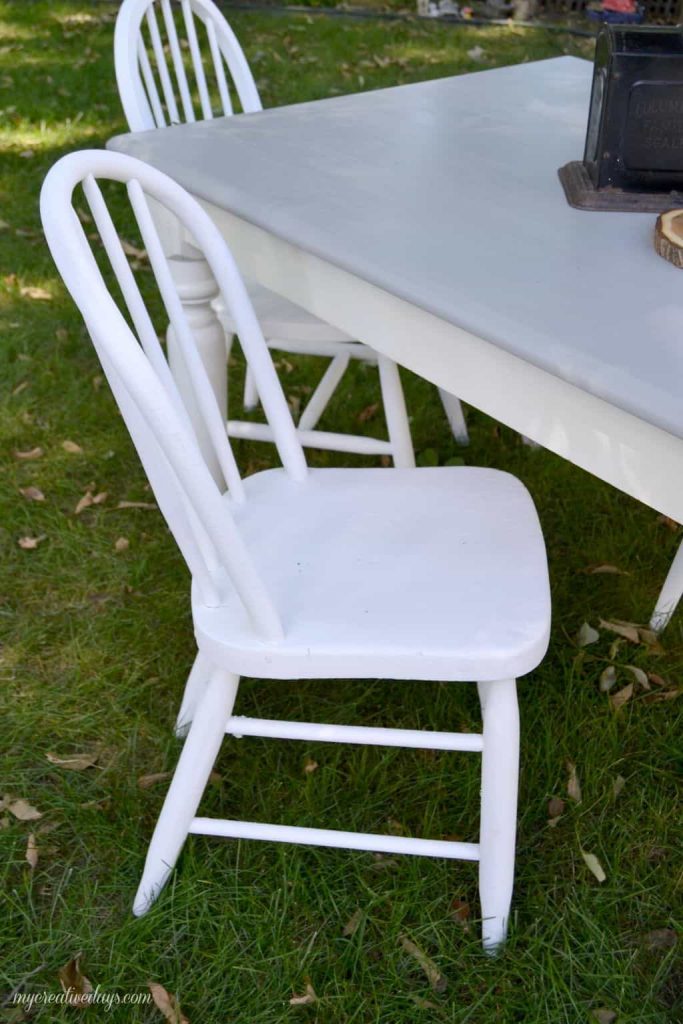
The chairs turned out great too.
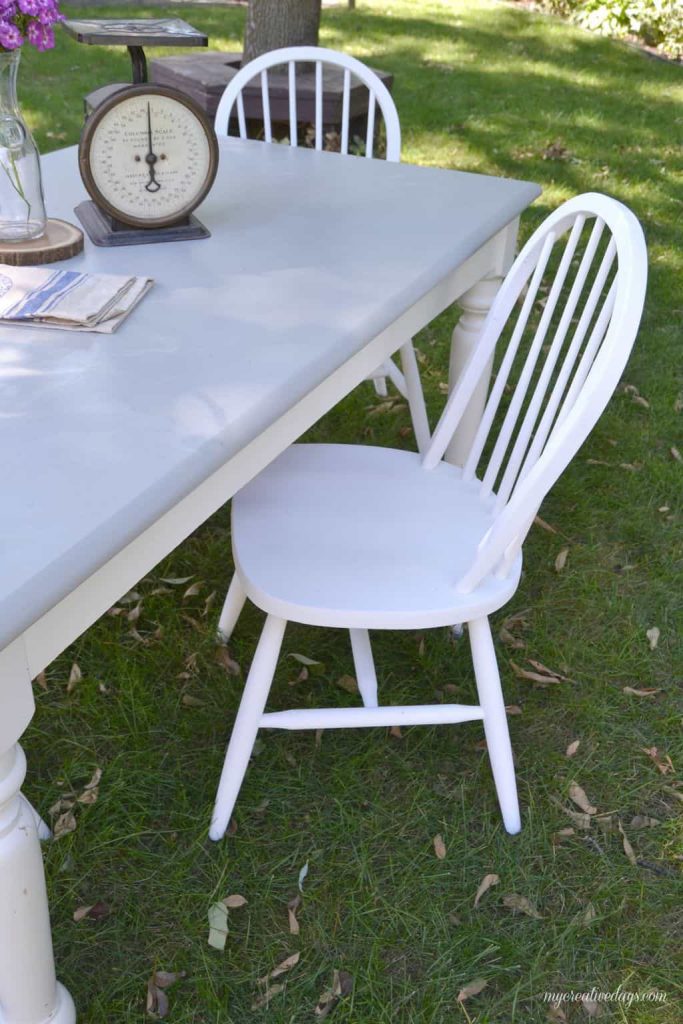
The fourth chair I added isn’t far off from the others the table came with. It is a lot older, but the shape is very similar.
Can you tell which chair is different?
It makes me think of that song when I was a kid: “One of these “chairs” is not like the other…….”
And, here is Mr. Bug again.
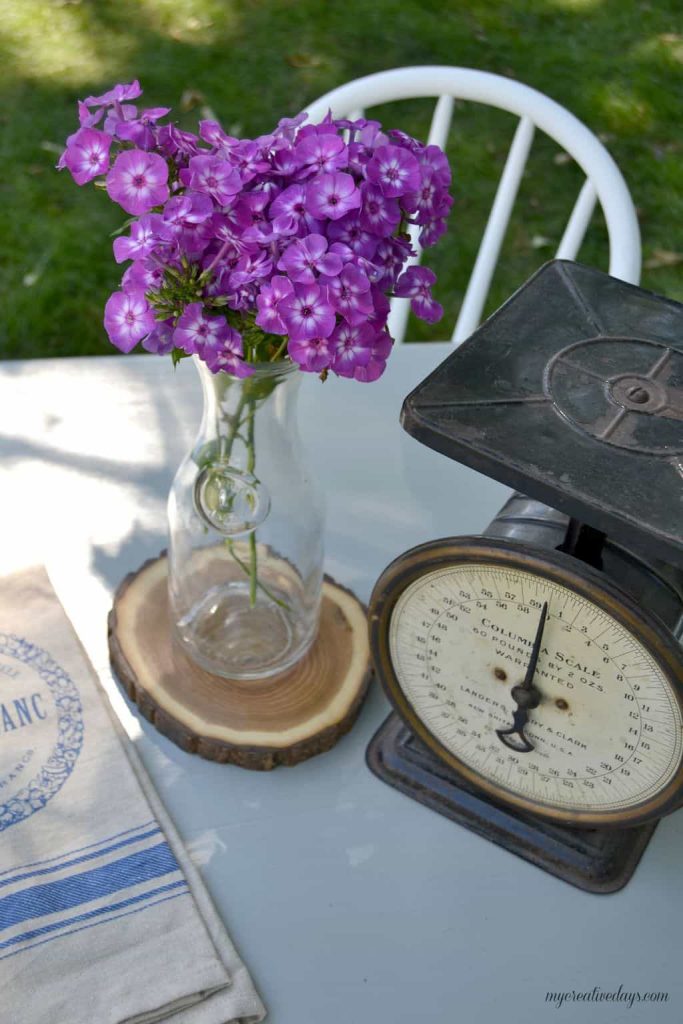
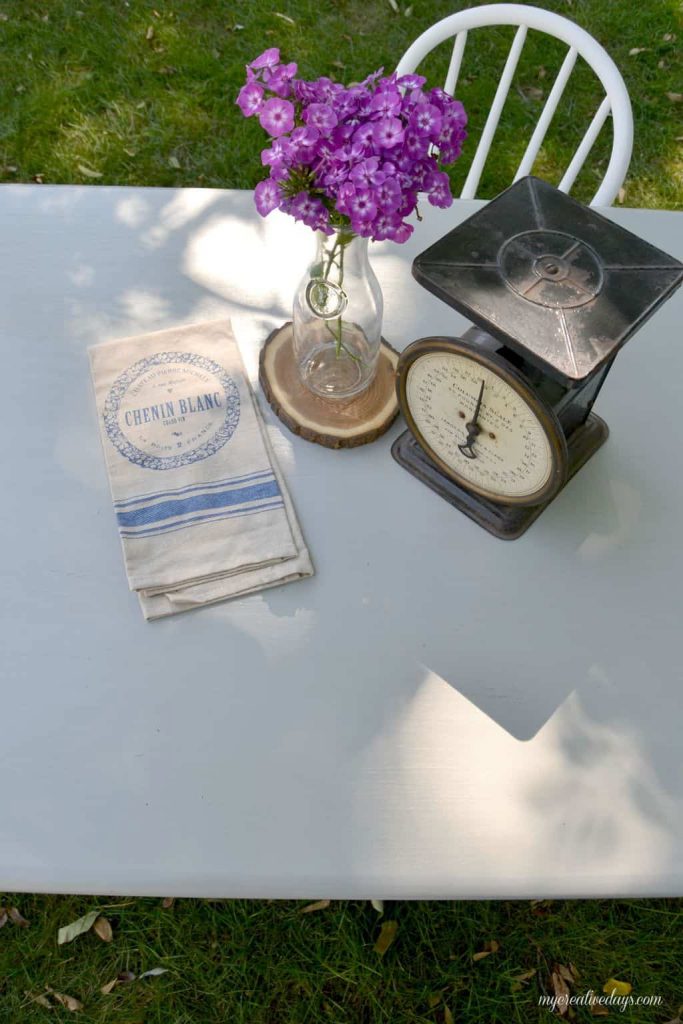
These purple flowers in our yard are so pretty. I had to cut a few for these pictures. Soon, they will all be gone.
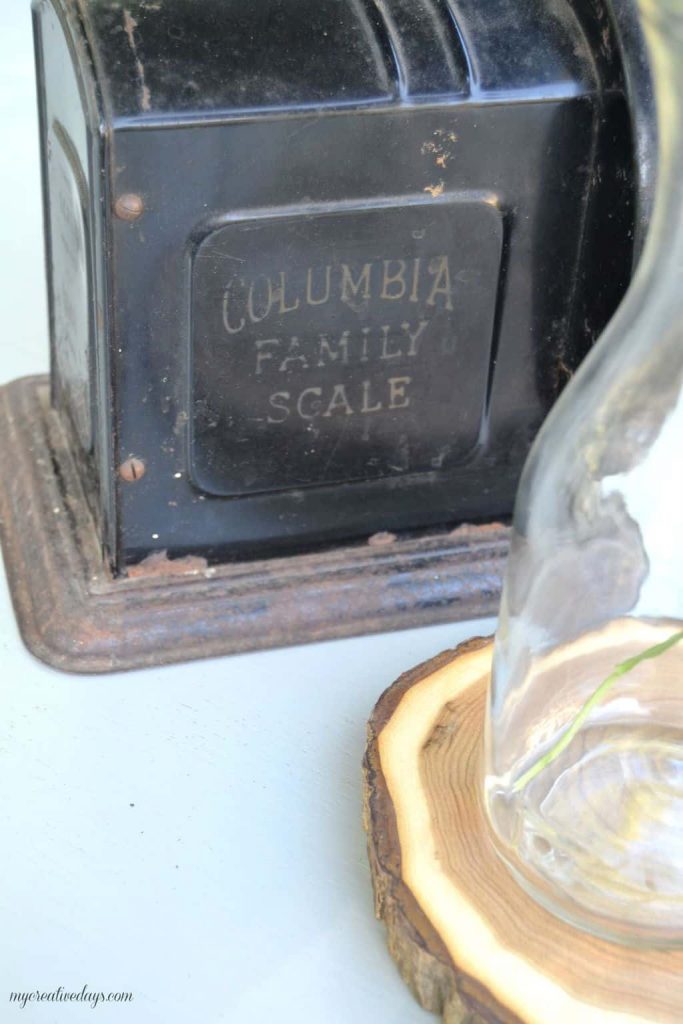
I love old scales and this is one of my favorites.
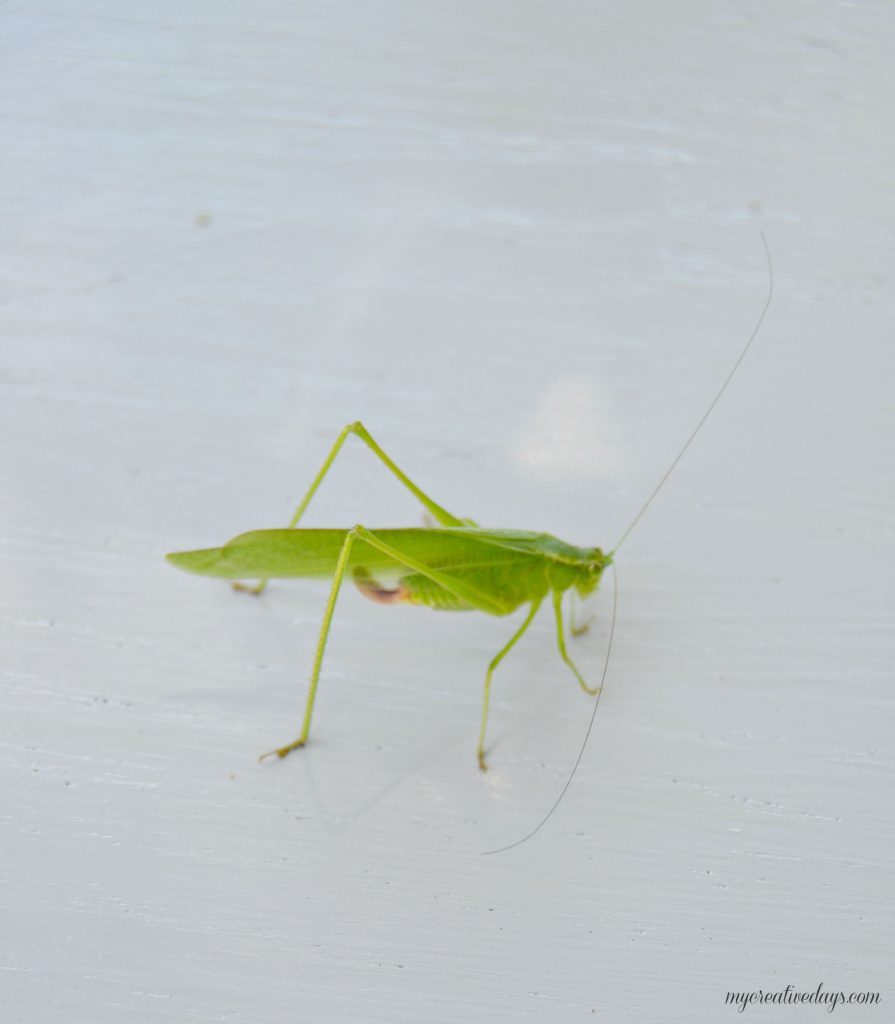
And…….. Mr. Bug.
To be honest, he was a cool looking bug and his color was AMAZING!
I started thinking I should have shot this project and made a “Find Mr. Bug” game out of it. 🙂
I will have to do that the next time I have visitors show up to a photo shoot.
{Affiliate links are used in this post. You can read my disclosure HERE.}
So, as you can see, this project had me “buggin'” for a few different reasons.
I am really starting to “bug out” with all the projects I have accumulated and am so excited to be organizing a neighborhood yard sale at the end of September. I am ready to rearrange some things in our home, get rid of the things that aren’t working anymore, make room for new things and start fresh with all new ideas, materials and projects.
Don’t have time to makeover a farmhouse kitchen table? I found some great options online:
PIN THIS POST!
If you like this farmhouse kitchen table project, check out these other makeovers:
Repurposed Dresser Turned Bookshelf


so smart using the other chair, it goes well. NEVER would I have painted that top, in my days of refinishing, sand-strip-sand-strip for days!!
Ya know Lindsay, the irreparable wood top may have been a blessing in disguise because the grey painted top turned out stunning with the white! I hate bugs too but that little fella was kinda cute…a bit of a diva mind you, who just wanted his 15 minutes of fame.
You are so right! Sometimes things happen like that and the project comes out better with Plan B!
I love that color! Maybe the bug did too and that’s why he insisted on hanging out. Great job. Thank you for sharing at Merry Monday!
Thanks Amanda!
Wow! I love this table. Great colors.
Thank you Julie!
Love this project & your blog!
Great plan B & I think the gray was a good
Choice !! Thank you
Thank you so much Joan!!!
This is beautiful! What a great job! Thanks for sharing on our Living with Style Linky Party. Come back again next Wednesday!
Thank you Lisa!
It turned out fabulous. The green of the bug is beautiful. I have a table and chairs sitting in my garage sanded and ready to go. My hang up was I had no vision. You have made it crystal clear now. Thanks for the iniration
How did you velvet finishes table hold up wear and tear wise ?
It held up well!