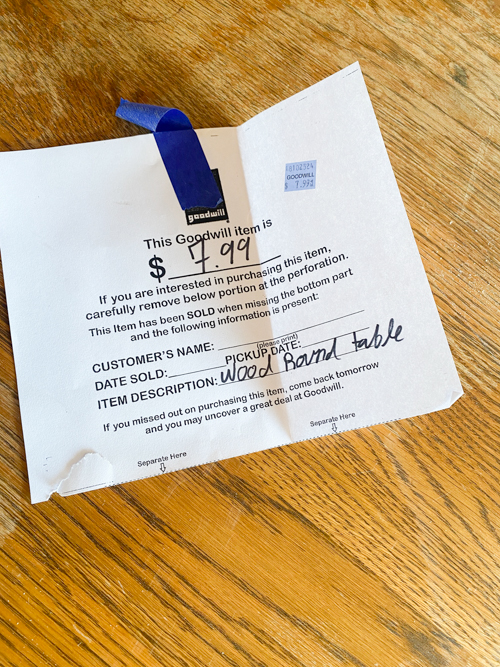
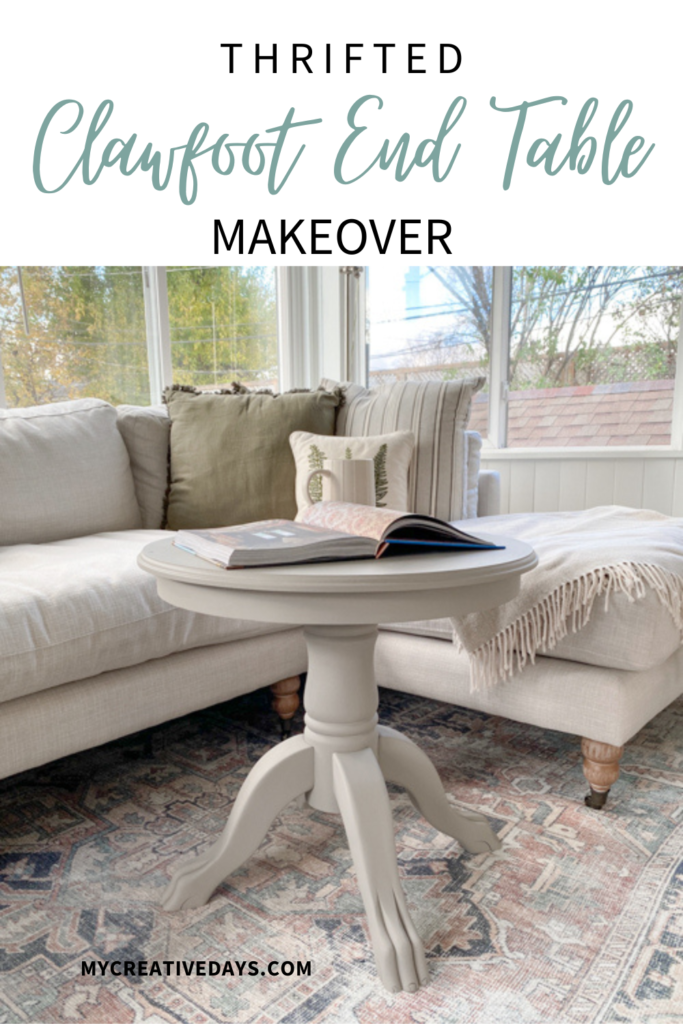
Thrifted furniture makeovers are an amazing way to add character to your home without breaking the bank. In this Thrifted Clawfoot End Table Makeover, I’ll guide you through the steps I used to transform a solid wood, vintage side table I found at the thrift store for $7.99. Whether you’re new to DIY furniture flips or a seasoned pro, this tutorial will give you practical tips, and I’ve included links to the exact supplies I used to make it easy for you to replicate!
Why Choose a Thrifted Clawfoot Table for a Makeover?
There’s something special about a clawfoot table — the design, quality, and vintage charm make it a perfect candidate for a refresh. Thrifted clawfoot tables are often solid wood, which makes them durable and able to withstand the makeover process. Plus, with clawfoot details, a fresh coat of paint can transform these tables into a statement piece for any room.
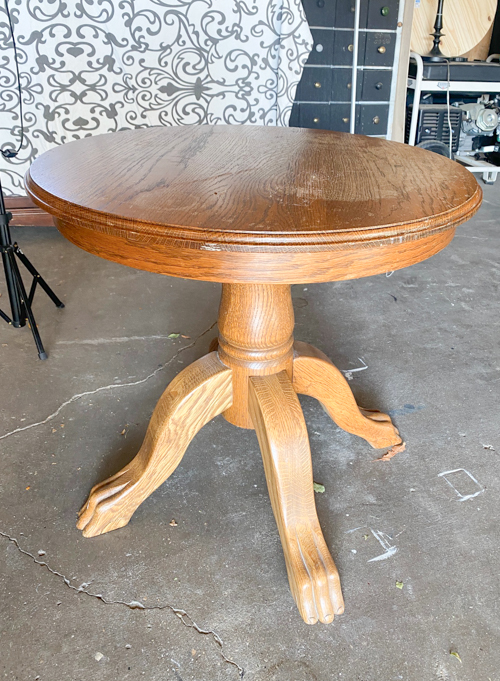
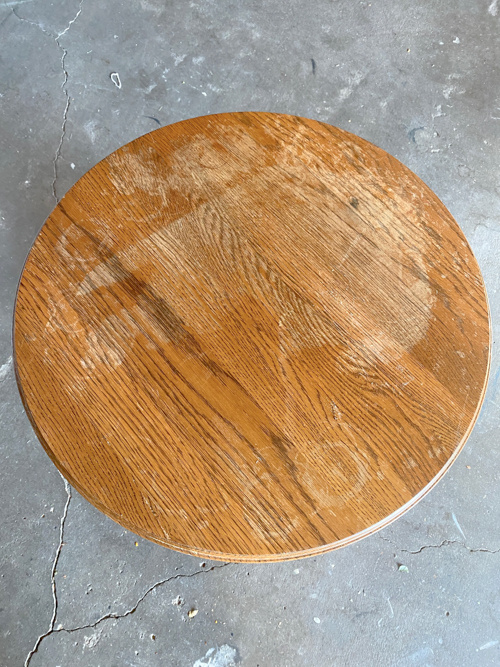
The table I found had some issues on the top but overall, it is such a heavy sturdy table that I knew a little paint would make all the difference.
{Affiliate links are used in this post. Click on any underlined links to find the products and sources I am referring to. You can read my disclosure HERE.}
Supplies You’ll Need For A Clawfoot End Table Makeover
- Sandpaper (medium and fine grit)
- Krud Kutter Gloss Off
- Primer (for better paint adhesion)
- Furniture Paint (I used French Linen)
- Topcoat for protection
- Paintbrush or blue sponge
- Optional: wood filler if your table has imperfections
Each of these products will ensure a smooth, long-lasting finish for your makeover.
Step 1: Prep the Table for Makeover Success
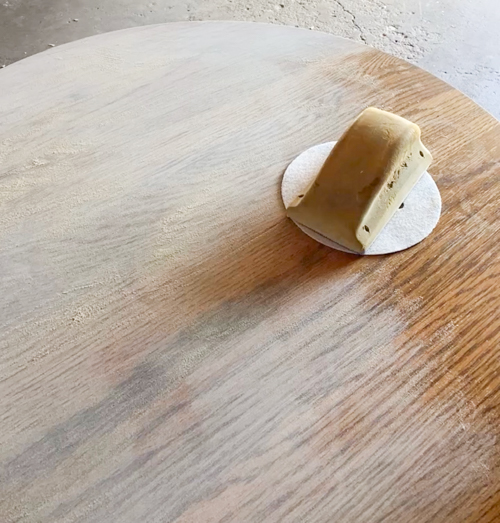
Prepping is crucial for any successful DIY furniture makeover. Start by cleaning the table to remove any dirt or grime. Then, lightly scuff-sand the entire piece. For a clawfoot table, pay special attention to the detailed feet, as they tend to gather dust and may have uneven surfaces. Sanding creates a smooth base for the primer and paint to adhere. This will lead to a more durable finish.
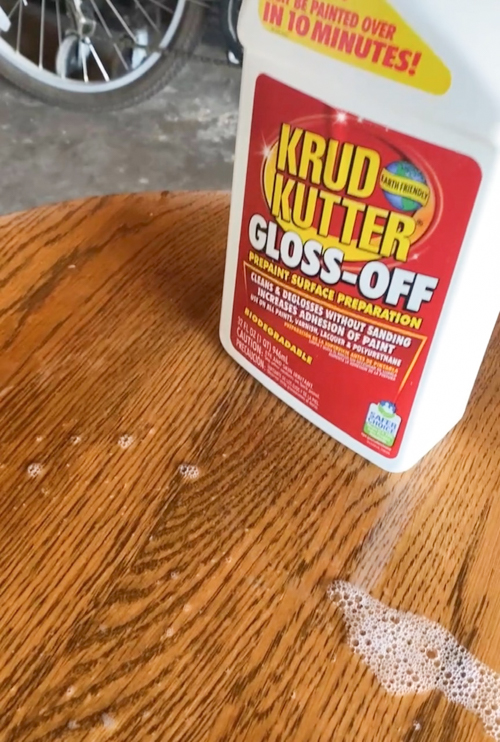
Once sanding is complete, I used Gloss-Off as an extra step in cleaning and removing any finish from the table.
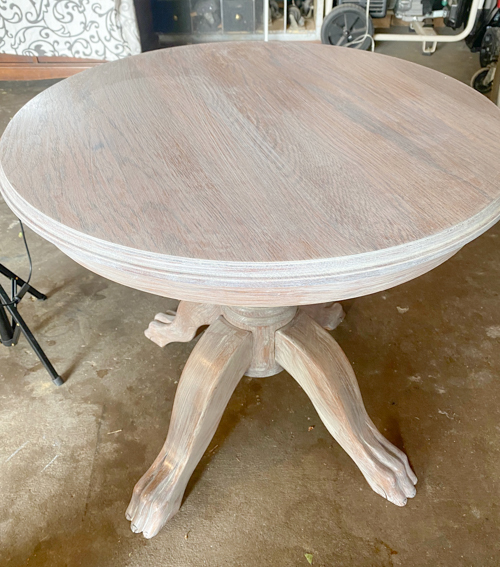
Step 2: Apply Primer
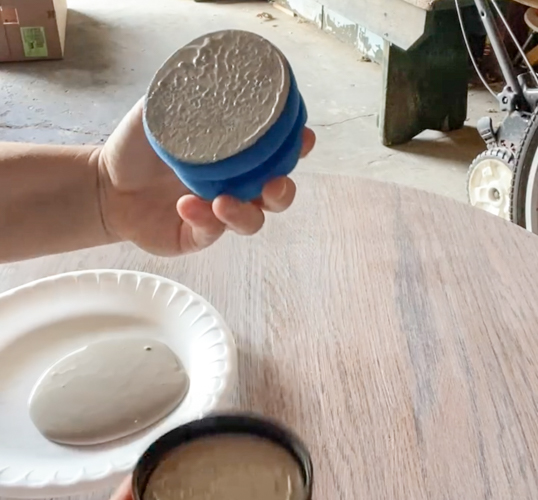
Using a primer on your thrifted clawfoot table is crucial if you aren’t using an all-in-one paint. I applied a coat of primer, which not only helps the paint adhere better but also ensures the color will be even. Allow the primer to dry completely before applying your first coat of paint.
Screenshot
Step 3: Paint the Table
For this Thrifted Clawfoot End Table Makeover, I chose French Linen. This color complements any decor style and brings out the unique shape of the table. Apply the paint in thin layers, letting each coat dry before adding the next. Using a brush allows for precision on intricate areas, while a blue sponge provides an even finish without brush strokes on larger surfaces.
Two coats of paint gave my table the smooth, even look I was going for. However, depending on the original color and condition of your table, you may need a third coat for full coverage.
Step 4: Apply a Protective Topcoat
A topcoat will protect your table and give it a finished look. You can choose a matte sheen (like I did) for a subtler effect or gloss for more shine. Apply a thin coat and let it dry completely before applying another coat if needed.
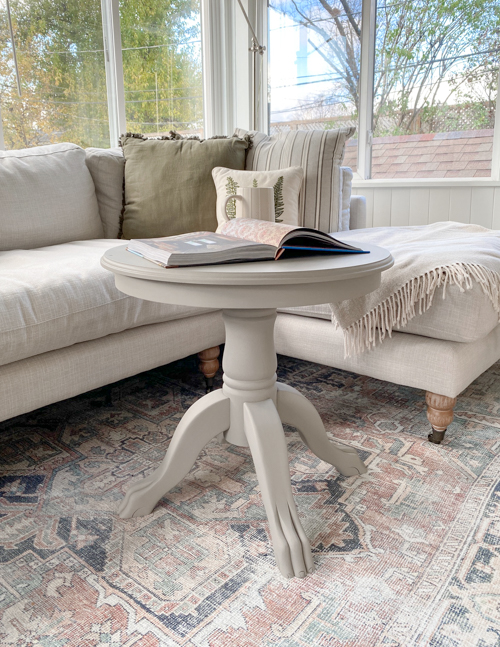
Final Look: Vintage Charm Restored
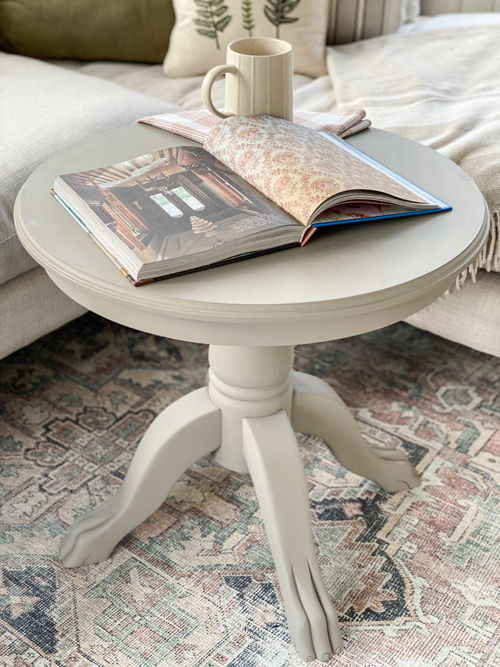
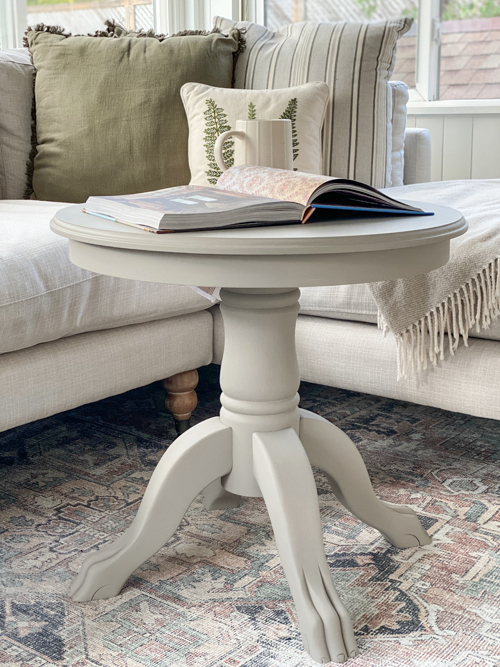
This Thrifted Clawfoot End Table Makeover transformed a dated thrift store find into a chic, eye-catching piece. The clawfoot detail now stands out beautifully, and the fresh color breathes new life into this vintage gem. It’s perfect for use as a side table, end table, or even a small coffee table.
Frequently Asked Questions About Transformations Like This Clawfoot End Table Makeover
Do I need a primer for every thrifted table?
Priming is generally a good idea, especially if the table has a dark or stained finish. It helps paint adhere better and ensures a more even color. If you are using an all-in-one paint, you can skip this step because the primer is in with the paint and topcoat. It is all in one can! You can find my favorite all-in-one paint HERE.

What’s the best paint for a vintage table makeover?
Choose a high-quality paint specifically designed for furniture. Chalk paint, latex, and acrylic are popular options, but for longevity, consider using durable furniture paint.
Do clawfoot tables require special tools for painting?
Not necessarily, but a smaller brush is helpful for painting around intricate clawfoot details.
To see more makeovers done in real time, head over to my YouTube channel HERE. I am launching new videos every week. Make sure to SUBSCRIBE when you are there. I don’t want you to miss any of them and I love connecting with you there as well!
PIN THIS POST!
If you liked this Clawfoot End Table Makeover, you will also love these:


What a beauty – love the color.
Thank you!