This wood candlesticks project is an easy way to get the look for a lot less!
Wood candlesticks are a weakness of mine. I love them. I am always drawn to them when I see them in stores, but then quickly not drawn to them when I see their price tag. Since Matt and I aren’t anything like Clint Harp or have the machinery we need to create our own wood candlesticks from a piece of wood, we had to get creative. I knew there had to be an easy way to create wood candlesticks without having to know Clint Harp, buy Clint Harp’s machinery or spend a lot of money on them in stores.
We found the easiest way to create beautiful wood candlesticks in minutes.
{Affiliate links are used in this post. You can read my disclosure HERE.}
Supplies Needed To Create Wood Candlesticks:
Wood Table Legs (the more ornate and curvy, the better)
Miter Saw
Orbital Sander
Zibra Paint Brushes
Paint
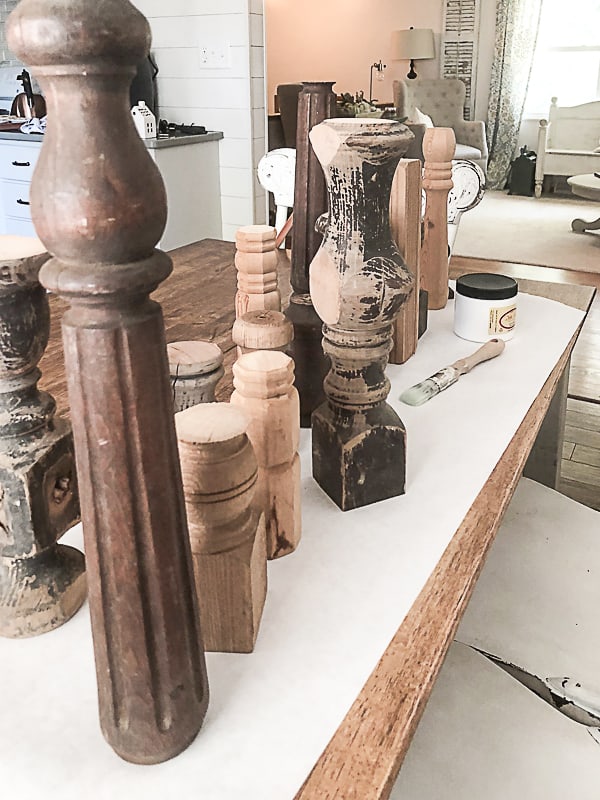
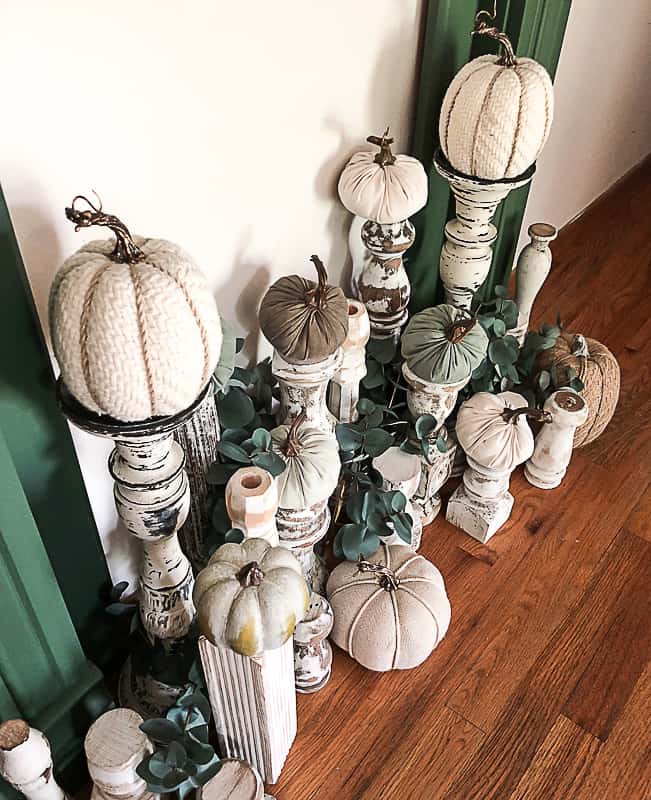
I pick up wood table legs whenever I find them at yard sales and thrift stores. I gravitate towards the table legs that are solid wood, have a lot of curves, and have interesting features and/or lines. I wanted to make a ton of wood candlesticks to use as pedestals for pumpkins in my fall decor this year so, Matt and I grabbed all the table legs we had stashed in our garage and went to work.
Here is the live video we did on Facebook showing how we make the wood candlesticks:
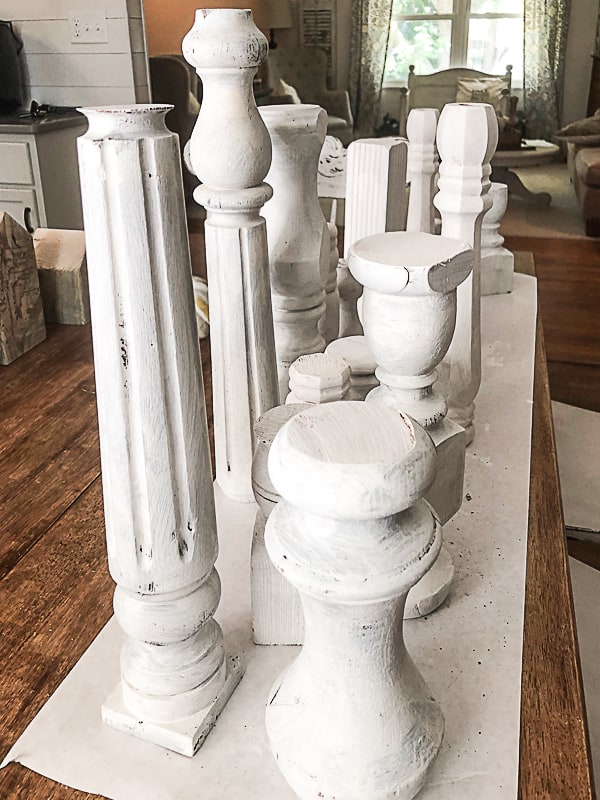
After Matt cut all the legs down, I painted them white. I used one of my favorite brushes from Zibra Paint for this project. I know I have said it before, but I will keep saying it – the Zibra brushes are amazing! I use them on every painting project I do. I use them for big projects like painting trim in houses.
I use them on smaller projects like furniture and wood candlesticks. It may sound weird to some people to be so passionate about brushes, but when you find a tool that helps your job run smoother and easier, you find yourself quickly becoming passionate about that tool. 😉
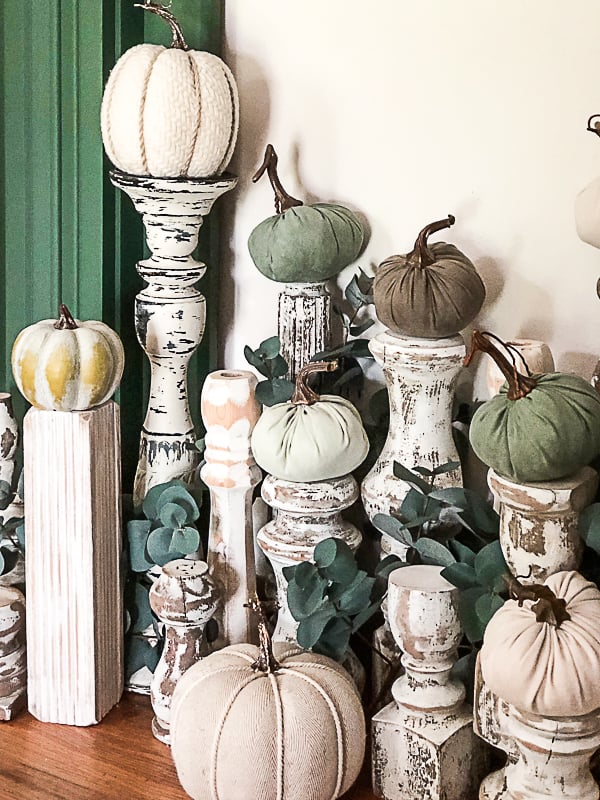
Once the wood candlesticks had one coat of white paint on them and they were dry, I used my orbital sander to distress them all.
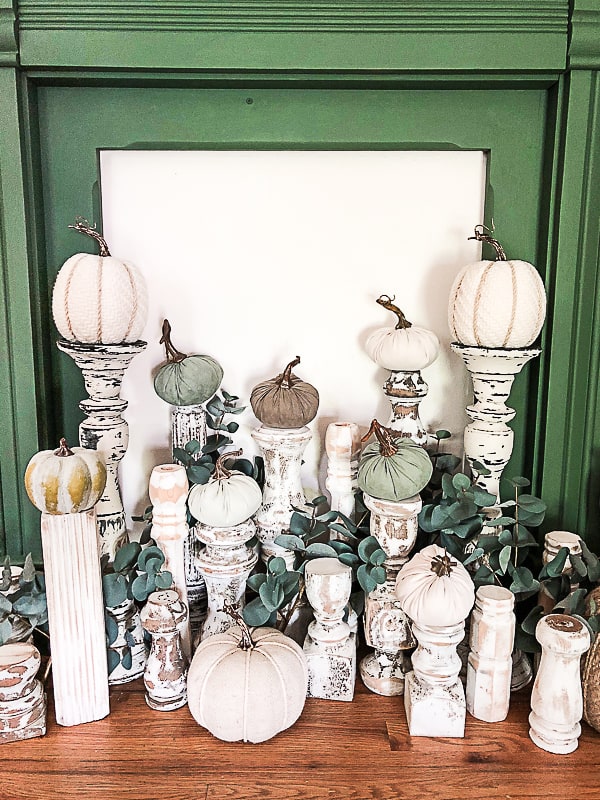
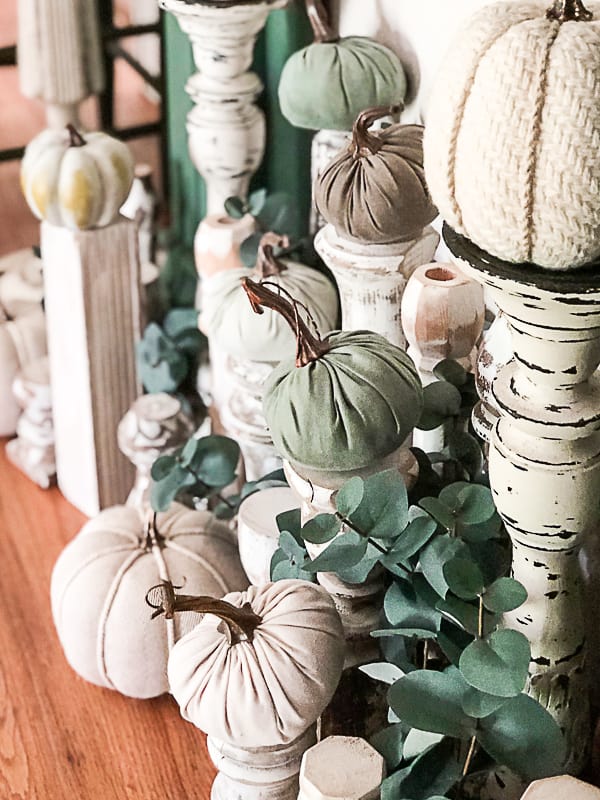
I couldn’t be happier with the outcome. I didn’t have Matt drill holes in every candlestick because I knew I would use them more for decor or pedestals like this. The ones that he did drill for candlesticks work just fine as pedestals and then they will make beautiful candlesticks on a tablescape when they aren’t holding pumpkins.
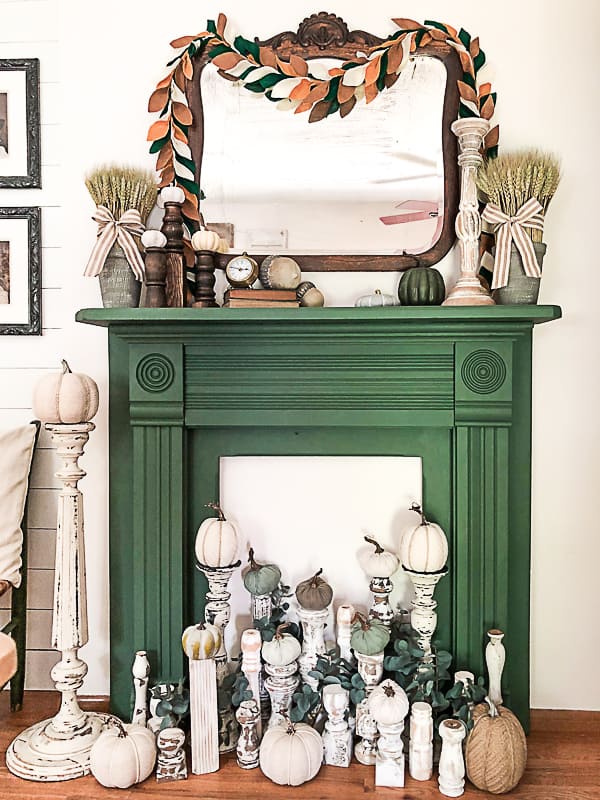
I think the dollar pumpkins from Target are so cute on the wood candlesticks. It really brought the fall vibe to the new mantel in our living room. It is the first thing you see when you enter our front door. I am pretty happy with that first impression.
The new mantel is going to be so much fun decorating for every season. It has set the tone for fall this year and I am excited to see how it welcomes the seasons after that.
Have you decorated for fall yet? What is your favorite space to decorate in your home?
PIN THIS POST!
If you liked this wood candlesticks project, you will also love these easy projects:
How To Make A Chalkboard From A Thrifted Frame
DIY Fall Garland That’s Pretty & Inexpensive


